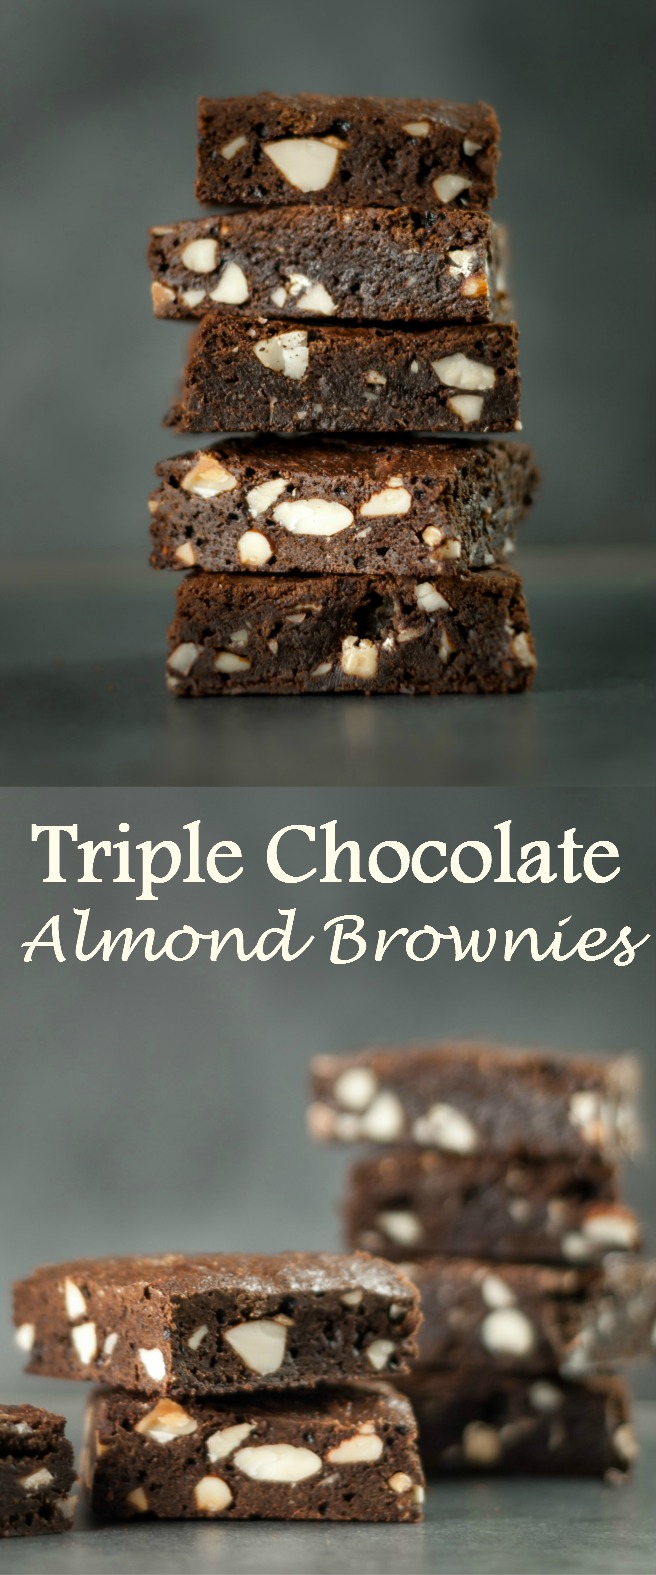
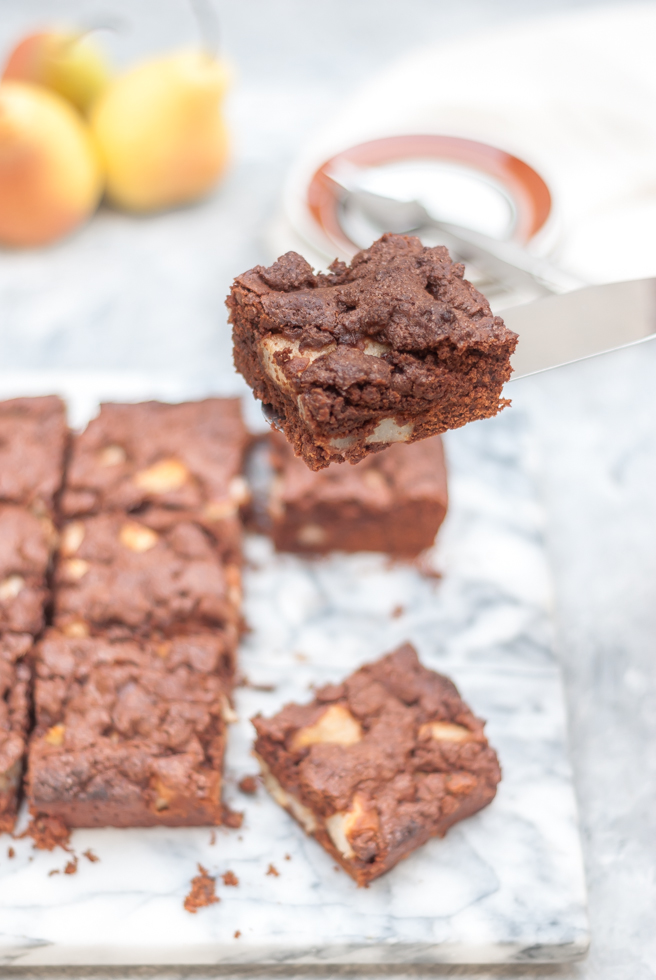
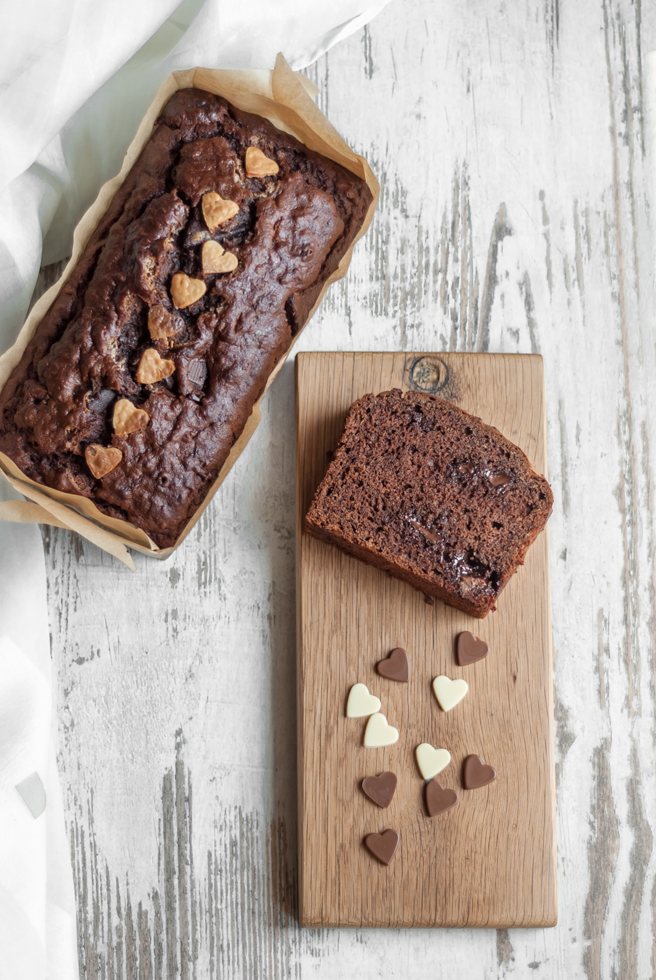
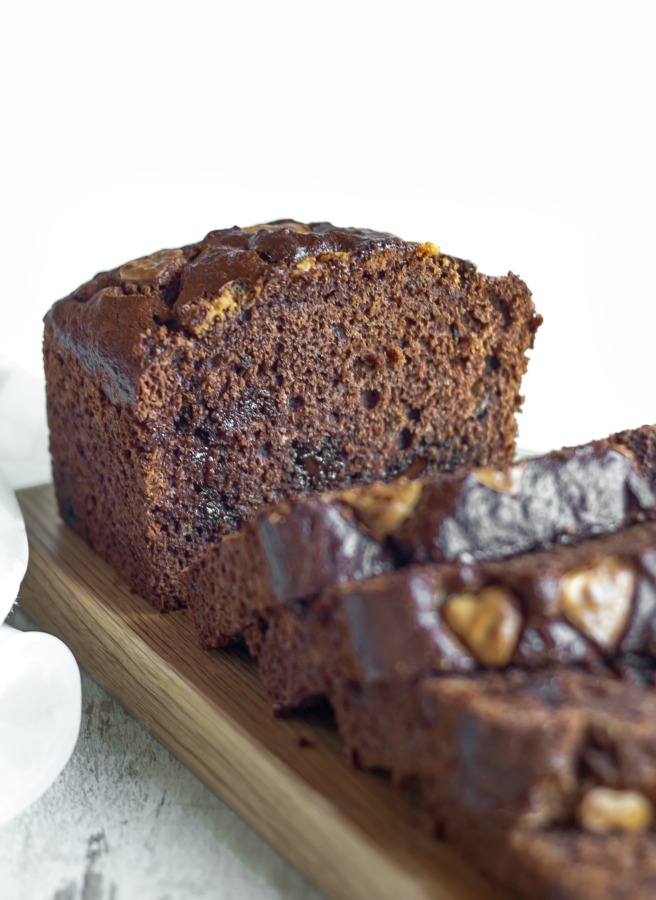
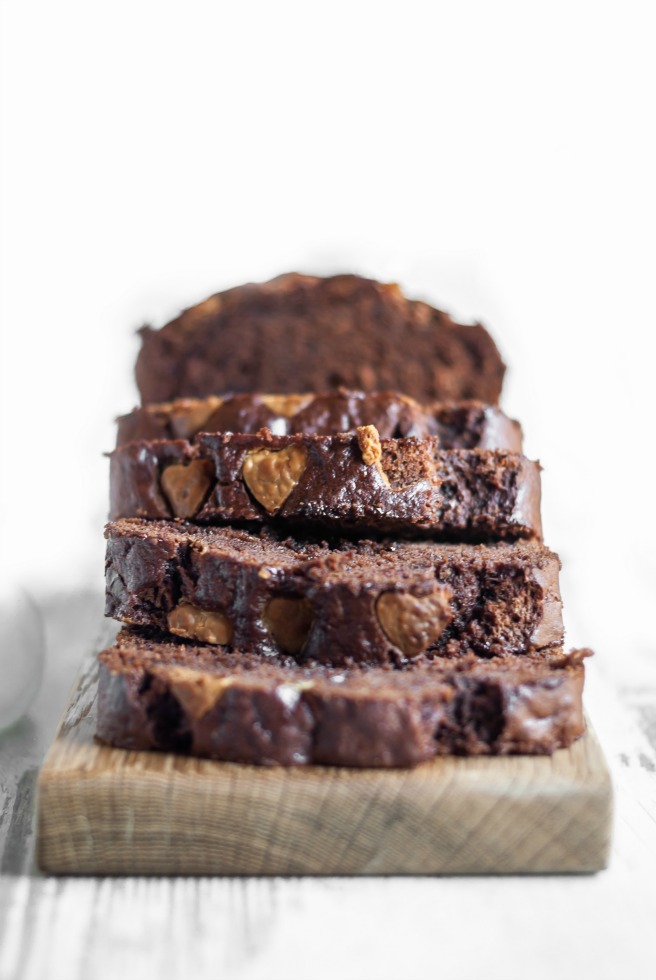
The perfect fusion between a brownie and a cake – crisp, crumbly outside meets moist, yet fudgy and gooey middle; deep rich chocolate meets sweet aromatic pear… a match made in heaven!
 This recipe came to be as an experiment after trying a simple apple and walnut cake at my friend’s house a few weeks back. The cake was perfect but as we have 100s of pears from our tree at this moment I wanted to create a pear version of it. Simple swapping the apples for pears and losing the nuts wasn’t going to cut it as the pears are so juicy, so I baked and baked until I achieved the perfect chocolate and pear cake, which is quick and super easy to make.
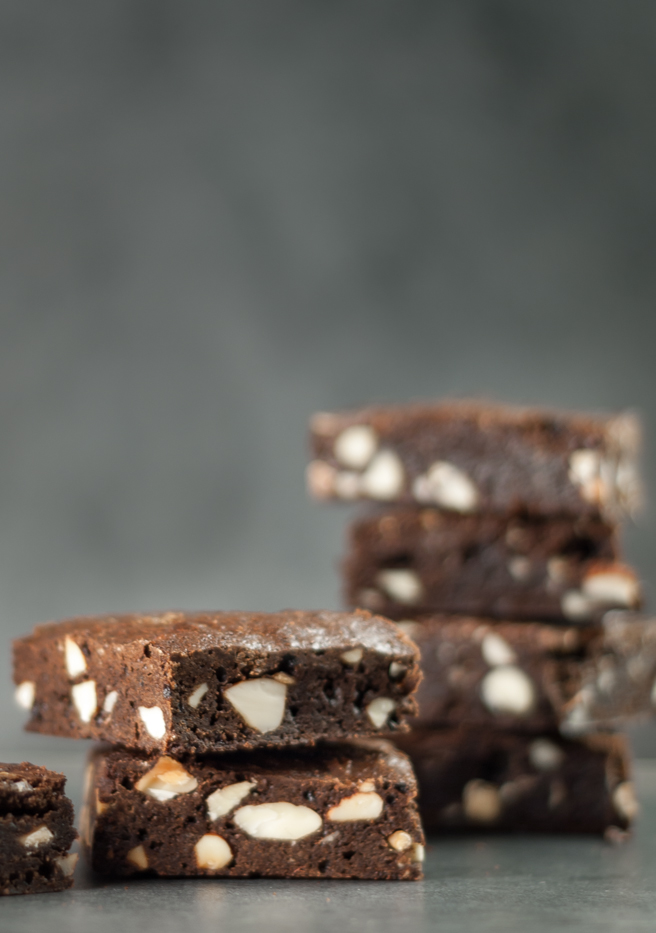
The cake is very chocolaty and indulgent. I used both dark chocolate and raw unsweetened cocoa powder. The taste of your cake will depend on the quality of these two ingredients, so please have it in mind whilst out shopping. I have found through my baking that some cakes are much more forgiving about swaps than others are. I tried to bake it with drinking chocolate instead of the raw cocoa but it simply doesn’t work, you can taste that something is off… also, I found using milk chocolate instead of a dark one is also a no go… the cake really becomes way too sweet.
Total time: 1h
Baking time: 35min
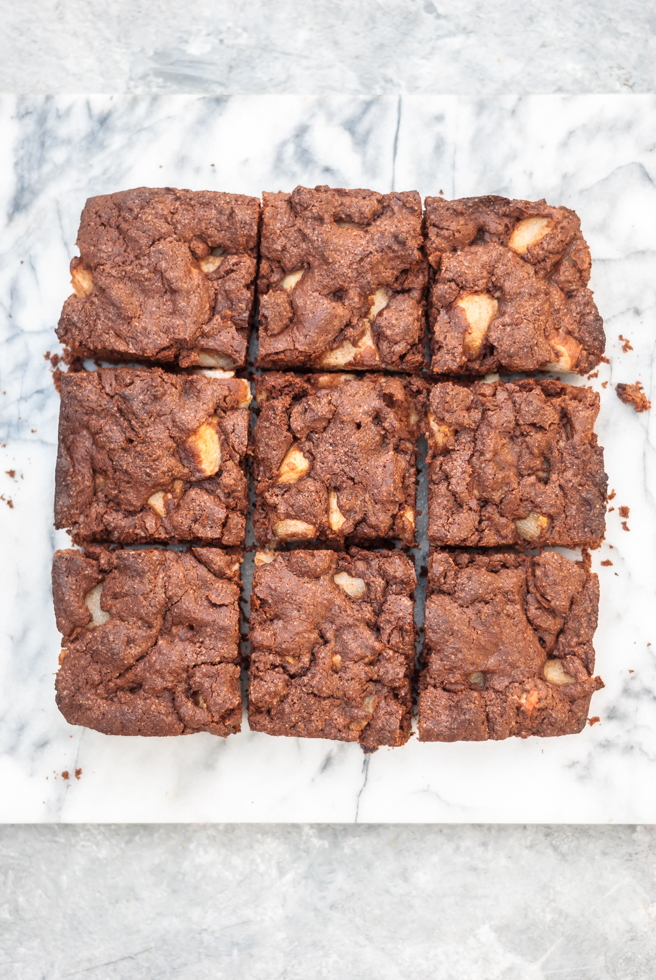
Serves: arguably 9 large portions

Ingredients:
- 225g self-raising flour
- 150g caster sugar
- 125g butter
- 100g dark chocolate
- 3 medium-size ripe pears
- 2 eggs
- 2tbsp raw unsweetened cocoa
- 1tsp vanilla essence
- 1tsp ground cinnamon
- 1/2tsp ground nutmeg
- 1/4tsp ground cloves
- Pinch of salt
Method:
Preheat the oven to 180C.
Line with baking paper one 8”x8” brownie baking tray.
In a small saucepan over very low heat melt the butter. Once melted add the chocolate and stir making sure it is totally melted and combined then set aside to cool.
Sift together the flour, sugar, cocoa, cinnamon, nutmeg, and cloves; add a pinch of salt and mix well.
Wash, peel, core and then chop the pears into 1cm x 1cm cubes, then pop them into the bowl of dry ingredients mix and gently stir so that all the pear pieces are coated evenly.
In another small bowl beat the eggs; then add the vanilla essence and beat some more. Add this mixture to the cooled down butter and chocolate mixture and stir well until fully combined.
Finally, add the wet ingredients to the dry ones and with a silicone spatula gently mix until everything is combined and forms an even mass. You are after the texture of your cake being similar to a cookie dough – firm and pliable.
Move your mixture into the earlier prepared baking tray and again using a silicon spatula spread out the mix till it is even and flat then pop into the oven.
Bake at 180C for around 35 minutes or until a toothpick comes out clean when poked.
Remove from the oven and leave in the tray to cool completely.
Enjoy!


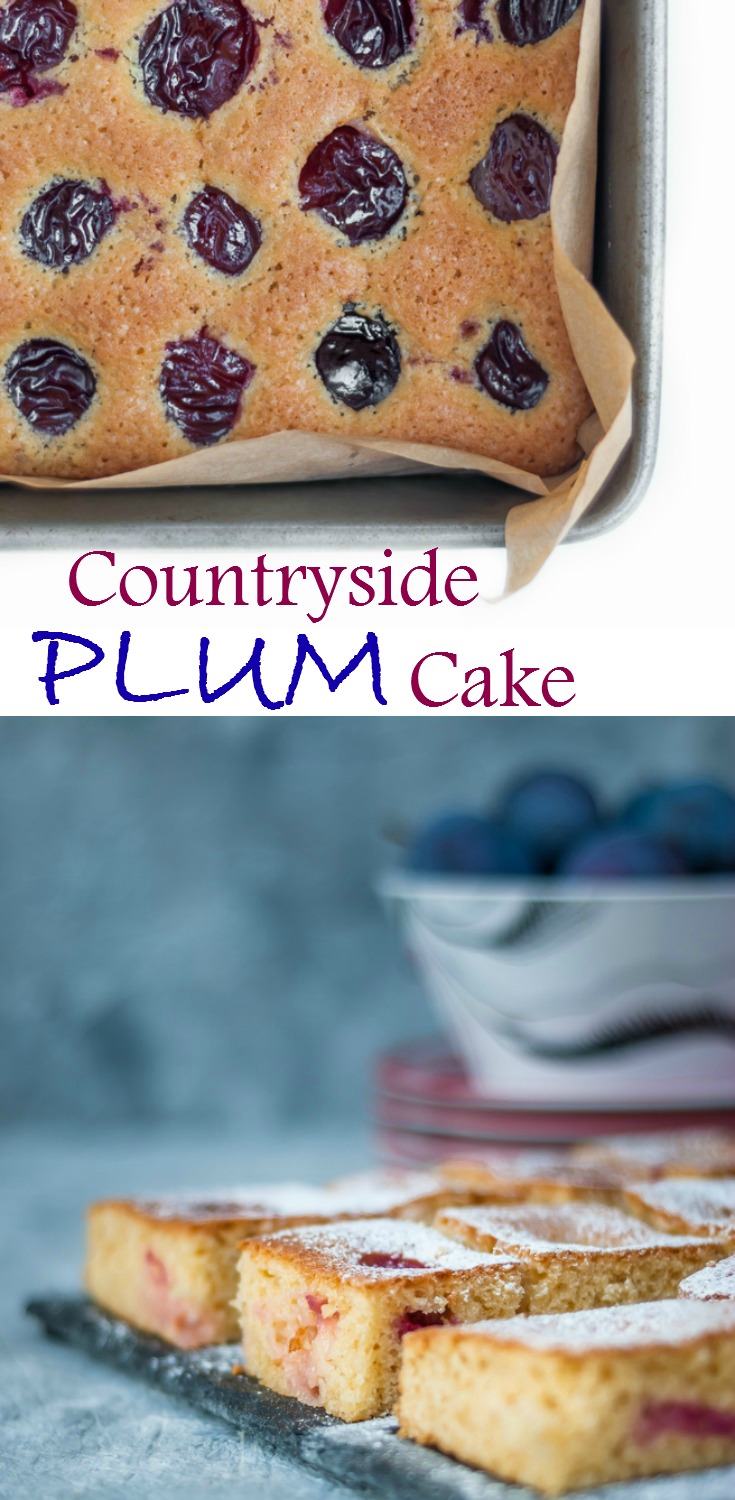
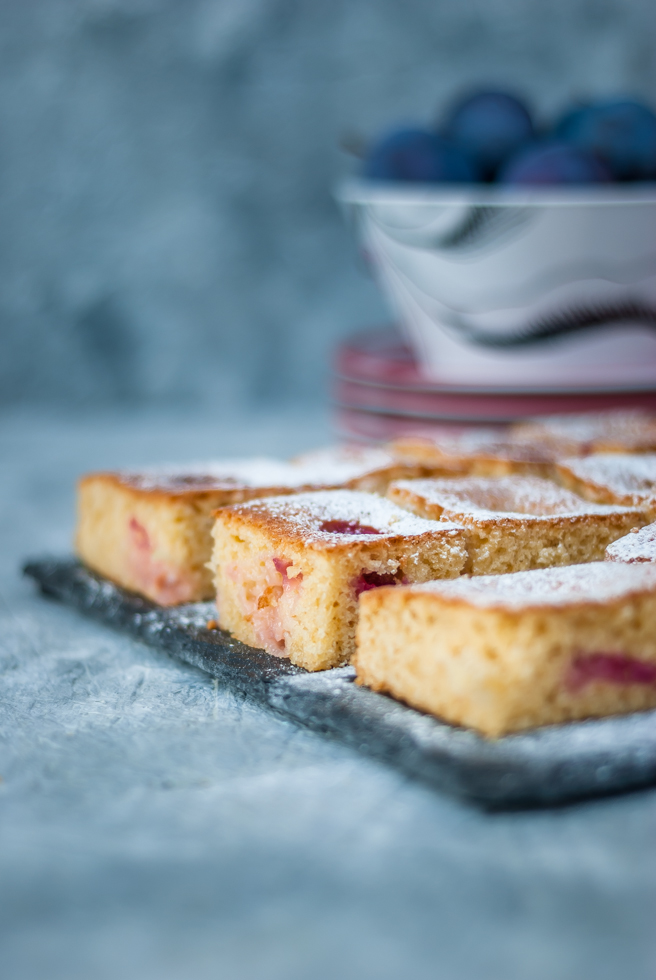 Living in the countryside and finally having our own garden and an orchard means that we get to enjoy a lot of fresh produce straight from the source. We still can’t get used to this fact; it’s so surreal sometimes… In the past things had to be planned… I couldn’t just bake a plum cake on the whim, I couldn’t mainly because I had no plums in the house… I had to drive to the supermarket and purchase some, which 99% of the time were unripe and thus still too hard to use… now, I just walk out into the garden and pick some from my tree… how cool is that?!
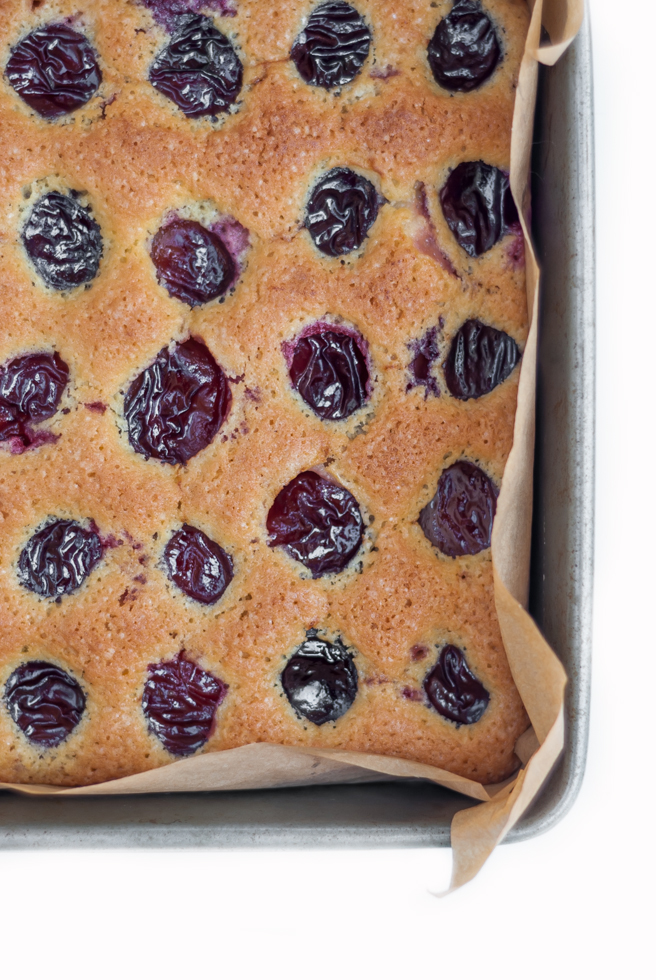
 Method:

 Method: