
These Coconut and Almond Truffles are the perfect way to indulge in some festive cheer without overloading on sugar. Quick and easy to prepare they will provide you with a sweet fix with the addition of a nutritional kick.
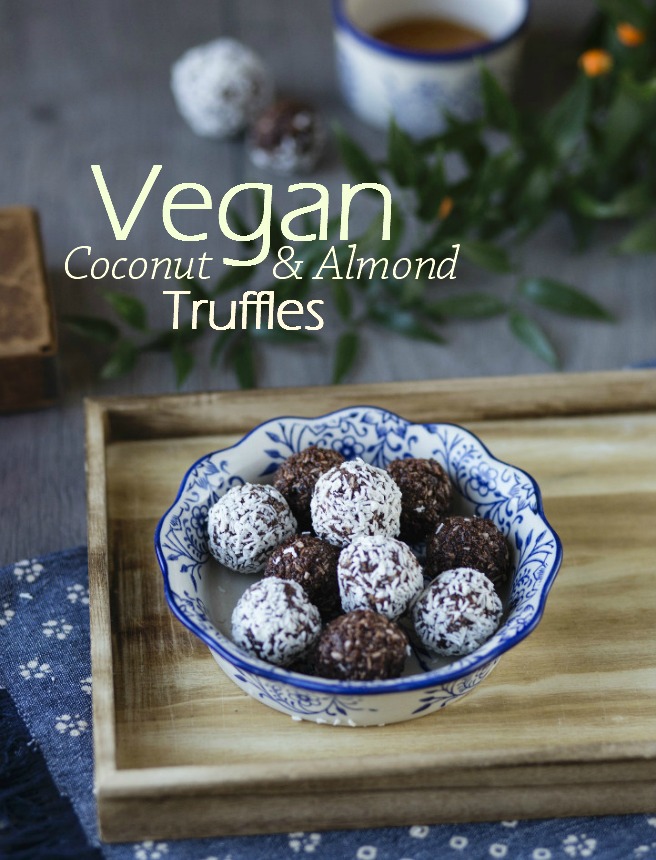 The recipe was created by Amanda Hamilton, a TV Nutritionist working in connection with digestive health brand Udo’s Choice.
Ingredients:
- 80g dates
- 60g almonds ground or 60g of almond pulp from a Soyabella machine
- 30g desiccated coconut
- 15g cocoa powder
- 2tbsp maple syrup
- 1/2tsp vanilla essence
Method:
In a food processor blend together the dates, almonds (or leftover almond pulp) until they form a crumbly paste. If it’s too thick, add a little water, but only enough for it to just come together. Depending on personal taste, the truffle mixture doesn’t need to be totally smooth; some nutty pieces and chunks can be a good thing.
Add the cocoa powder and blend until mostly incorporated.
Remove the nut mixture from your food processor and place it in a large bowl. Stir in half of the shredded coconut, maple syrup, vanilla extract and mix until smooth.
If the truffle mixture is too sticky at this point, place it in the freezer for about 30 minutes so it firms up slightly. Measure the truffle mixture out as about 1 heaped tablespoon each.
Roll it into balls by rolling the mixture between your palms then roll the truffles in the remaining shredded coconut.
Truffles are at their best when cold so for the best results place the truffles in the freezer and allow to them harden for at least 1 hour. Store the remaining truffles in the freezer removing only what you are planning to eat now and allow them to soften at room temperature for about 10 minutes before serving.
If this recipe takes your fancy you should definitely pop over to Udo’s Choice website and check they extended selection of nutritional healthy recipes.


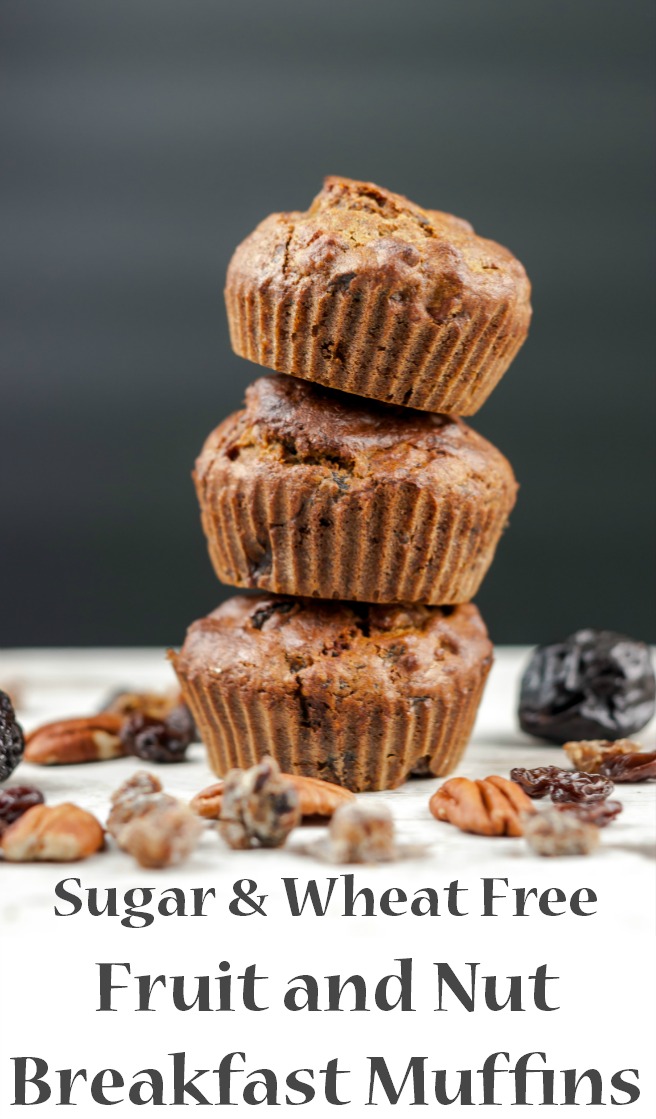 New year, new me… and yes, I am still on my journey to a healthier eating me. The main goal is to try and eliminate sugar, especially refined ones. These muffins do not contain any sugar or any sugar substitutes, they are simply sweetened by the dry fruits included in them, so all natural and much friendlier for our body. Despite not having a need for a wheat free diet I’ve decided to use a spelt flour to up the nutty flavour… the results are truly yummy!
 Method:
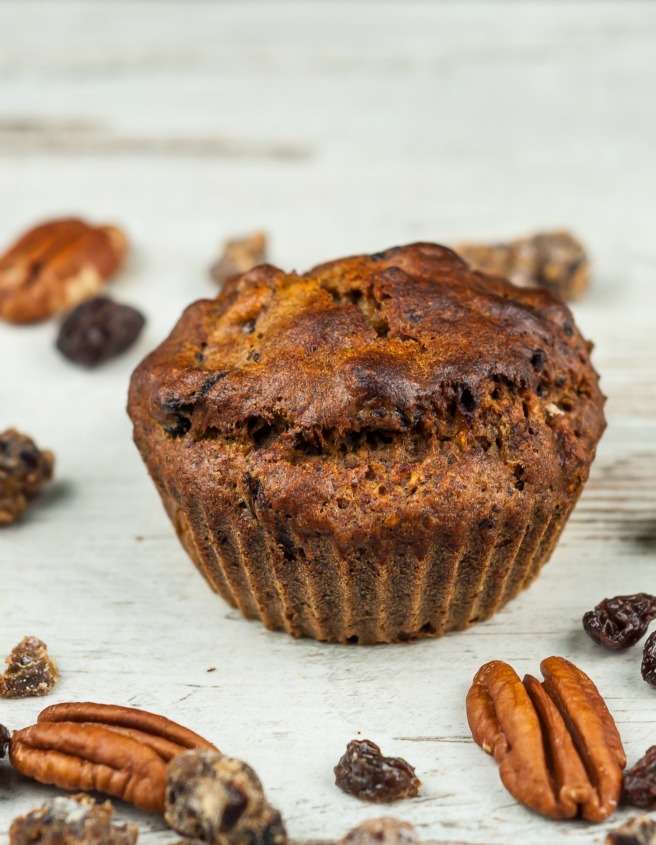 Enjoy!