The festive season is almost upon us so why not make it even more special by making your own edible gifts to share with loved ones? Special chocolates, biscuits or even a hot sauce… everyone can find something they like.
 With Christmas comes the yearly dilemma of what to buy for that special someone who is simply an impossible person to shop for. Their odd taste or the fact that they have everything they need makes this job a really hard one, so why not try something new this year? Instead of yet another reindeer tie or a gift box full of fragrant soaps why not try a homemade edible gift.
“It’s not how much we give but how much love we put into giving.”
― Mother Teresa
Edible gifts can be a statement of love. Pick what the person likes and build on it. Sweet or savoury, soft or crunchy… the choices are endless but I am sure there is that little something which will put a smile on anyone’s face. Once you have made your choice as to the gift itself, think about a nice presentation – a festive box or maybe a nice ribbon and of course the name card. Finally pick a reliable courier company to deliver your creation. With all the festive work overload you need to pick a company you can trust to deliver your gift in one piece and most importantly who can deliver it on time. We speak from experience, last year in the middle of December my Mum decided to send us a last minute gift… according to the nice lady at the local courier company, who took the parcel and a lot of money, “It will be delivered within 3 days, maybe five at most as it December…” we finally received it in the middle of January after the non-delivery claim was already filed…
“Happiness doesn’t result from what we get, but from what we give.”
― Ben Carson
But back to gifts now.
I’ve put together a selection of edible Christmas gifts which should cater for any taste. Some have a short use by date, others will last for months; some are sweet, others savoury or spicy; some are pure indulgence whilst others fall into the diet friendly category… I hope this round up will give you the answer you were looking for or at the very least spark an idea for what is perfect.
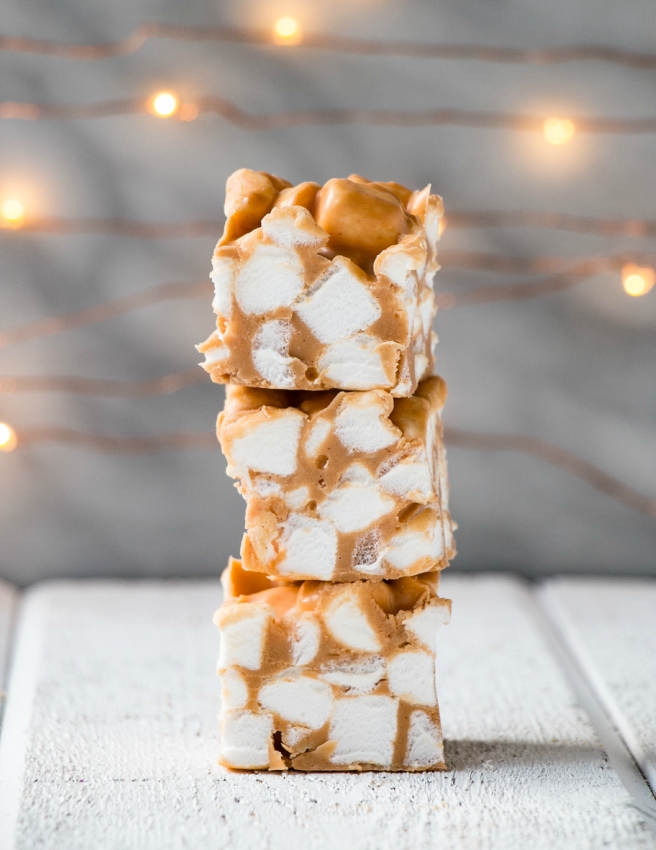
Butterscotch Peanut Butter Marshmallow Squares
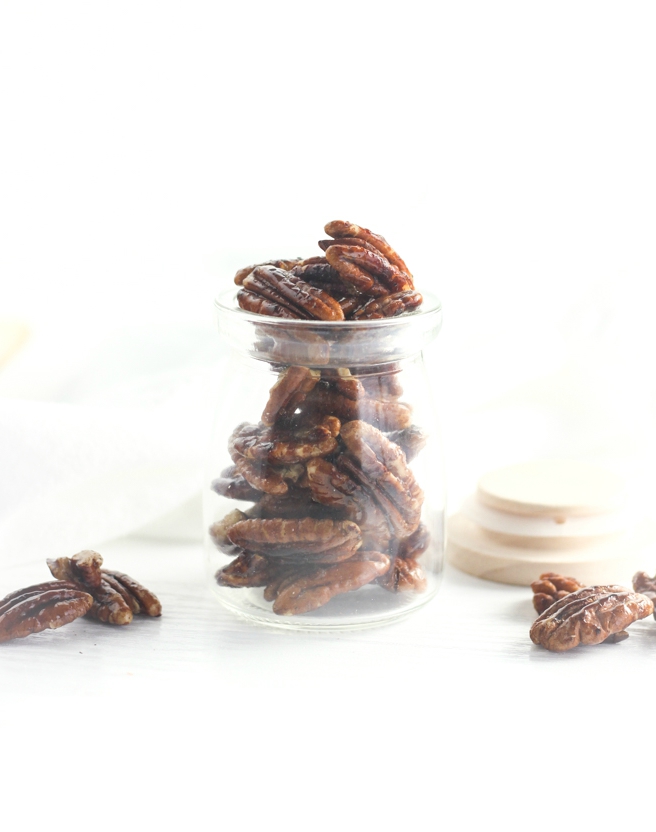
Candied Pecans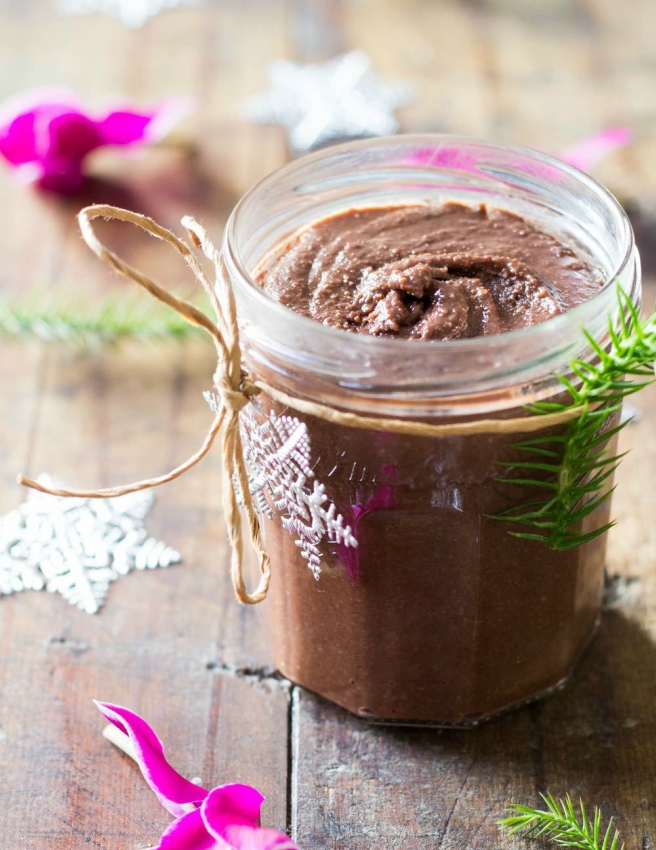 Cashew Chocolate Spread
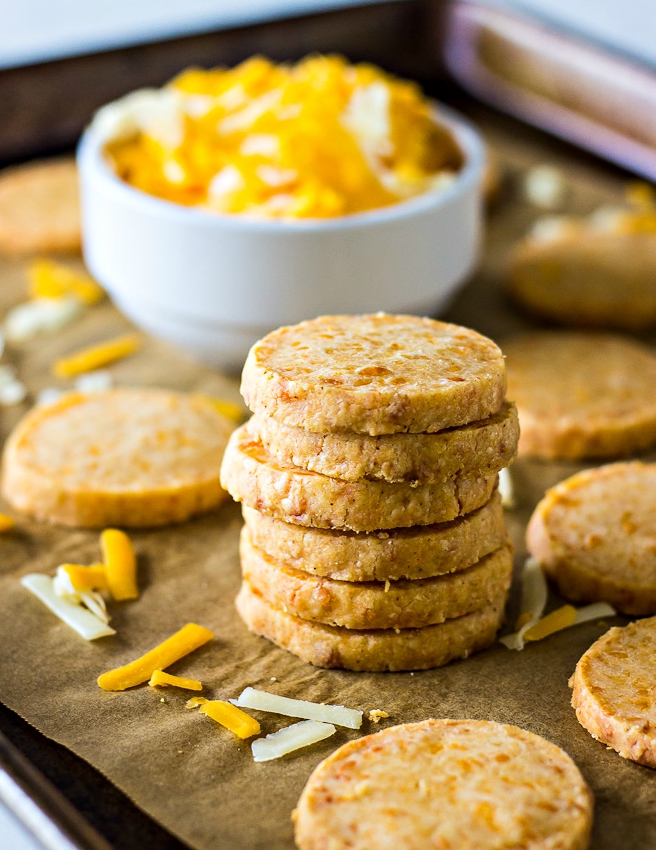
Cheddar Cheese Coins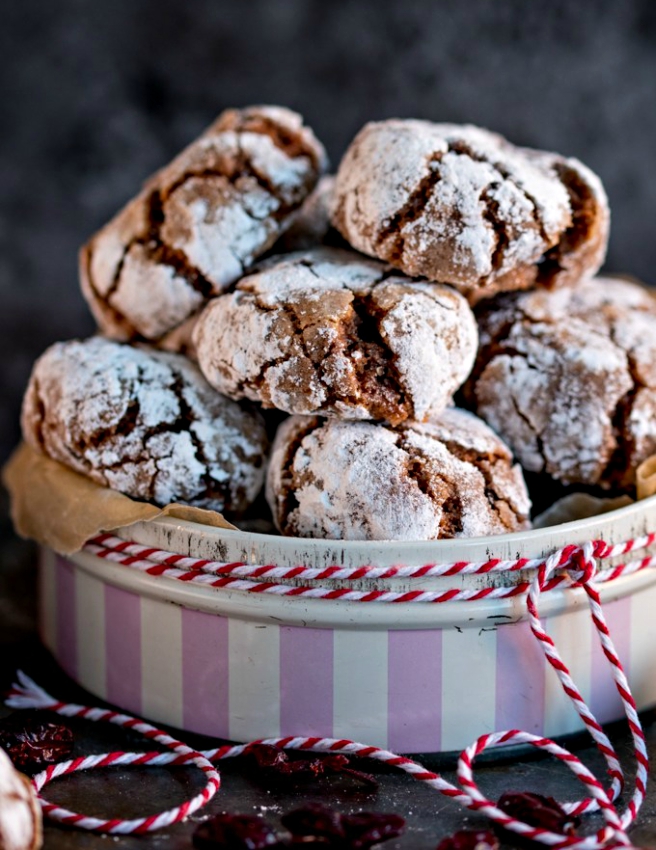 Chocolate Cranberry Amaretti Cookies
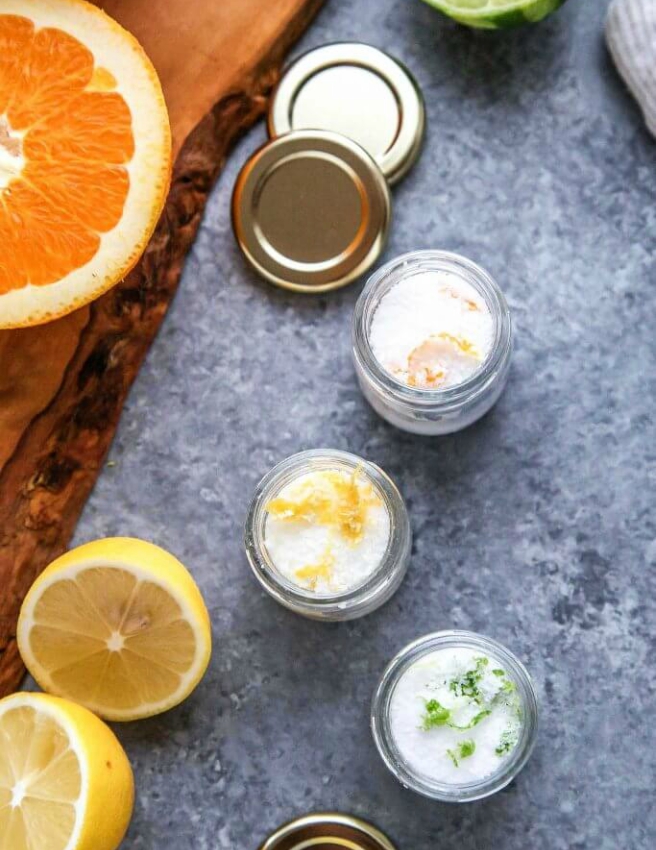 Citrus Salts
 Coconut and Almond Truffles
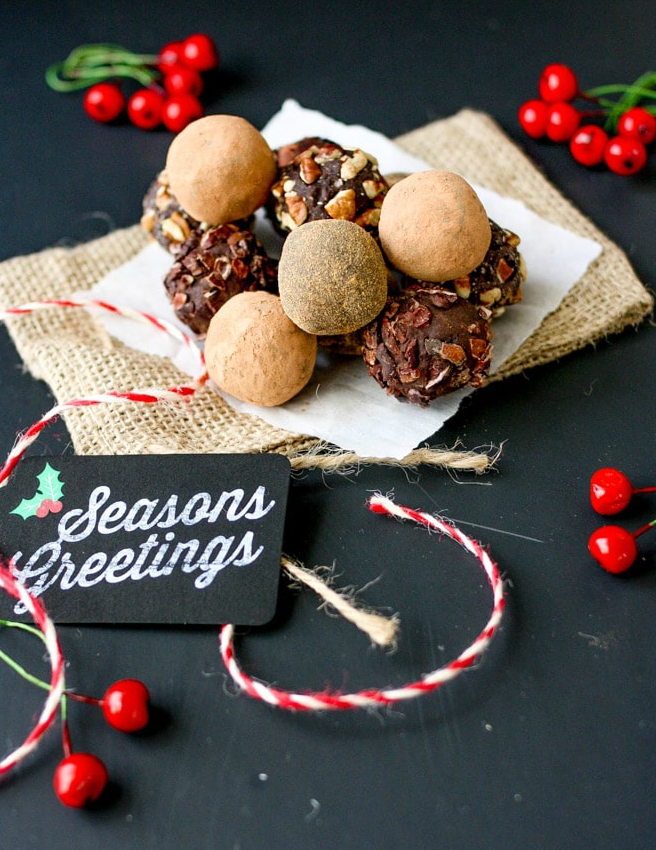 Cranberry Crunch Dark Chocolate Truffles
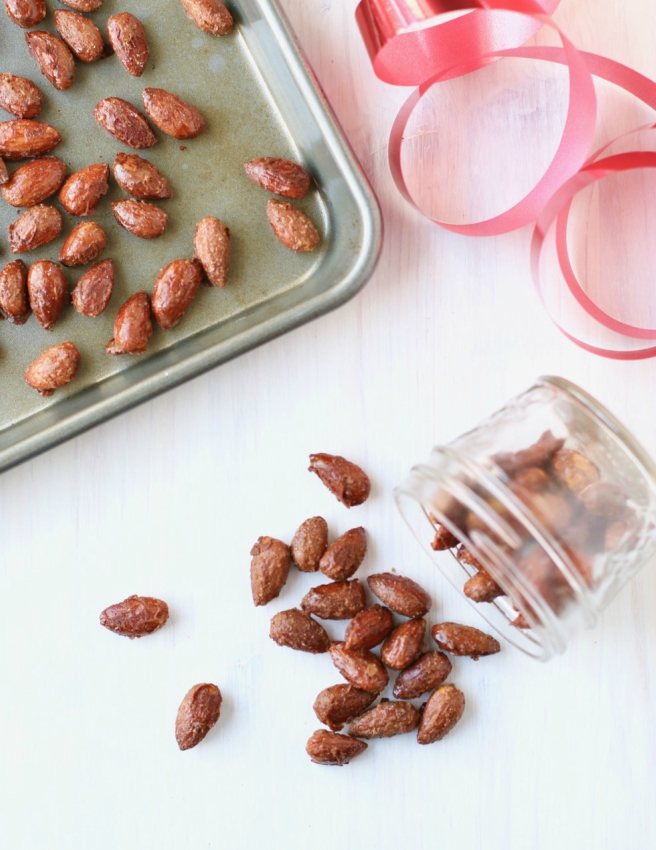
Gingerbread Glazed Almonds Hot Chocolate Mix
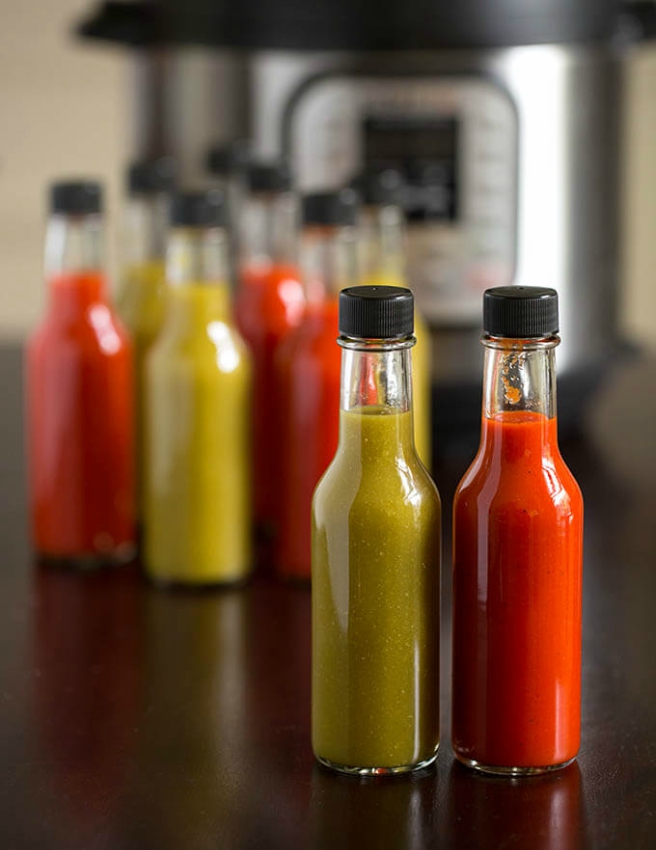
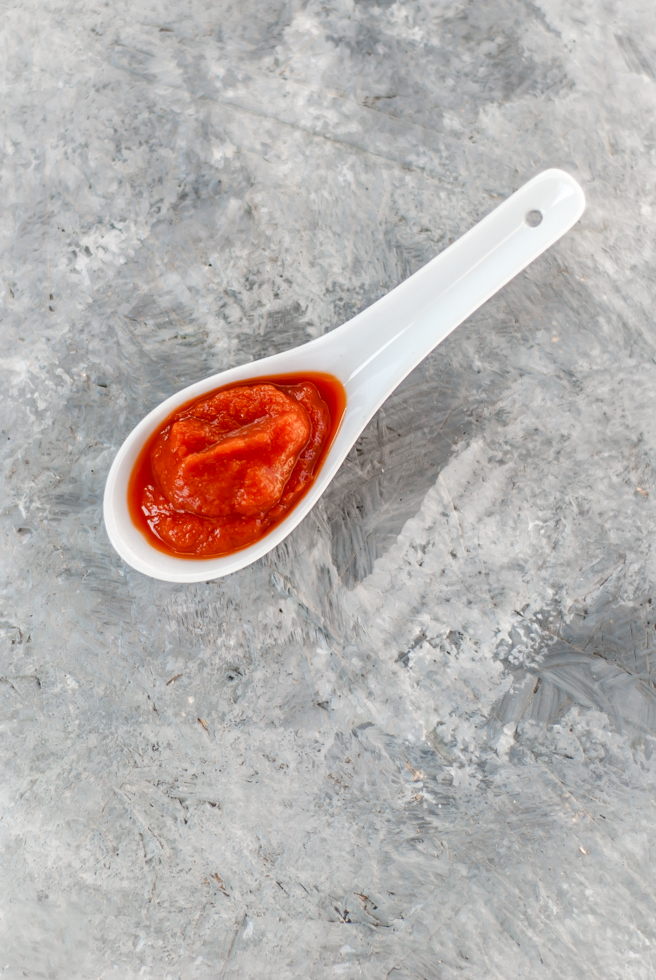
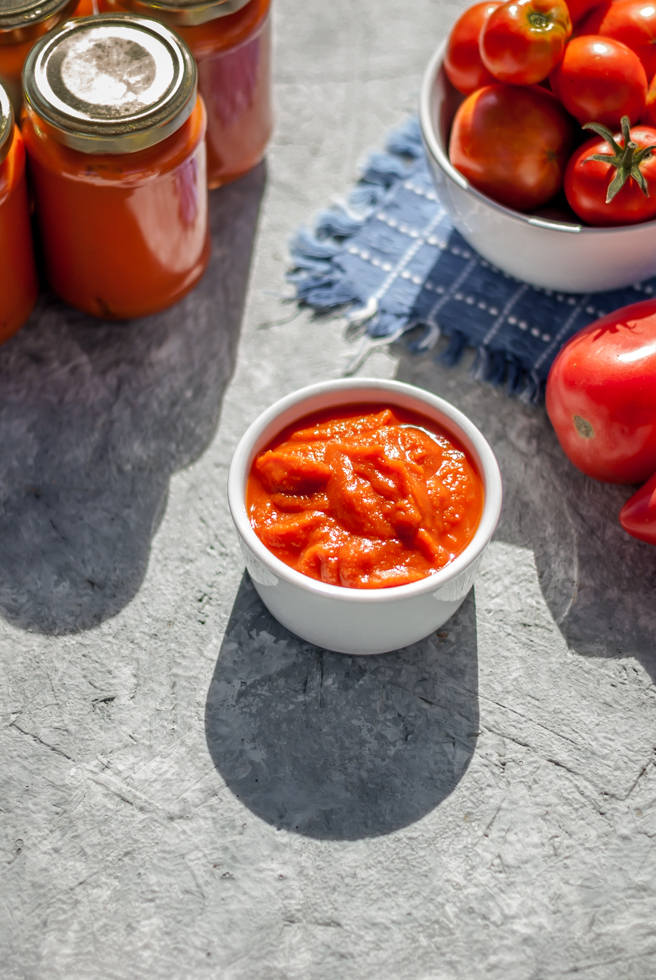
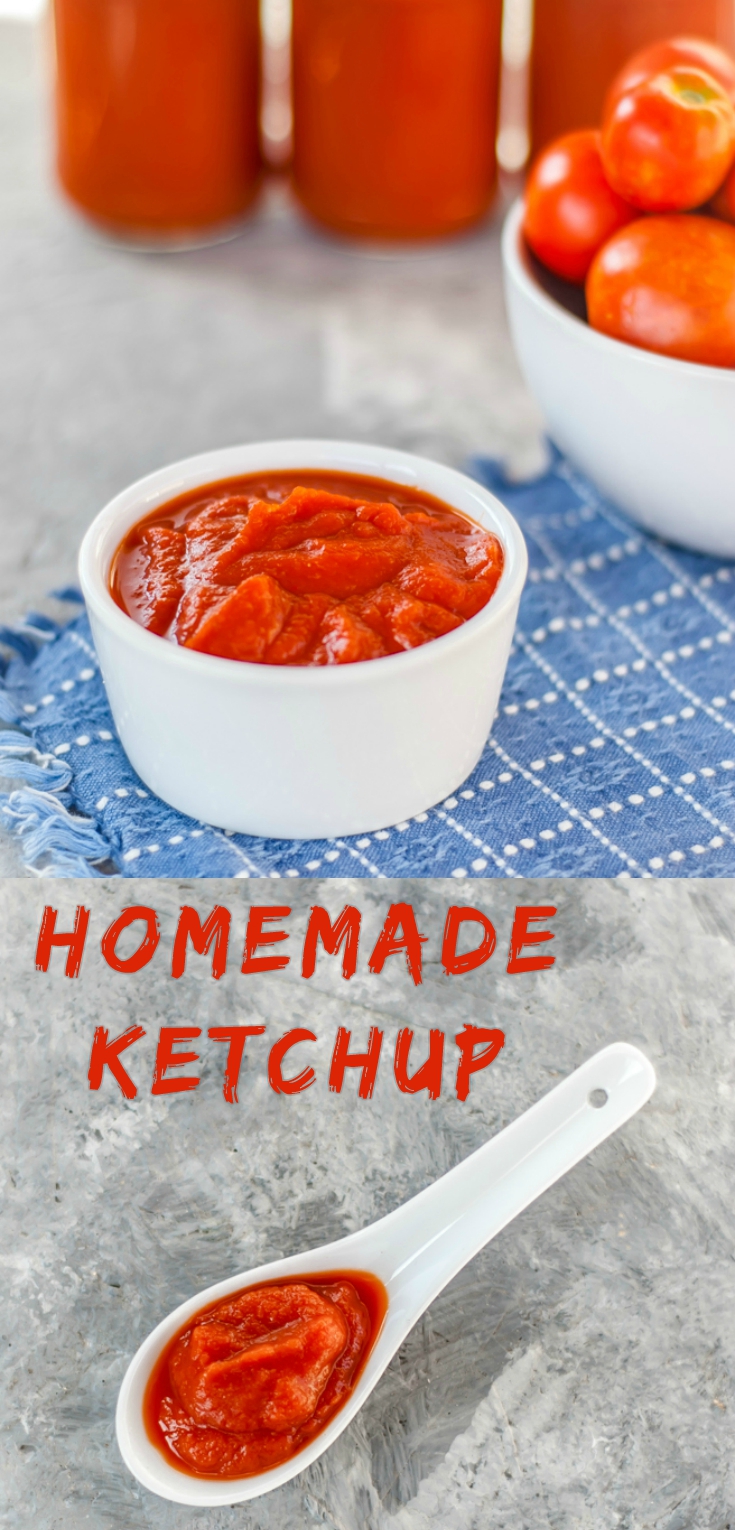
Hot Sauce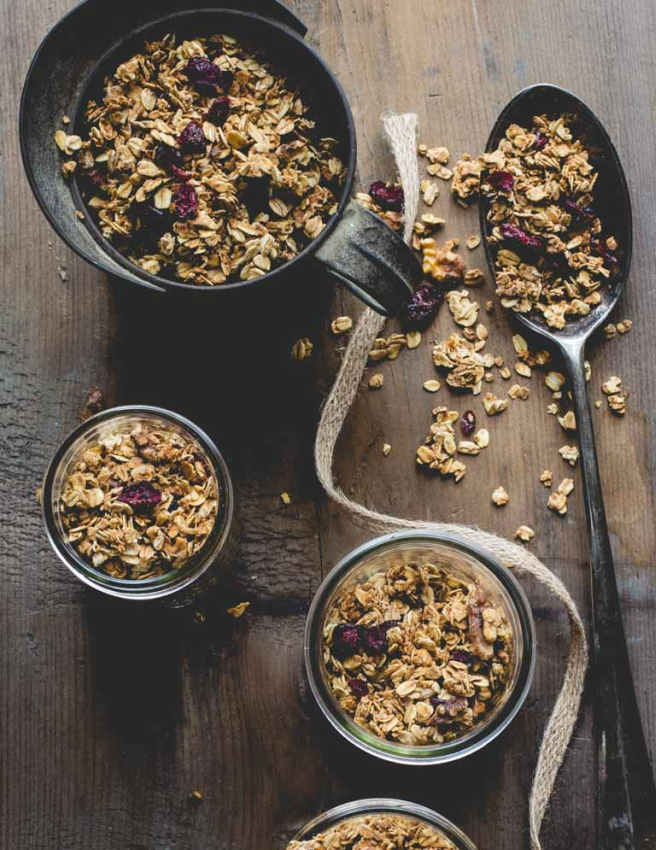 Maple Granola
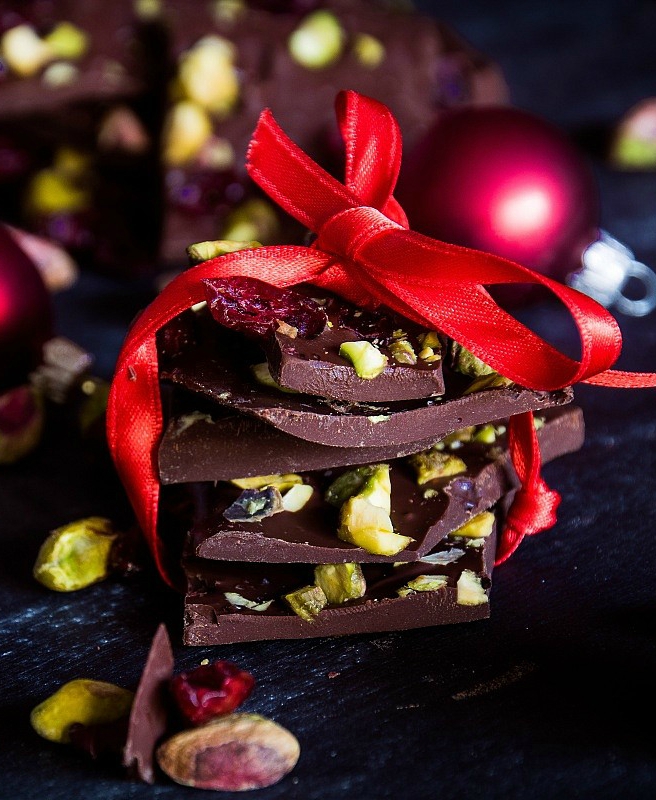 Smoked Chocolate Christmas Bark

So, what do you think?
Any chance you will be making any of these edible gifts this year?
I know I will.

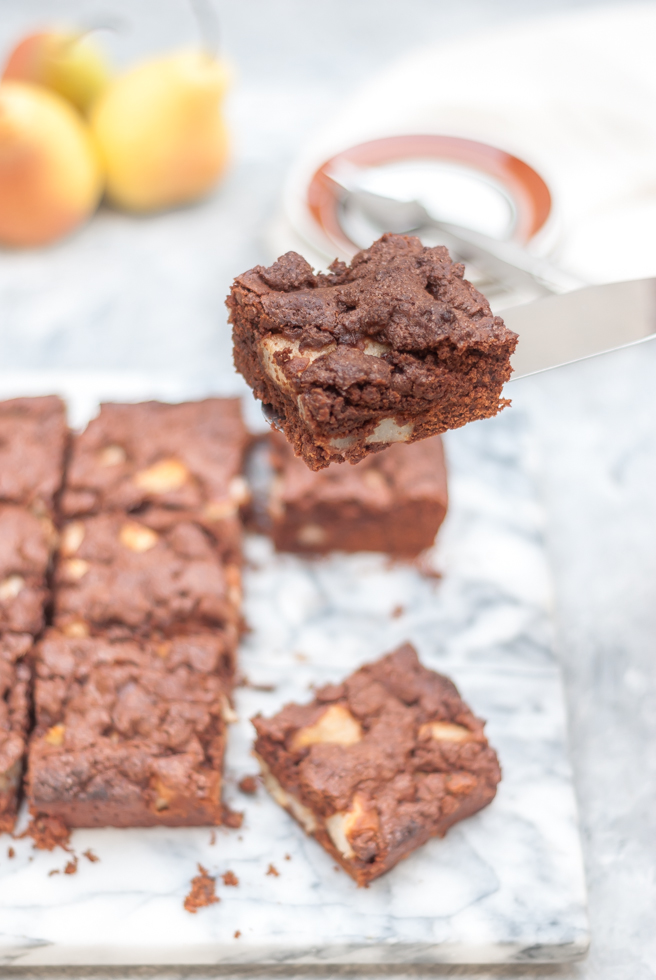
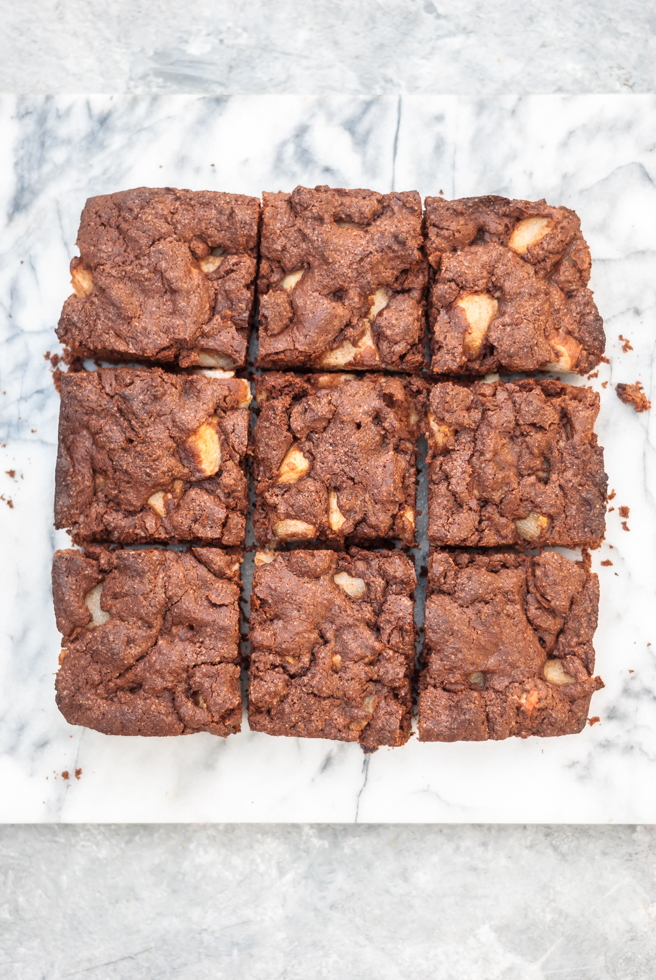
 This recipe came to be as an experiment after trying a simple apple and walnut cake at my friend’s house a few weeks back. The cake was perfect but as we have 100s of pears from our tree at this moment I wanted to create a pear version of it. Simple swapping the apples for pears and losing the nuts wasn’t going to cut it as the pears are so juicy, so I baked and baked until I achieved the perfect chocolate and pear cake, which is quick and super easy to make.


 Method: