
Firstly let me explain “on a budget”, as this term will not mean the same to me, you and for sure not to any super rich football star… we will all have a different monetary definition regarding what “on a budget” means… so to make it more clear, the idea was to remake our bathroom using only supermarket own brand products.
This challenge was set by the people at Debt Free Direct in line with their idea of Making Money Go Further.
I bet you are wondering right about now is it possible to create a nice space from supermarket own brand / super value products? Not to worry I was wondering about it as well. I wasn’t sure if I should or shouldn’t except the challenge… until I actually browsed through few websites and had a look at what is out there… then the choice was obvious… yes, I think I can do it!
I was not restricted to picking any particular brand / superstore chain, the only restriction was it must be a supermarket own brand and not one of the perceived “posh” brands, so Harrods was out of the question.
After much deliberation I picked Wilkinson and their Wilko range. I wanted to get all the bits from one place, so if anyone attempts to recreate my steps, they can save on delivery charges or unnecessary multi trips to a variety of stores for collection.
This is what I got…
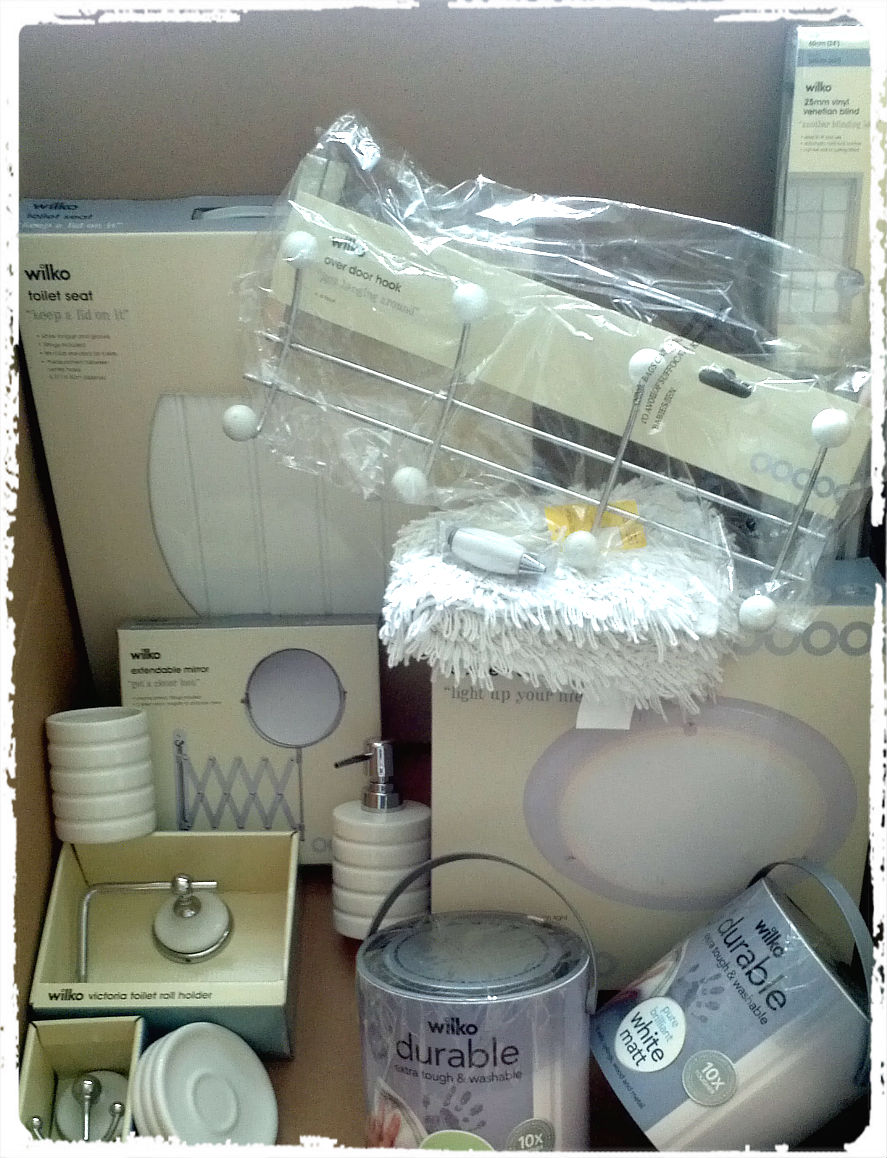
My full order come to just £85.45. All that I was missing were some paint brushes, rollers, etc but I already had them so there was no need for getting new ones.
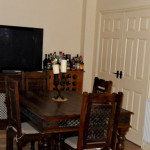
So now that you know what I had to “play” with, let me introduce my “playground”… please do not judge us to harsh…

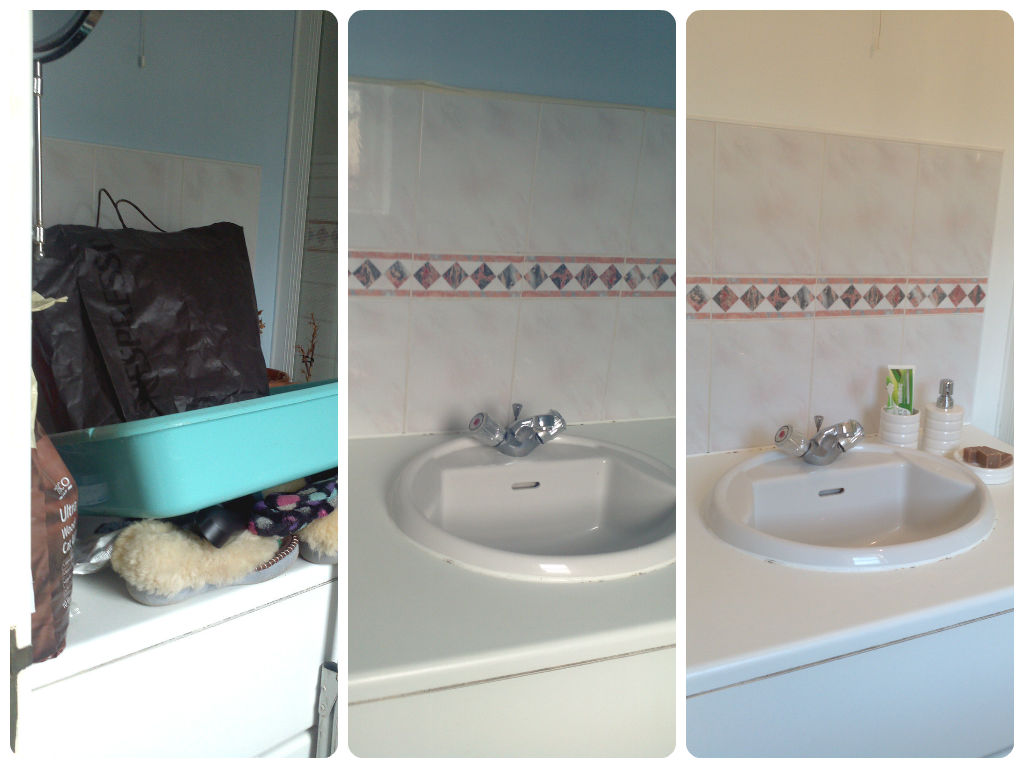
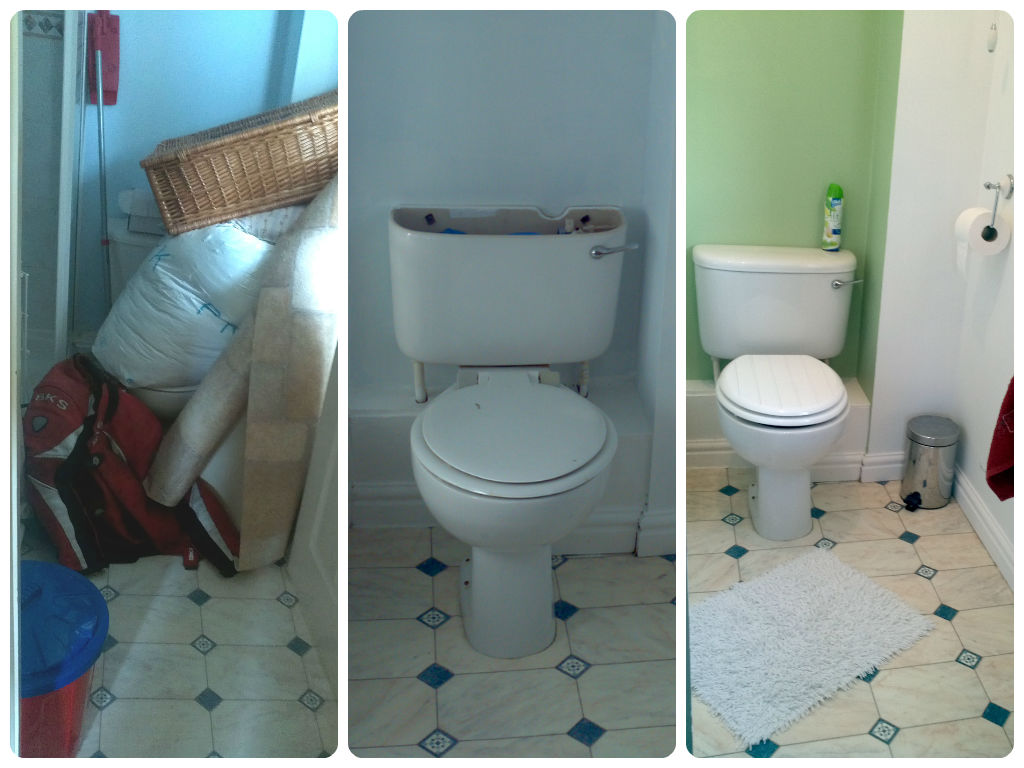
Yes, I know that this bathroom is was full of clutter and totally unusable but we really didn’t have any use for it… until now…
Step one was to remove all the items which didn’t actually belong in the bathroom and get it cleaned / de-web and ready for the make-over to come. Once everything was removed, walls hovered, cleaned with soapy water, all holes filled, dried and sanded back down to smooth surfaces, all edges covered in masking tape it was time to get painting.
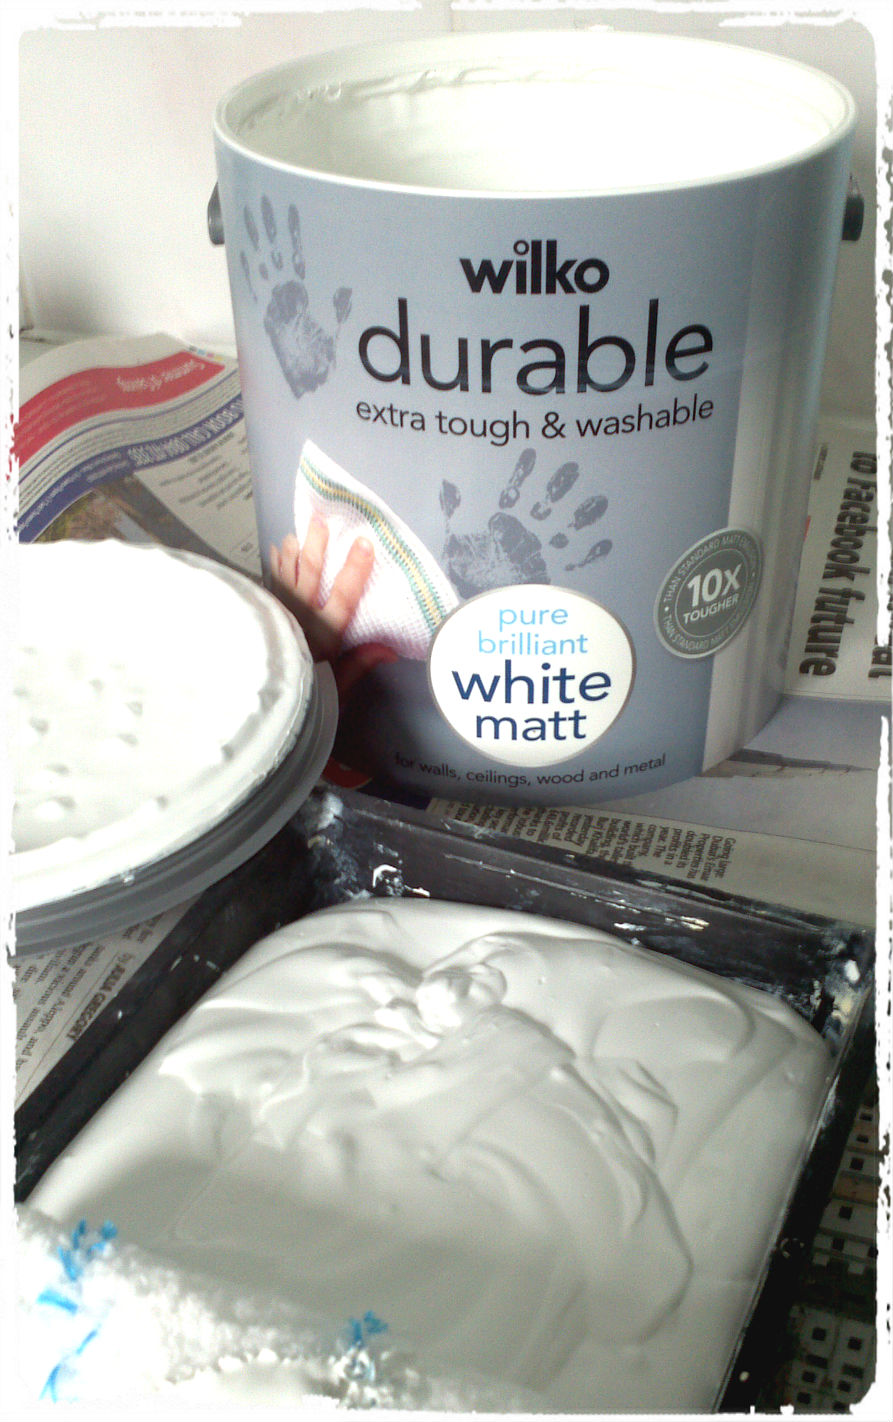
While making my choice of paint I wanted something washable, this was my “must have” regarding the paint… in addition to this I chose paint which can cover wood and metal as well… how handy is that? In light of this there was no need for any additional wood paint just for the skirting boards and “shelves” around the loo; everything could be painted using my Wilko choice.
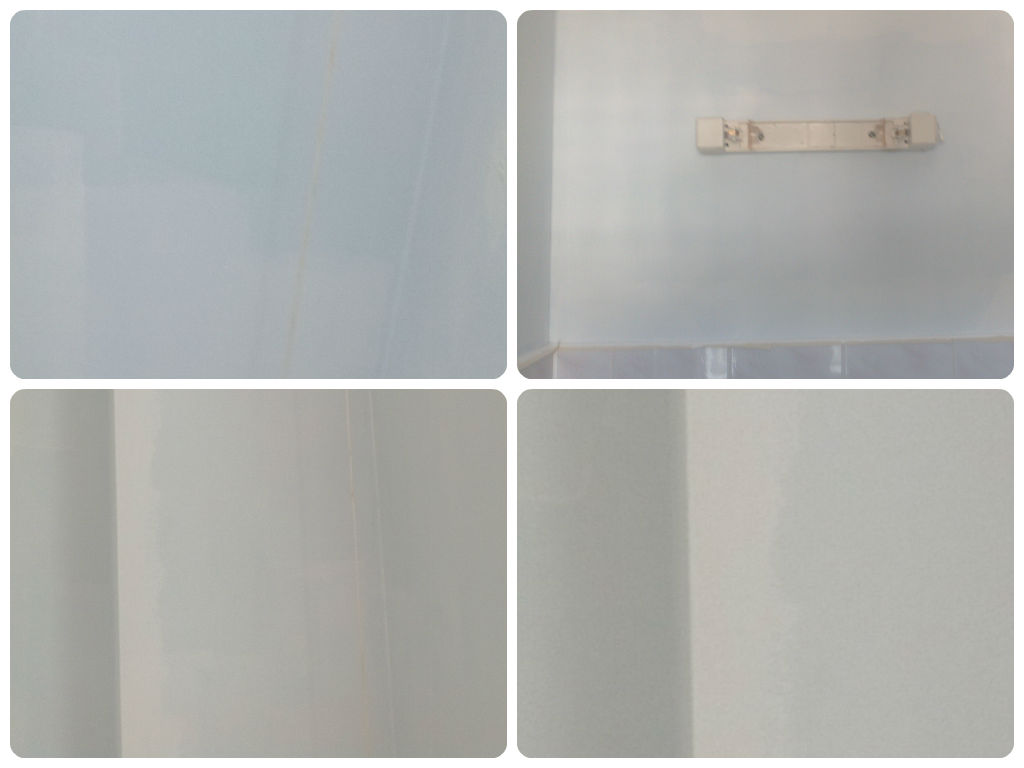
As I was covering a blue wall with white paint I knew that one coat would probably not do the trick. My first day on my DIY project stopped after the first coat of paint and room looking like this…
… when I left it to dry I became kind of distracted with other life issues, so there was no coming back to do anymore work on day one.
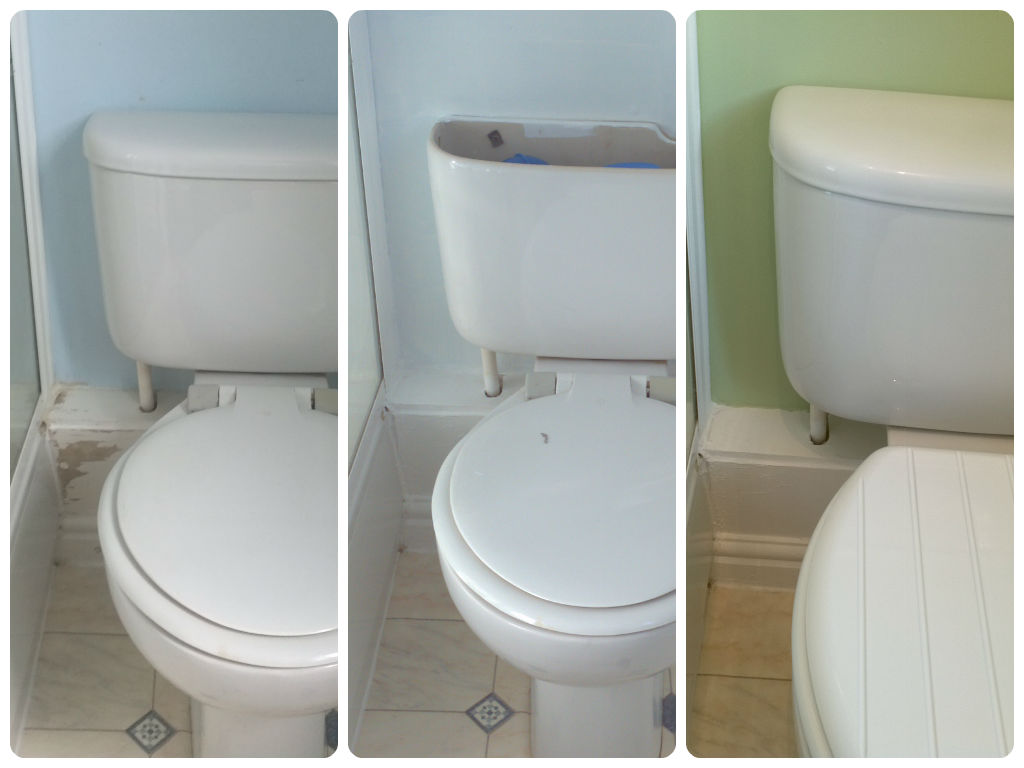
So on too day two of my DIY project, I started with the second coat of the white walls. The ceiling was perfect after just one coat, so there was no need for any touch ups, the joy of white on white painting. Once my walls were done with the second coat it was time to add some colour.
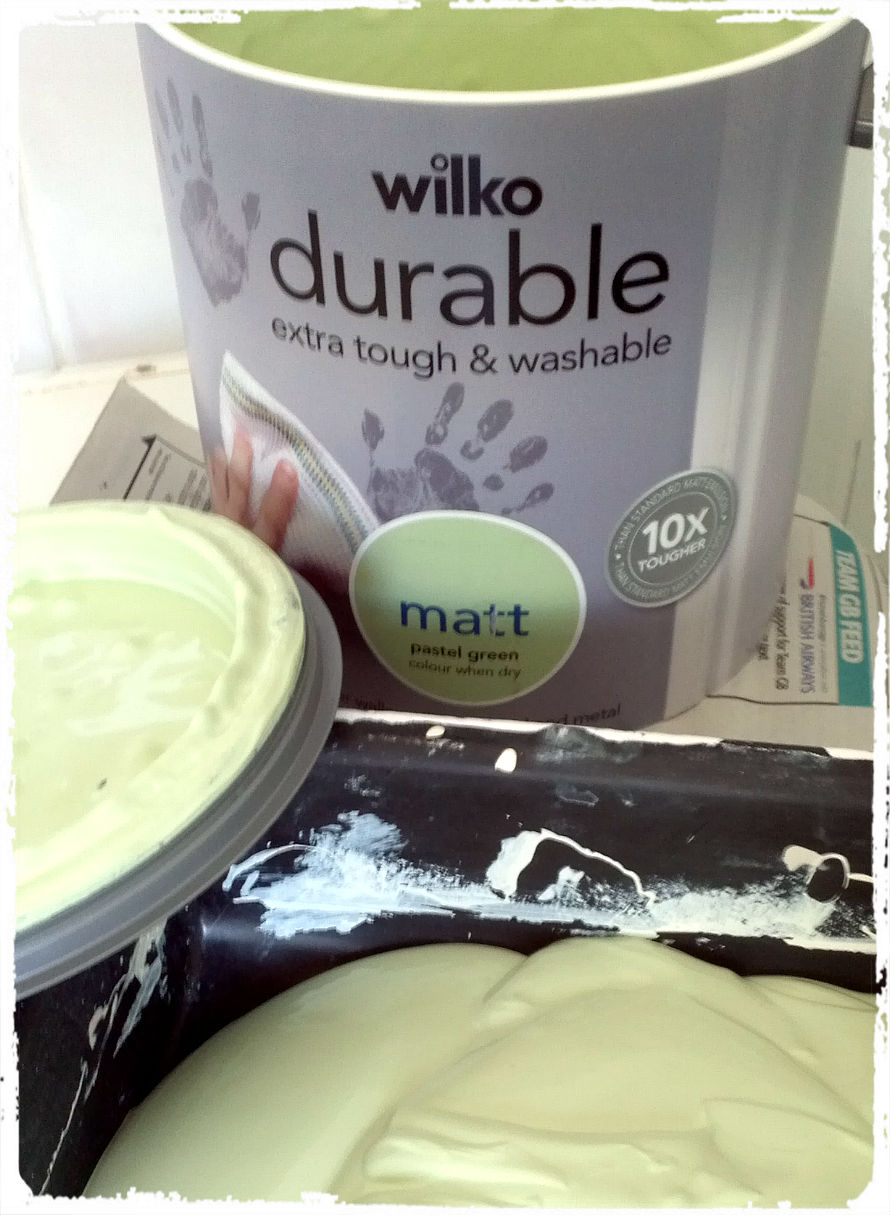
When picking the paint I wasn’t sure if I wanted our bathroom to be entirely white, I thought it would feel too clinical. Therefore I chose a tin of subtle green paint as well; I wanted something calming and easy for the eye. The green paint covered the walls very nicely. It was quite a thick paint but it spreads very easily and it had good coverage.
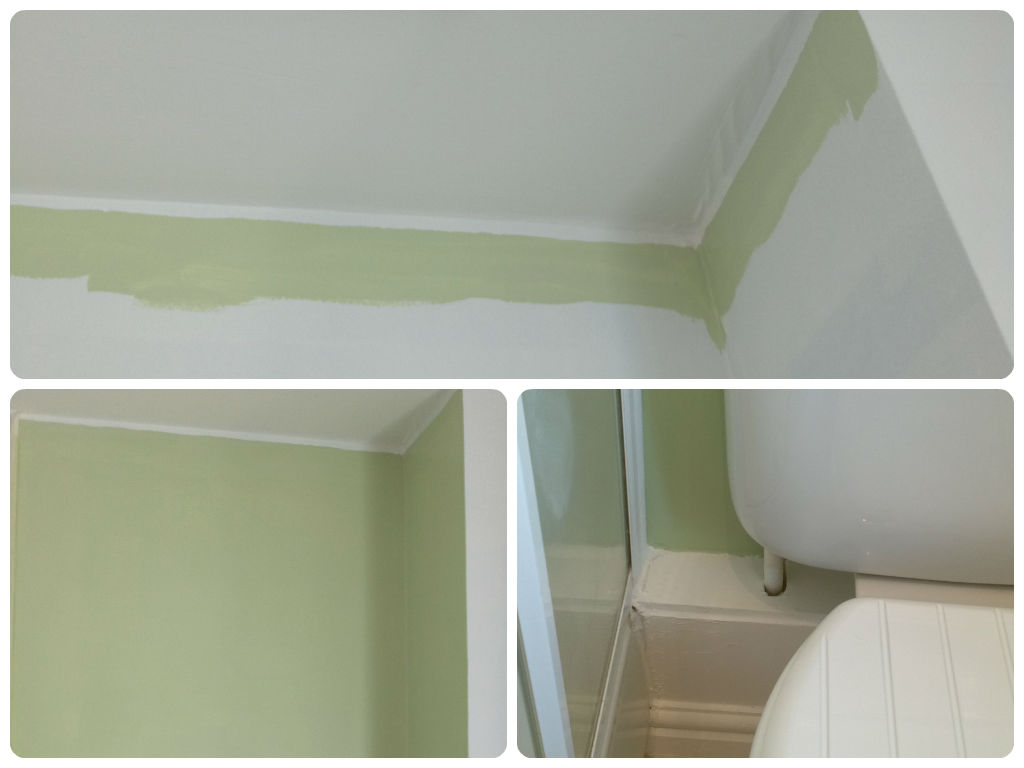
I think it was just after midday when my green corner was done. Lunch break was in order as the paint had to dry out.
After returning to my little bathroom I discovered that in a few places I could still, ever so slightly, see the blue paint showing through from underneath. I had a lot of paint left, so I decided to give it a quick third coat just to be totally sure that all the walls that were supposed to be white, where in fact totally pure brilliant white, just as it said on the tin!
While yet again waiting for the walls to dry I wanted to get started on adding my accessories but I again became a bit distracted whilst passing by the bathroom door, which had been removed earlier to improve access, and stored in our bedroom… I spotted the horrible dirty door handles 🙁 One quick trip to the garage later I was in possession of some brand new door handles, woot! Unfortunately my happiness didn’t last very long as they didn’t fit – they were the wrong size and there was nothing I could do about it! So, as I had some free time, I decided to check if I could simply clean them… 30 min of scrubbing later and tada…
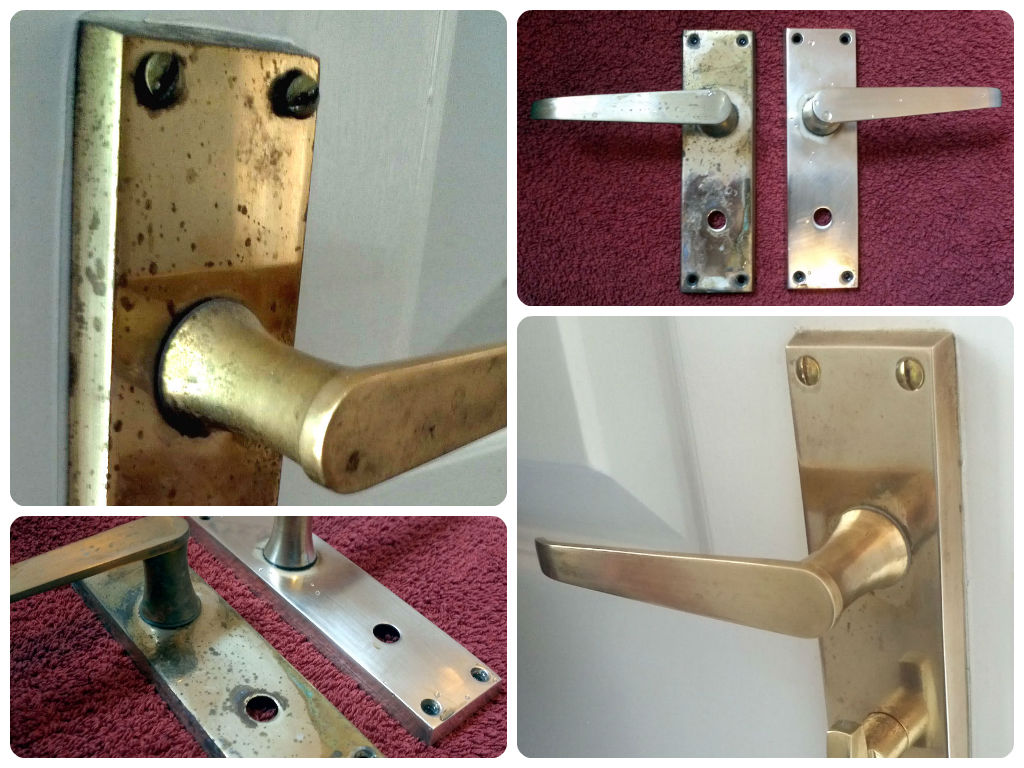
Yes, I know that they are not perfect but for me they look 100s times better and I didn’t have to spend a penny :-), well maybe a couple for the hot water.
After that everything else went more or less smoothly…

The new mirror replaces the old one which just so happens to be the same size and shape, the only difference being the old one was full of rust and really didn’t look very attractive any more.
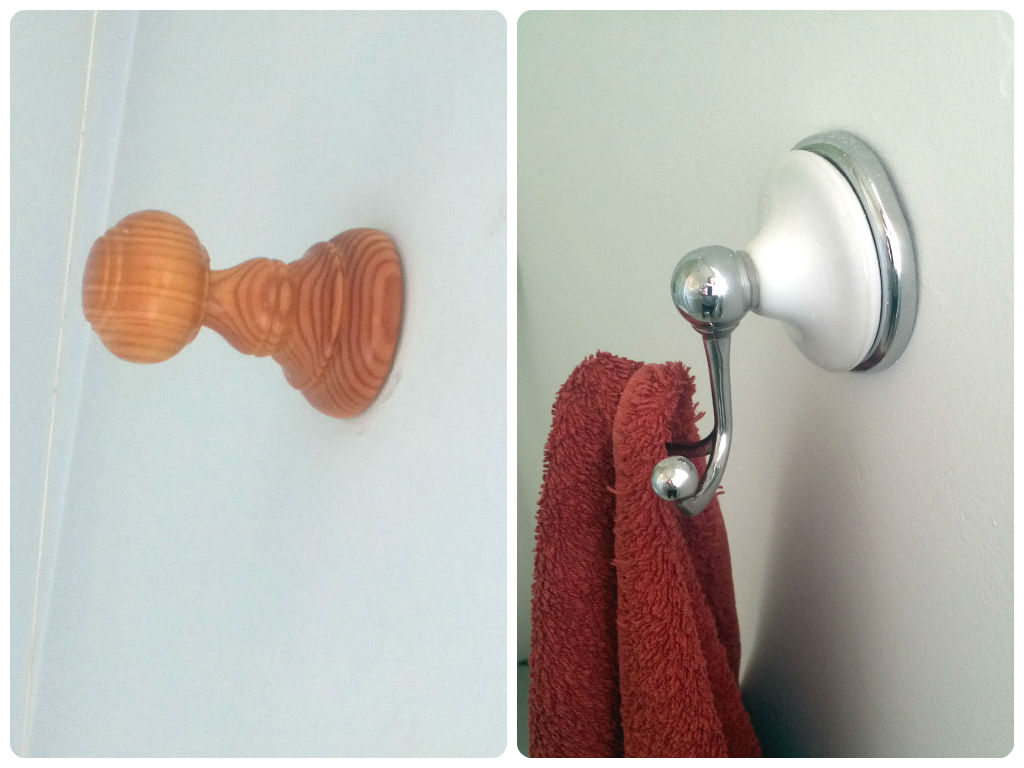
New towel hook replaces the old one giving our bathroom a more clean and modern look.
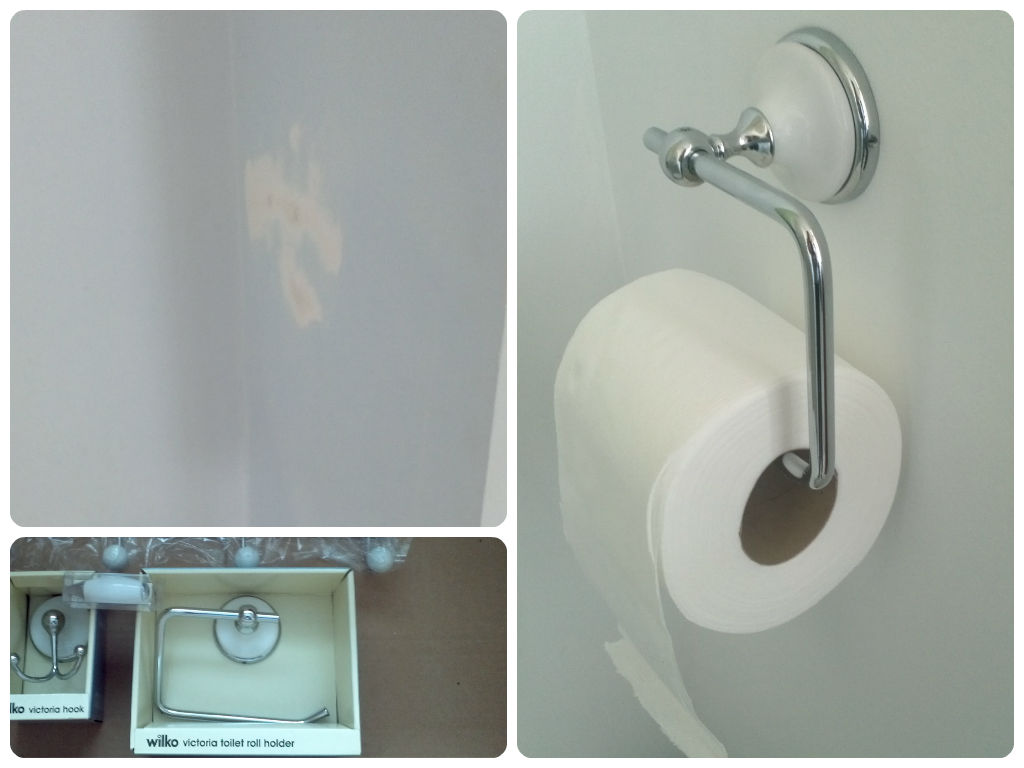
New loo roll holder replaces… hmm nothing… I think maybe the old owners of the house took it with them when they moved out… unsure on that one… all that was left were the holes in the wall where the holder was once placed some years previously.
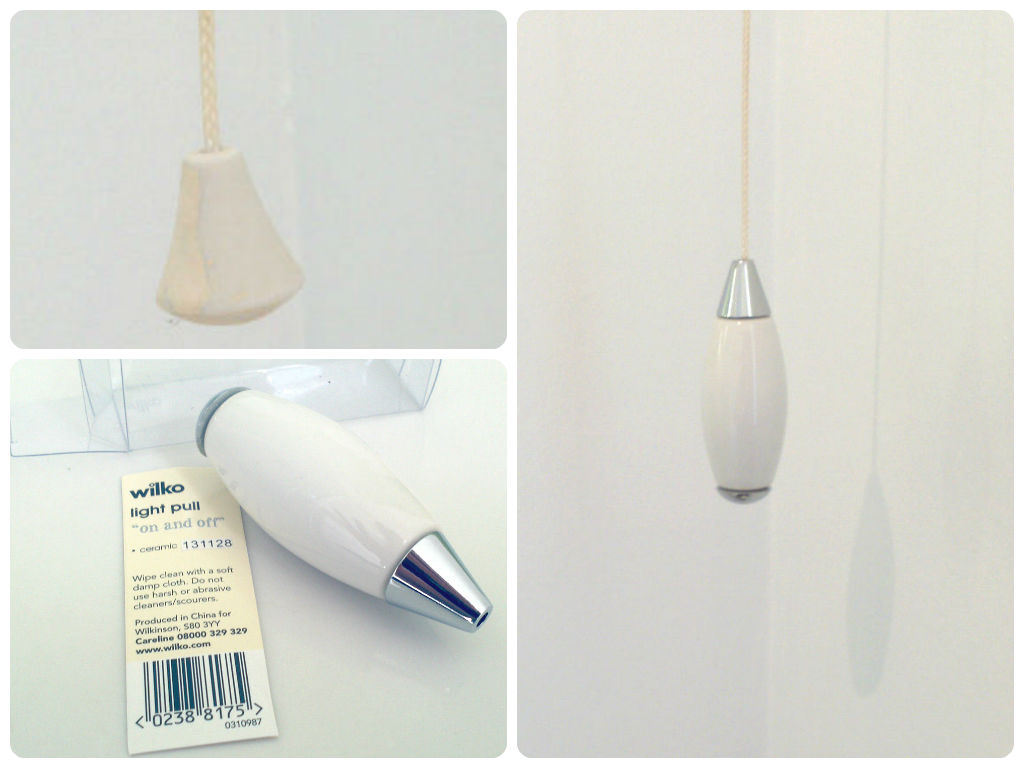
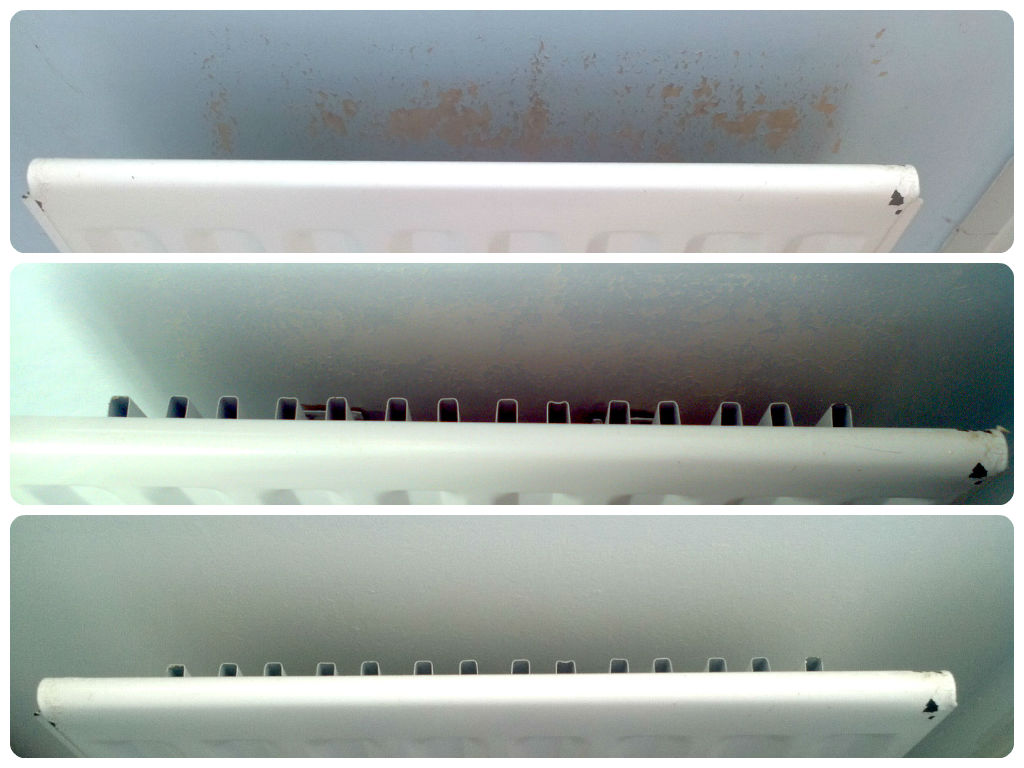
New extractor fan pull cord weight replaces the old one. Its shape and colours is in much better keeping with our other accessories, so it all blends well together.

A new addition goes on the back of the door – an over door towel hook. It is actually not a part of the Victoria accessories set but it does look very similar and so I thought it would be a nice addition and it will give us some much needed hanging space for bathrobes.

A much needed element of the transformation – a venetian blind. No more weird hanging net curtains, I hate them! Now we have a clean and fabulous looking blind which we can open or close depending on our mood. Just perfect!
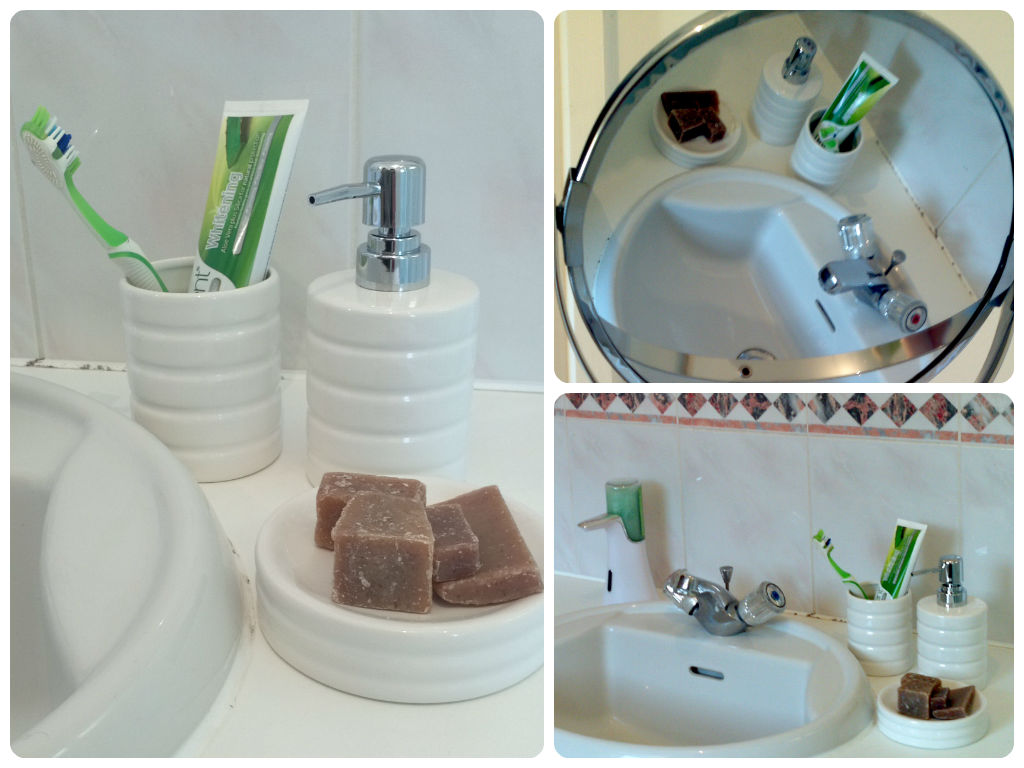
So finally I had come to the end game, at this point it was time to “dress up” our new bathroom. The three piece set which I had picked looked perfect, I think. It goes very well with all the other bits I had placed and I think it really helps with bringing the room together.
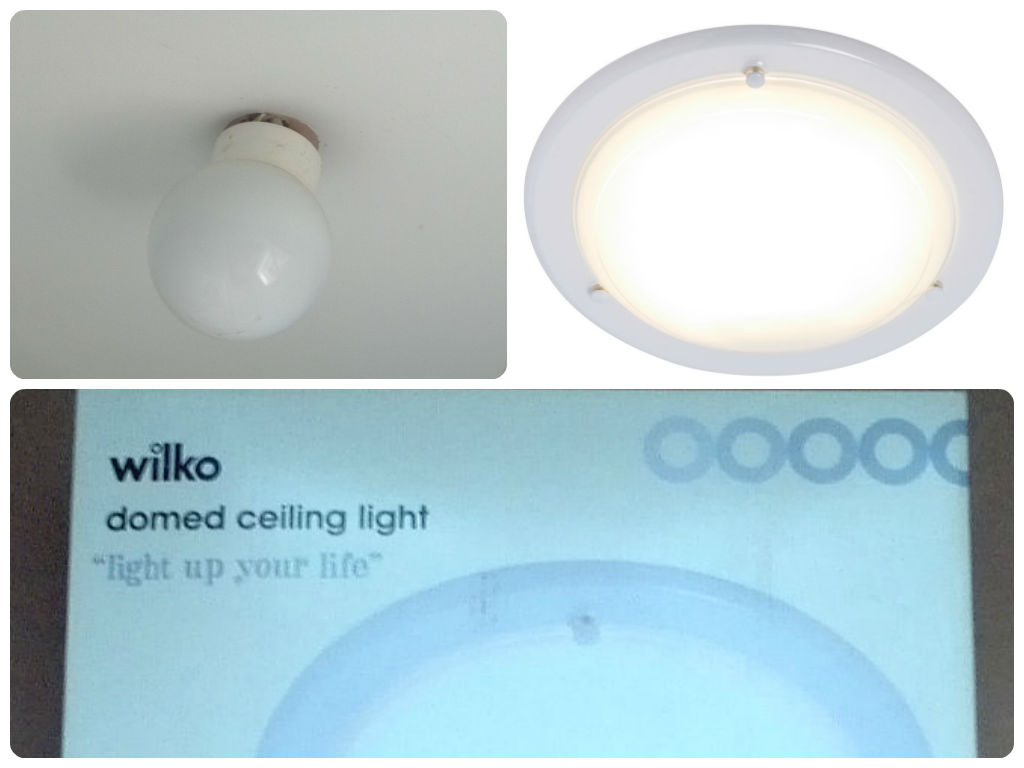
This is the only part of our make-over which is not finished as yet – is the light 🙁 We attempted to change it but it is not as straightforward as one would think – we are supposed to connect three wires but we have five it turns out. As we lacked confidence in this matter I think we will wait for an electrician with this one!
So here you have it! - A bathroom make-over on a budget.
So, what do you think?
In your opinion did I succeed in my task?
* I received the above items for free in order to attempt a makeover of my chosen room.


It looks fab and to do it on such a small budget is really impressive. I’m moving house next weekend and have been looking for some bits to get our place looking a bit nicer (fantastic landlord who has no issue with us painting). That green is exactly what I was looking for for the kitchen!
Loving the price and it looks great. Well done.
I love Wilko’s, lots of great value products!
It looks great - love the shade of green you have used
Wow it looks great, you mst be really pleased with it! Plus it was a good price! x
The color totally changes the feel of the bathroom! Great job!
Looks fab, the supermarket chains have such great ranges there days- there really is no need to splash out on posher brands!
I think the room is a lot more functional for the pictures, and it is spruced up for sure! Great job!
It looks lovely and my bathroom is in need of a make over too
I love the green color, it’s looks very cheery and clean. Great job on keeping it to a small budget.
Wow! Great work!
Great wall color! It definitely looks nice!
Wow what a difference it all made and great for such a small budget I need to do something with our bathroom soon - I shall definitely check out wilkos 🙂 x
Your are inspiring me to paint something!!!
It looks great! I would say you succeeded and went beyond. I love the clean look of the space now.
Excellent job with such a small budget. I have to admit I am a fan of budget brands because it seems we’re always on a tight budget!
Fantastic post. Great work and on a budget. You should be really proud.
It looks great, nice work! I bet you love admiring your handy work every time you pass by!
It looks great! I love the green color you picked out.
Well done, it looks great and i think you’ve done an amazing job! xxx
You’ve transformed it! Love that green 🙂
weldone hun looks great, its ll about saving the pennies, i cant wait for us tomove wenever that may be lol, x
You’ve done an amazing job…I can’t believe how much you got for your money either. Very inspiring!
Well done! It look really lovely! Well it just goes to show you dont have to spent the big bucks you just need to be imaginative and creative. Nice Job!
http://www.itsallbee.com
You’ve inspired me to take on the challenge of a low-cost makeover!
Ohh wow you have done a fab job .
Well done, it looks great. I think Wilko’s is fab and really reasonable x
You have renovated your bathroom beautifully.Well done on doing it on such a small budget.
It’s great and you did a fabulous job. Can you come to help me with my bathroom too ? :o)
It looks much fresher and cleaner Agata. You did a good job on a budget 🙂