
With a super intense tomato flavour and just a hint of basil and garlic, these sun dried tomatoes are the perfect addition to bring back summertime memories during those long cold winter days.

A few weeks back I published “How to preserve tomatoes for winter”. In that post, I talked about the drying process itself… in case you missed it, here it is again…
The drying process can be achieved by air drying, oven drying, dehydrating and my favourite sun drying! There is nothing better than the taste of sun dried tomatoes during the winter!

So how do you sun dry tomatoes?
- Wash and dry the tomatoes.
- Cut them into your desired size. I personally prefer drying cherry tomatoes and I simply cut them in half.
- Place them on a metal baking tray, skin side down, then cover with some cheesecloth, muslin or some sort of fly net… if needed you might want to construct some raisers so the cloth doesn’t rest on your fruit directly.
- Place in the full sun and watch them shrink!
Here, in temperatures around 30C, my tomatoes are ready within 3 days.
So now, when you have a pile of lovely sun dried tomatoes let’s then turn them into jarred goodness which will last us all winter and beyond.

Ingredients:
- Pile of sun dried tomatoes
- Fresh garlic
- Fresh basil
- Good quality olive oil
As you might notice there are no amounts, well… amounts will depend on a number of tomatoes you have dried and the size of your jars. I would recommend small jars, no bigger than 0.2l and 1 large clove of garlic and 10 basil leaves per jar… the amount of oil will depend on your “packing skills”

Method:
Wash and sterilised all the jars you will use.
Wash the basil leaves and allow them to air dry.
Peel the garlic and slice each clove into smaller pieces.
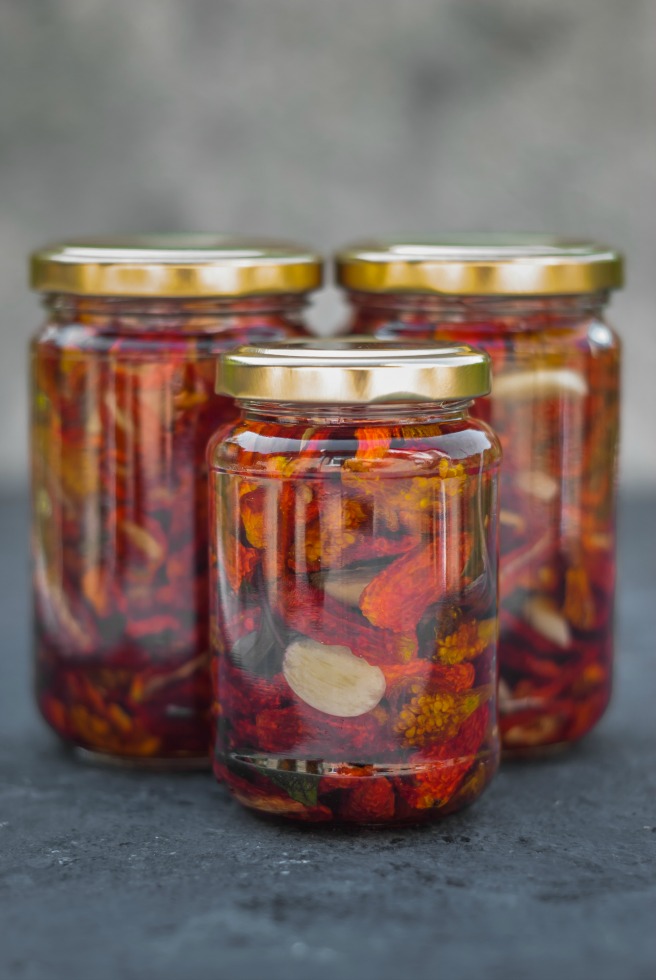
Now, it’s all about layering them in the jars – tomatoes, basil leaves, a small piece of garlic and repeat until your jar is almost full. Do not overfill! Ideally, pack to the shoulder of the jar.
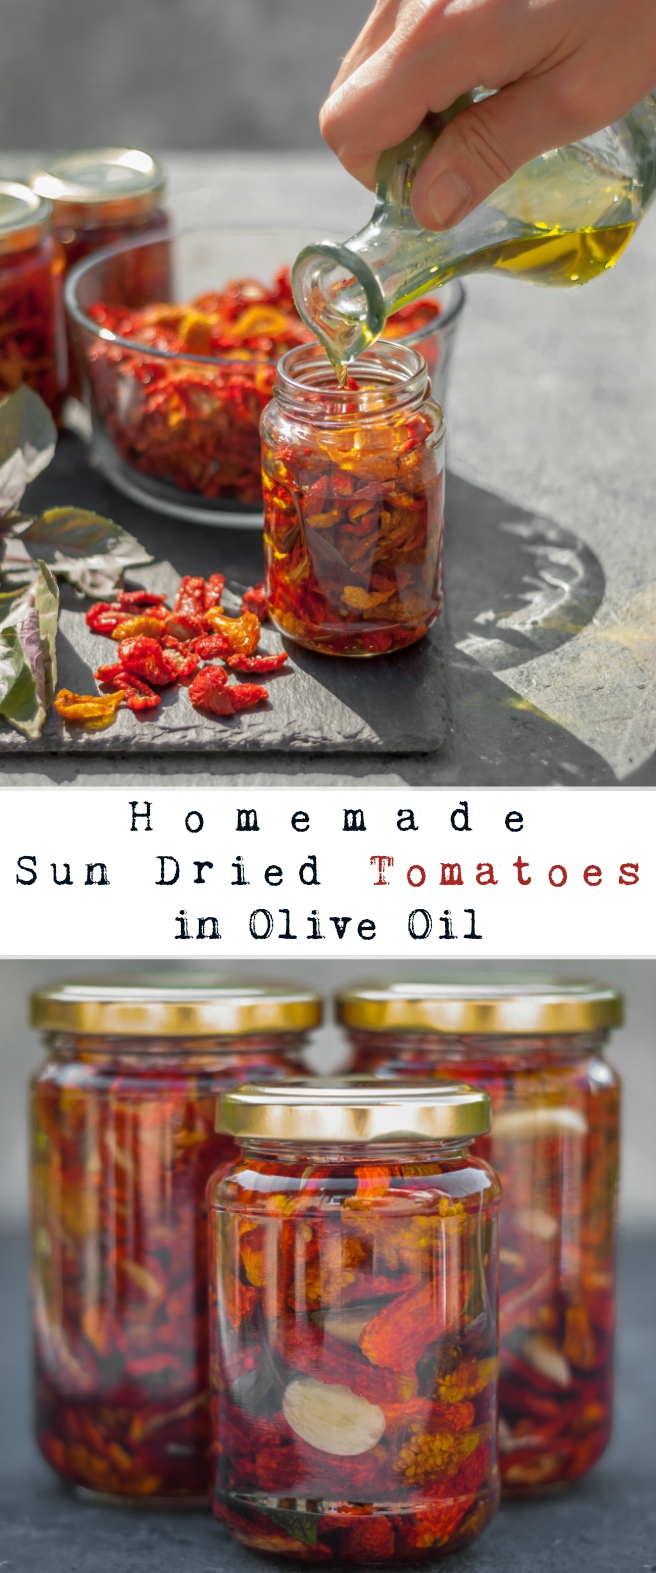
Finally slowly, really slowly pour the olive oil and watch the jar being filled to the rim. Stop when all tomatoes are submerged.
Screw the lid on really tight and you are done!
Now, when it comes to storage there are quite a few theories about it – cool, dark place seems to be the place to put them but just to be on the safe side I would suggest the fridge. Yes, keep your jars in the fridge… after all, they are small and really will not take up so much room.
Your tomatoes will be ready for consumption after a month… but the longer you leave them the better the taste.


I can’t believe how simple it is to make sundried tomatoes!!!! Can’t wait to try!
I am so tempted with your gorgeous pictures to make this now. unfortunately I am in the rains right now but the next months are going to be sunny only, so I could possibly dry my own tomatoes in the sun. 😀
These look and sound so delicious! I’ve never made my own sun dried tomatoes but now am completely inspired! Thanks for sharing! XO
Love the photos! I will be trying this next year!
This is so wonderful - I have been on a big sun-dried tomato kick recently, dips and pesto galore, but never tried doing the drying myself! Have pinned this for a fun project soon.
Firstly, Oh my Goodness. Gorgeous photos!!! I love the sunlight and shadows!
These would make amazing gifts for friends and family.
I just love how beautiful they are!
Thank you so much, Claire. It helped that my tomatoes were so photogenic 🙂