
Ohh, I love them. There was a time during my childhood when I did not want to eat anything else, just pierogi – Russian style, or with meat, cabbage and mushrooms or with cherries or strawberries… the possibilities were endless.
So what are pierogi?
This is what Wikipedia have to say on the topic:
Pierogi (Polish pronunciation: [pjɛˈrɔɡʲi]; juvenile diminutive form: Pierożki Polish pronunciation: [pjɛˈrɔʂki] also in use) are dumplings of unleavened dough – first boiled, then they are baked or fried usually in butter with onions – traditionally stuffed with potato filling,sauerkraut, ground meat, cheese, or fruit. Of central and eastern European provenance, they are usually semicircular, but are rectangular or triangular in some cuisines.
Pierogi are similar to the Russian pelmeni or Ukrainian varenyky and are not to be confused withpirozhki (the Russian word for stuffed fried buns) or a pirog (the Russian word for “pie”). Polish pierogi ruskie are similar to the Ukrainian varenyky in version with potatoes and cottage cheese (quark).
So how do you make them?
Pierogi are very easy to make, but quite time consuming.
You will need to make dough and some filling. This time let’s focus on Russian style pierogi, which means filled with potatoes and farmer cheese mix.
1kg of flour will make around 100 pierogi, yes that’s a lot, but they freeze very well.
We normally do the filling in proportions of 3:1 (three times more potatoes than farmer cheese).
Ingredients:
| Filling: | Dough: |
| 1kg of potatoes | 1kg of flour |
| 0.33kg of farmer cheese | Warm water |
| 1 large onion | Salt |
| Salt | |
| Pepper | Toppings: |
| 2tbs of oil | 2tbs of butter |
| 1 large onion |
First we need to make our filling.
- Clean the potatoes, cook, peel and mash
- Finely chop the onion and brown in cooking oil until golden, let it cool and add into potatoes
- Add farmer cheese
- Add salt and pepper to taste and mix everything together
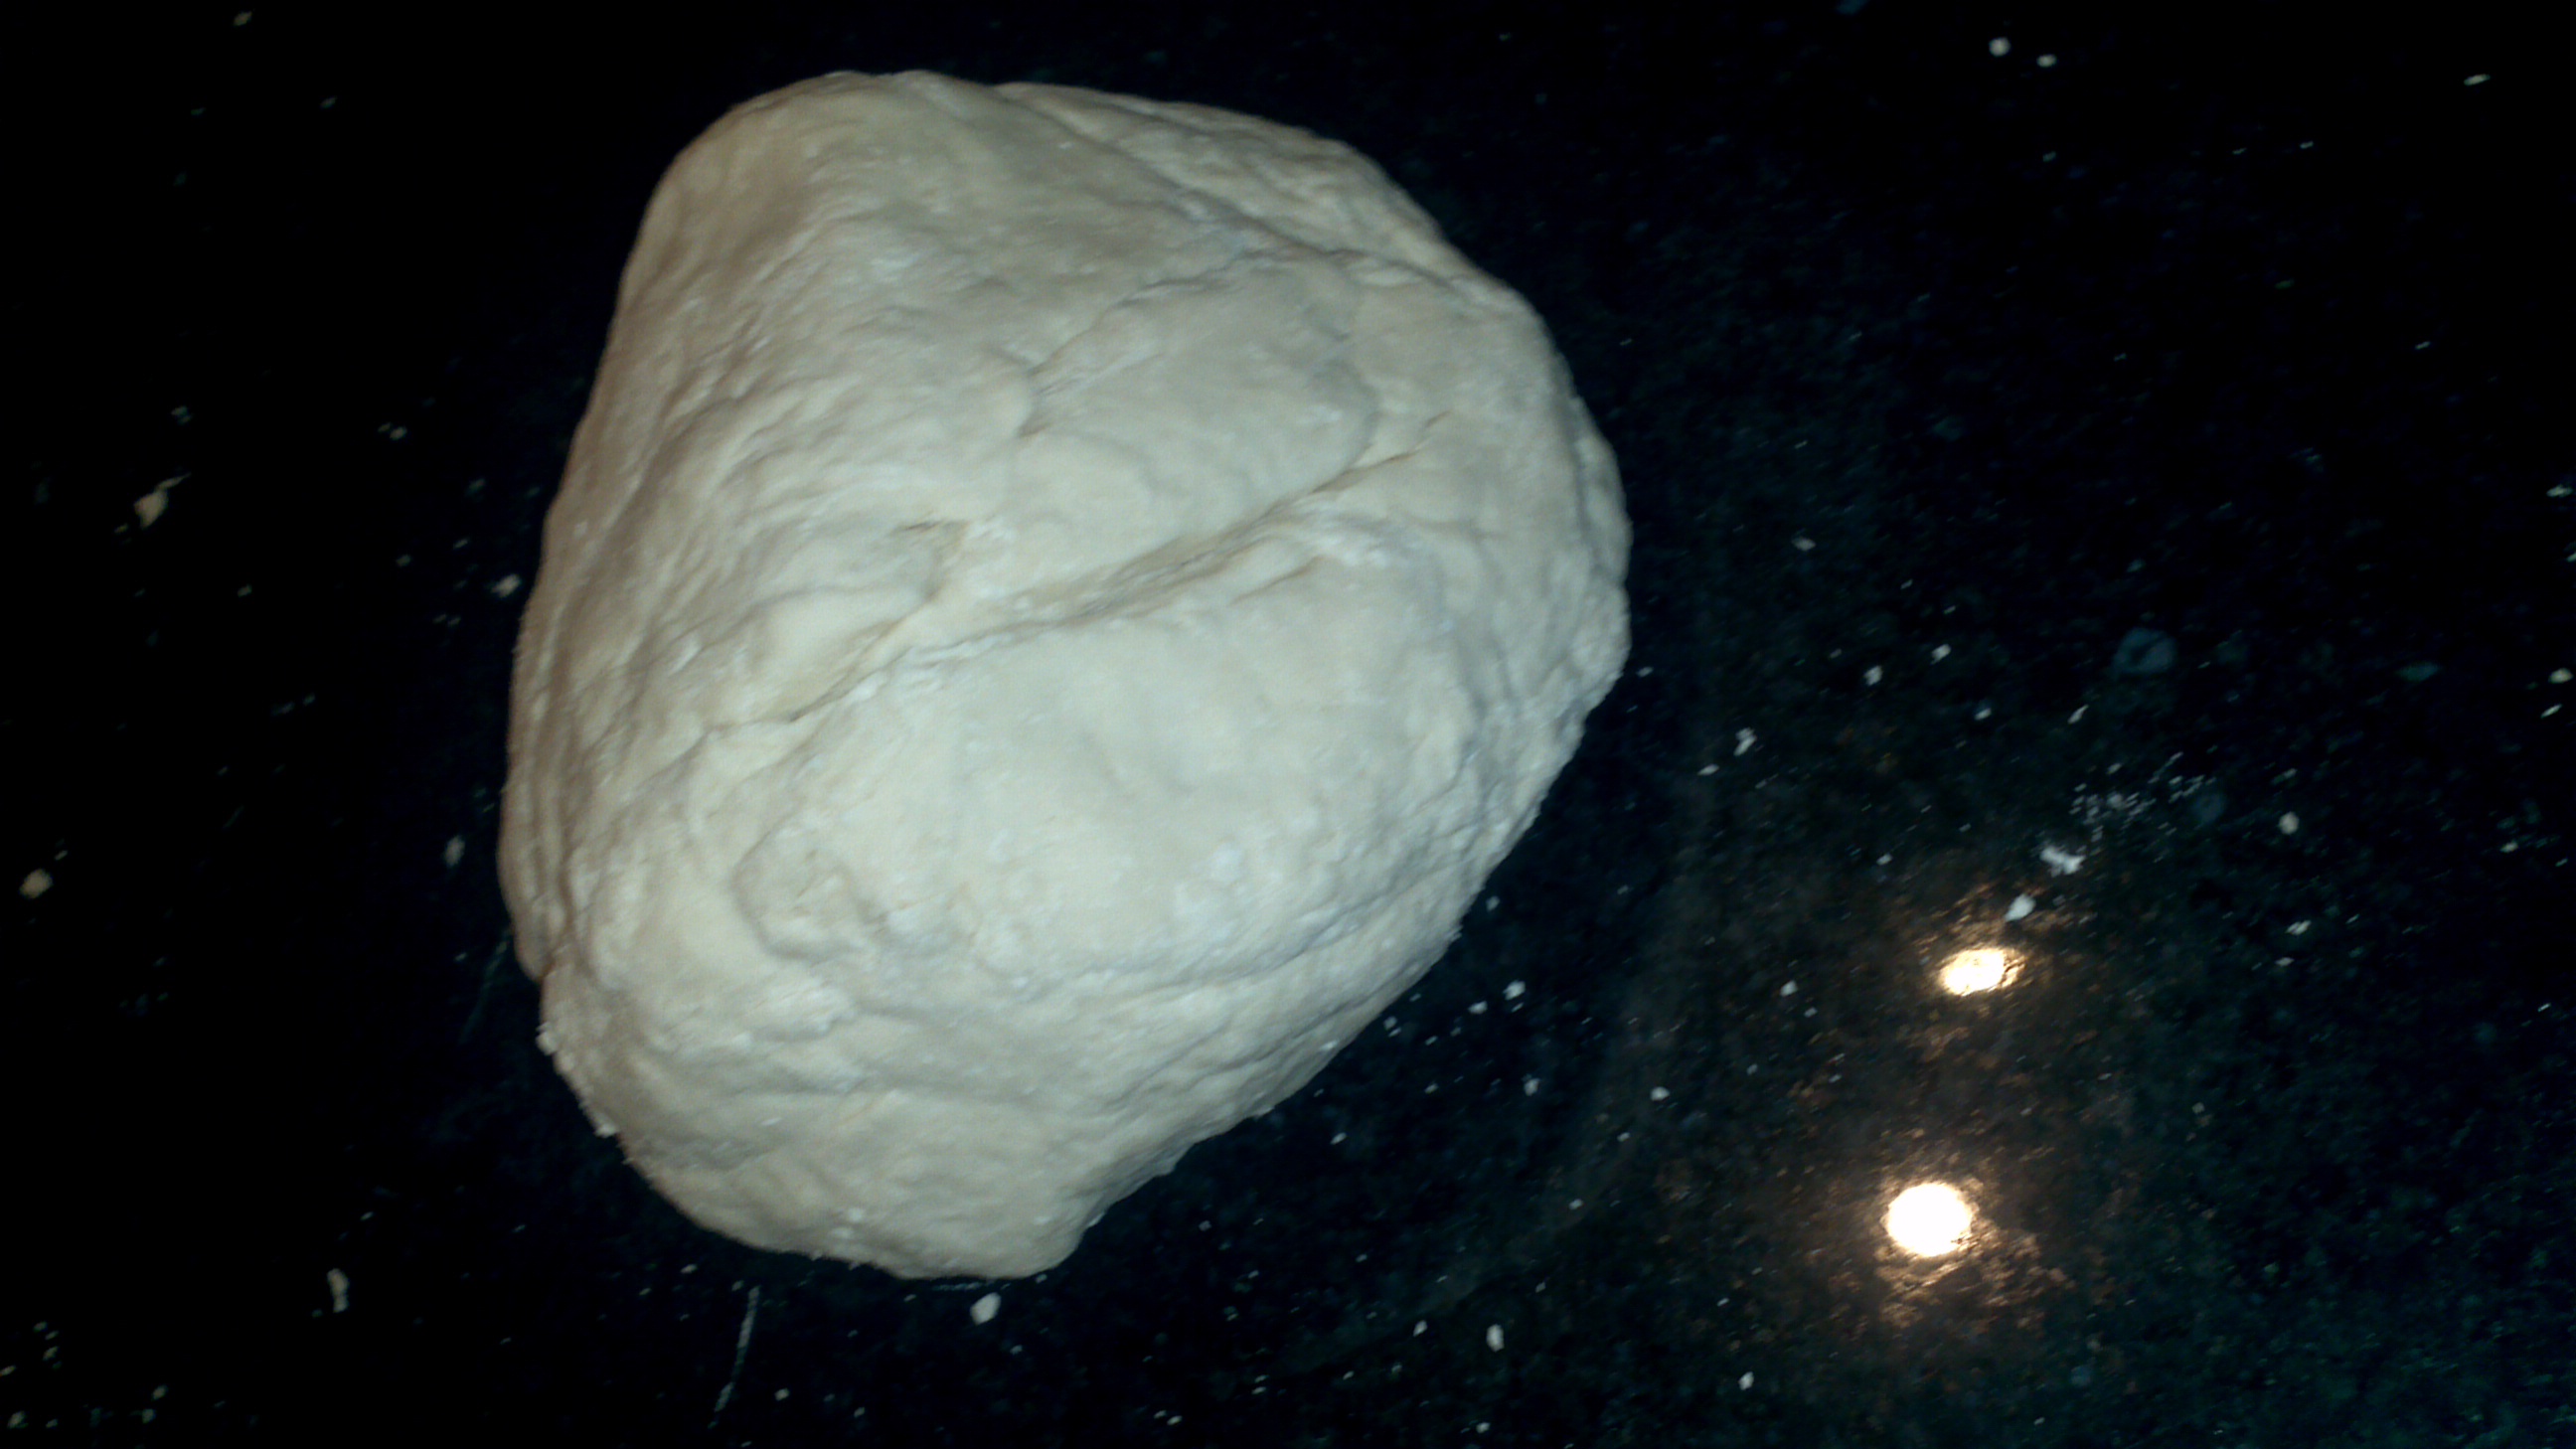
The filling is made at this point and we can now move on to making the dough.
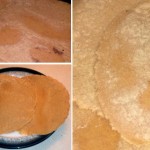
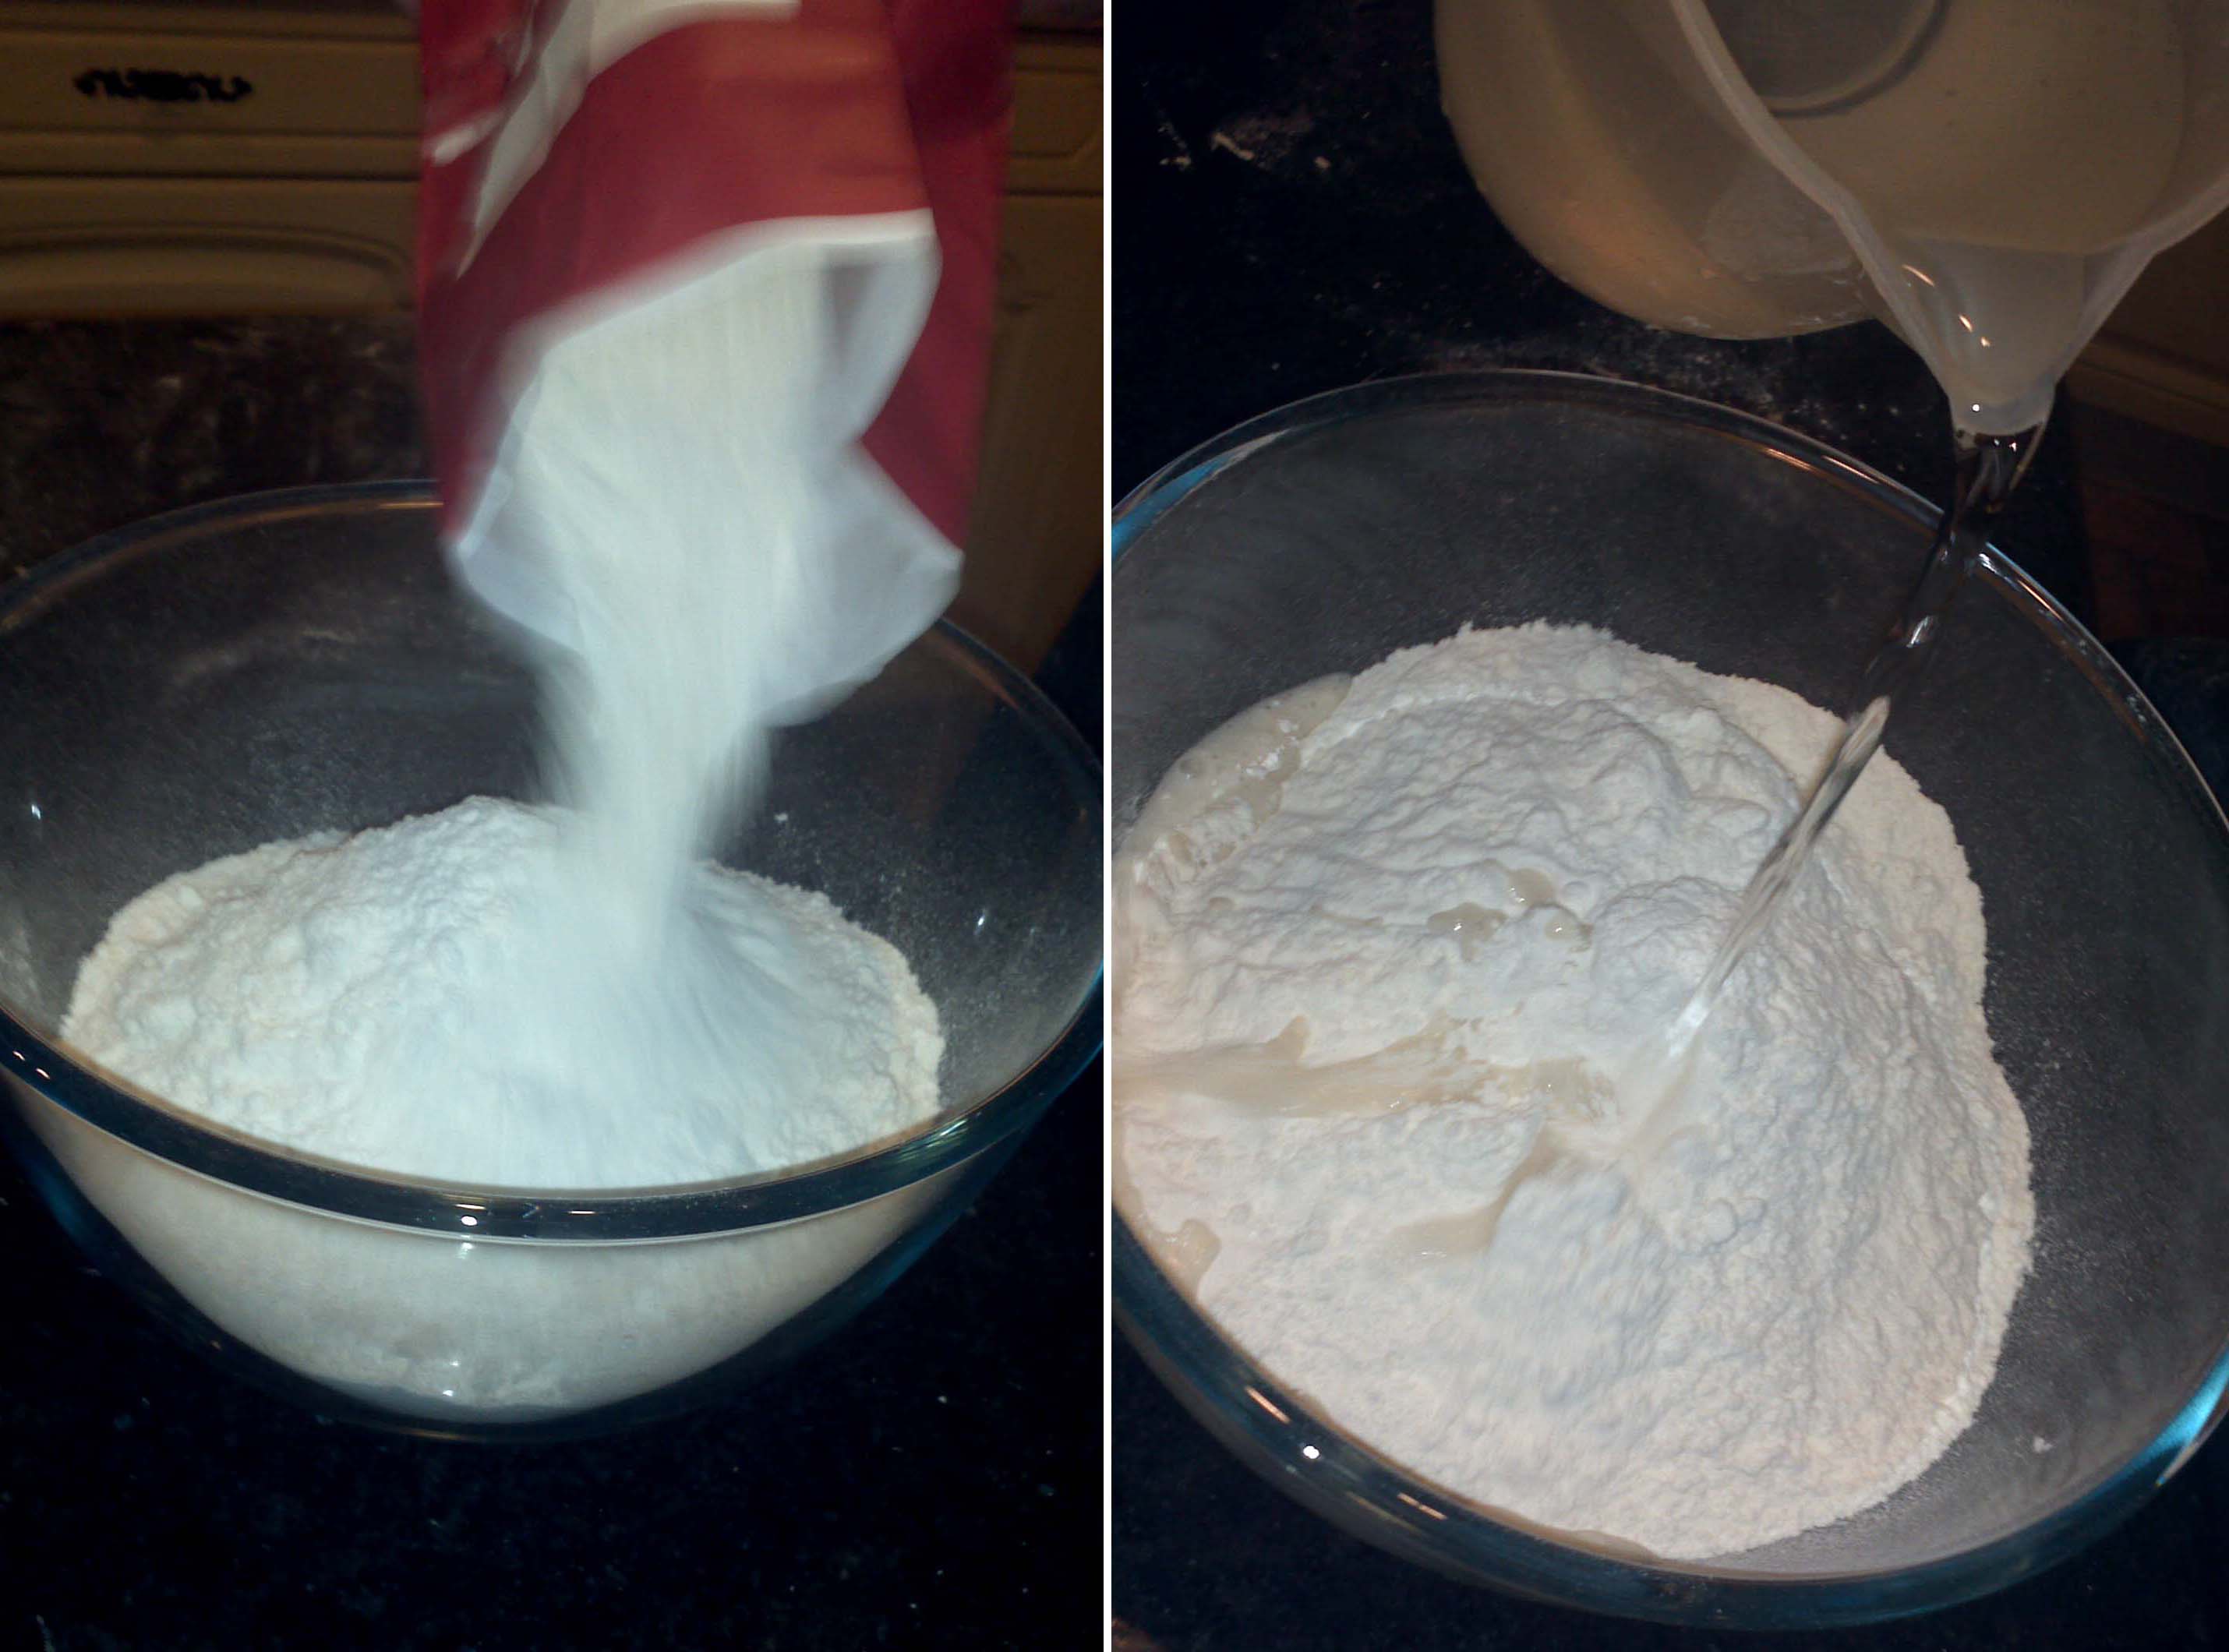
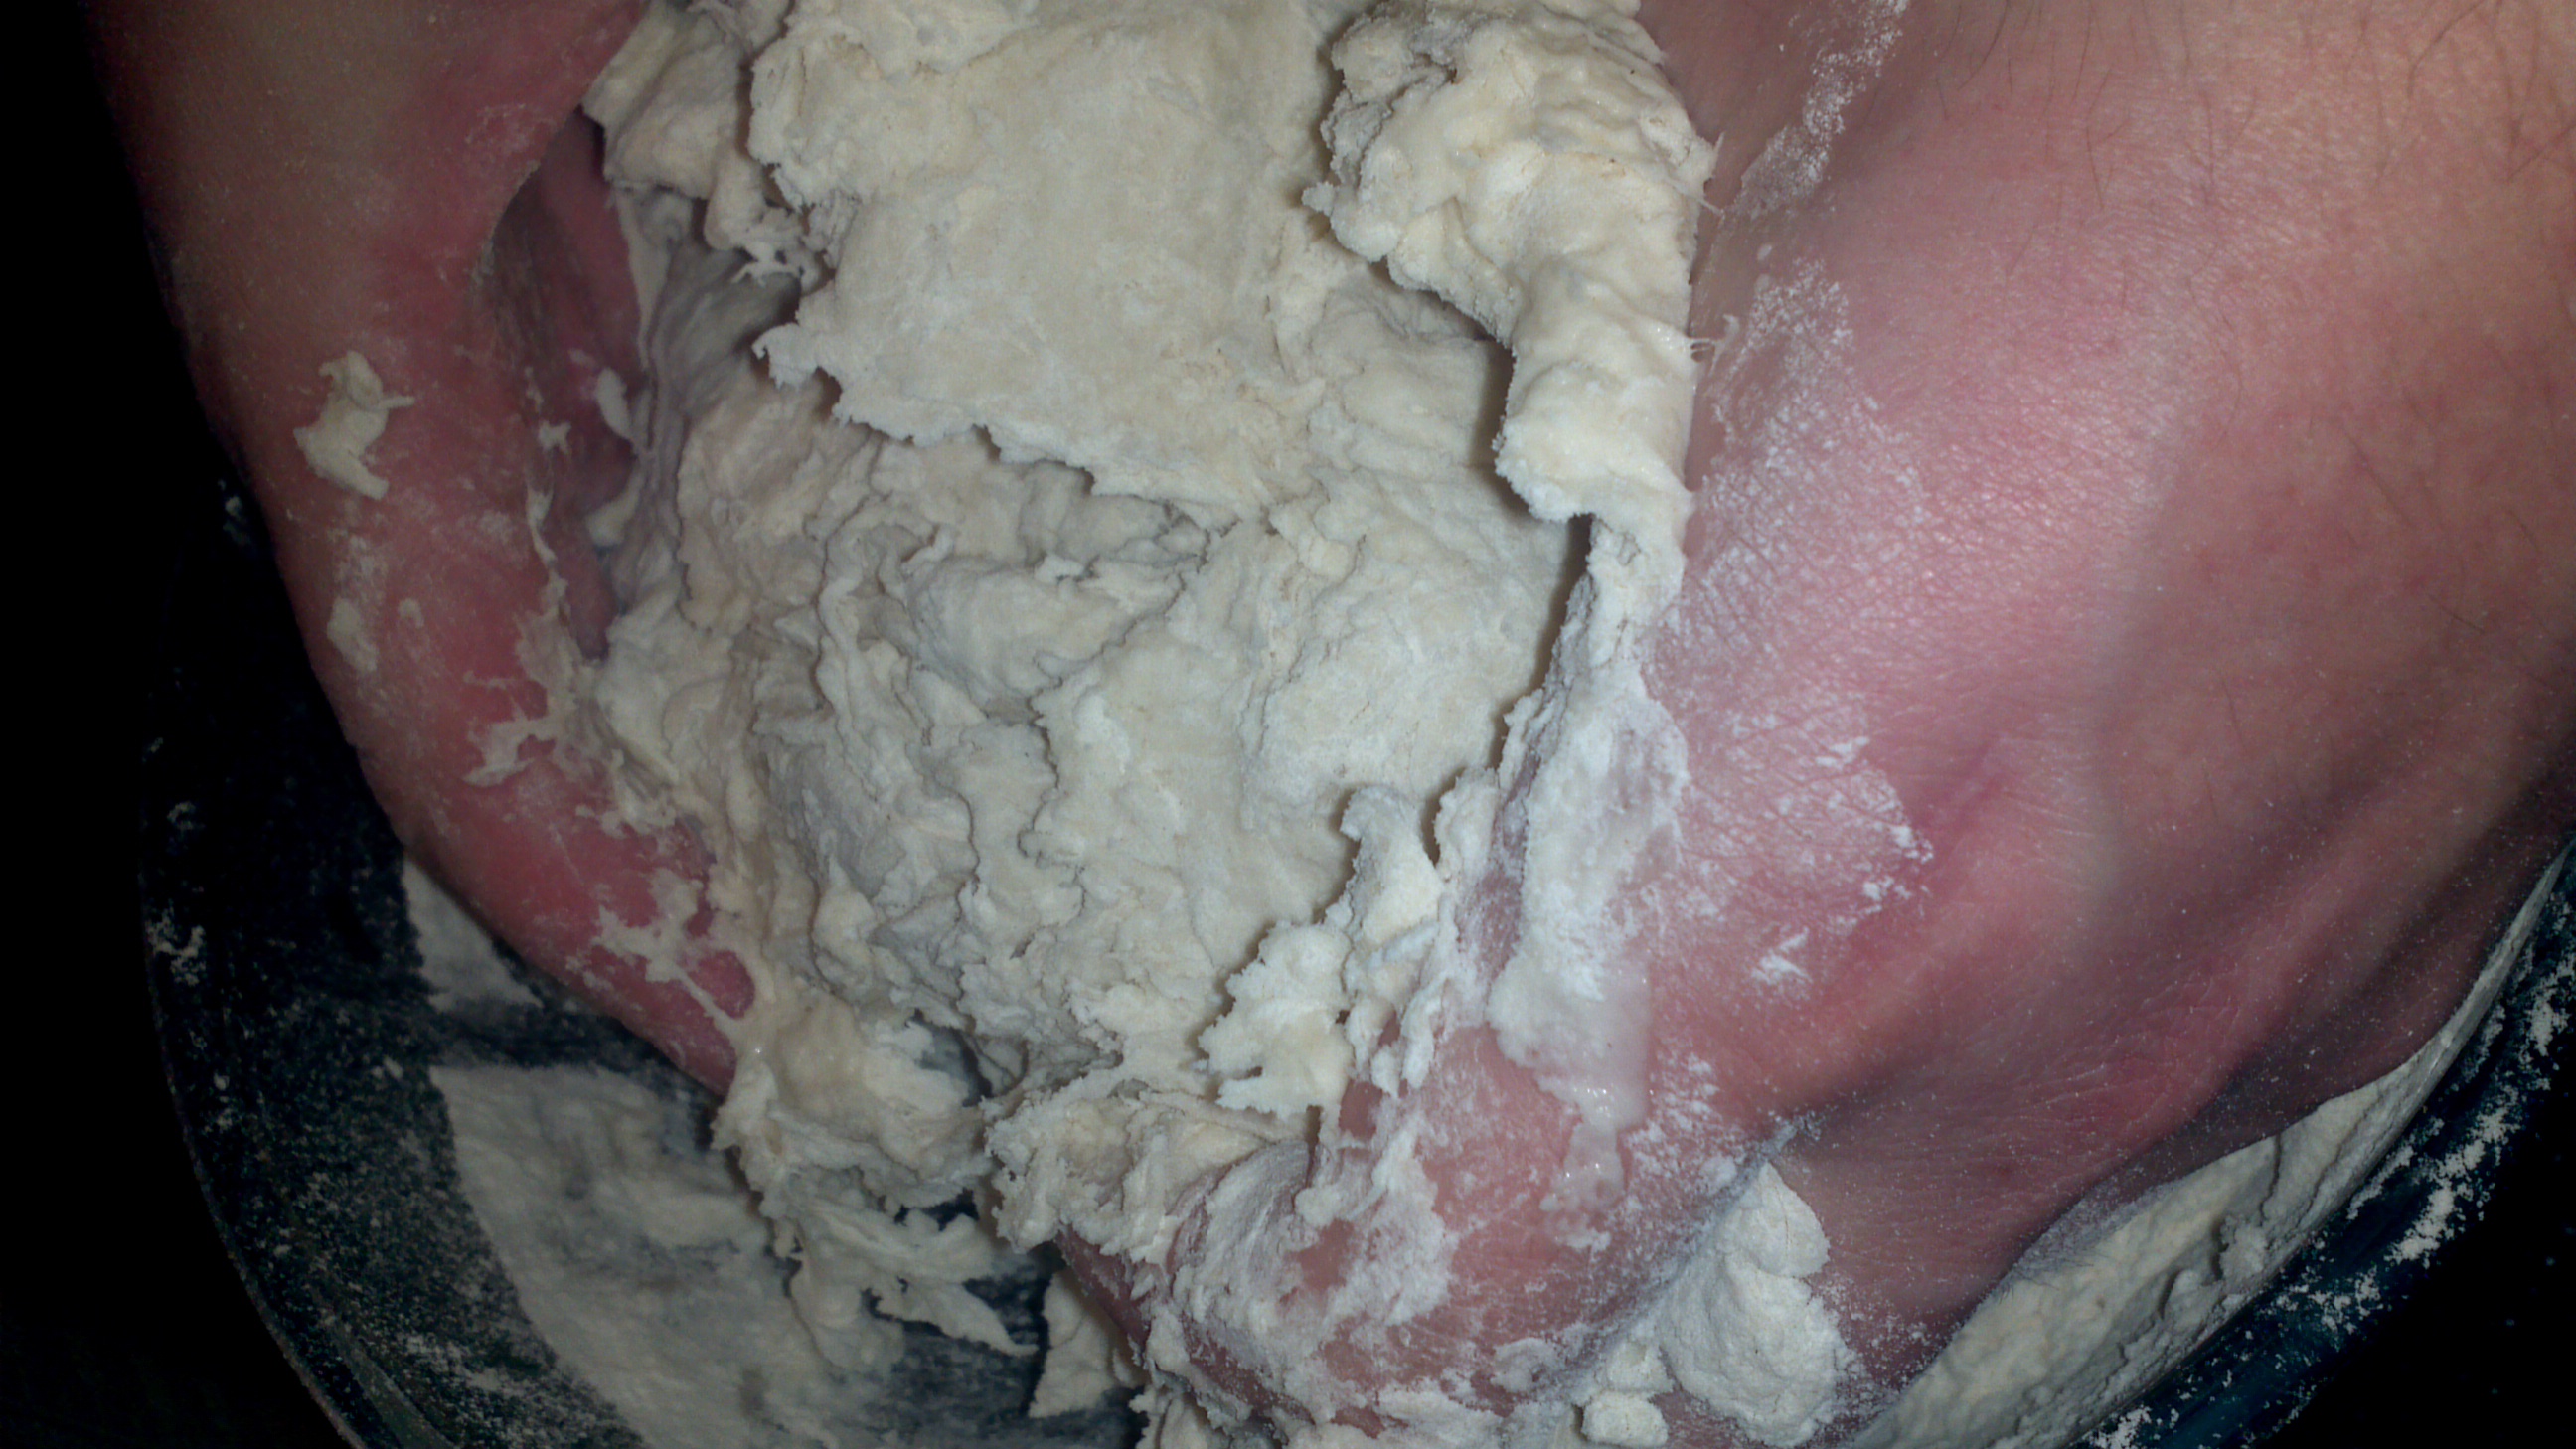
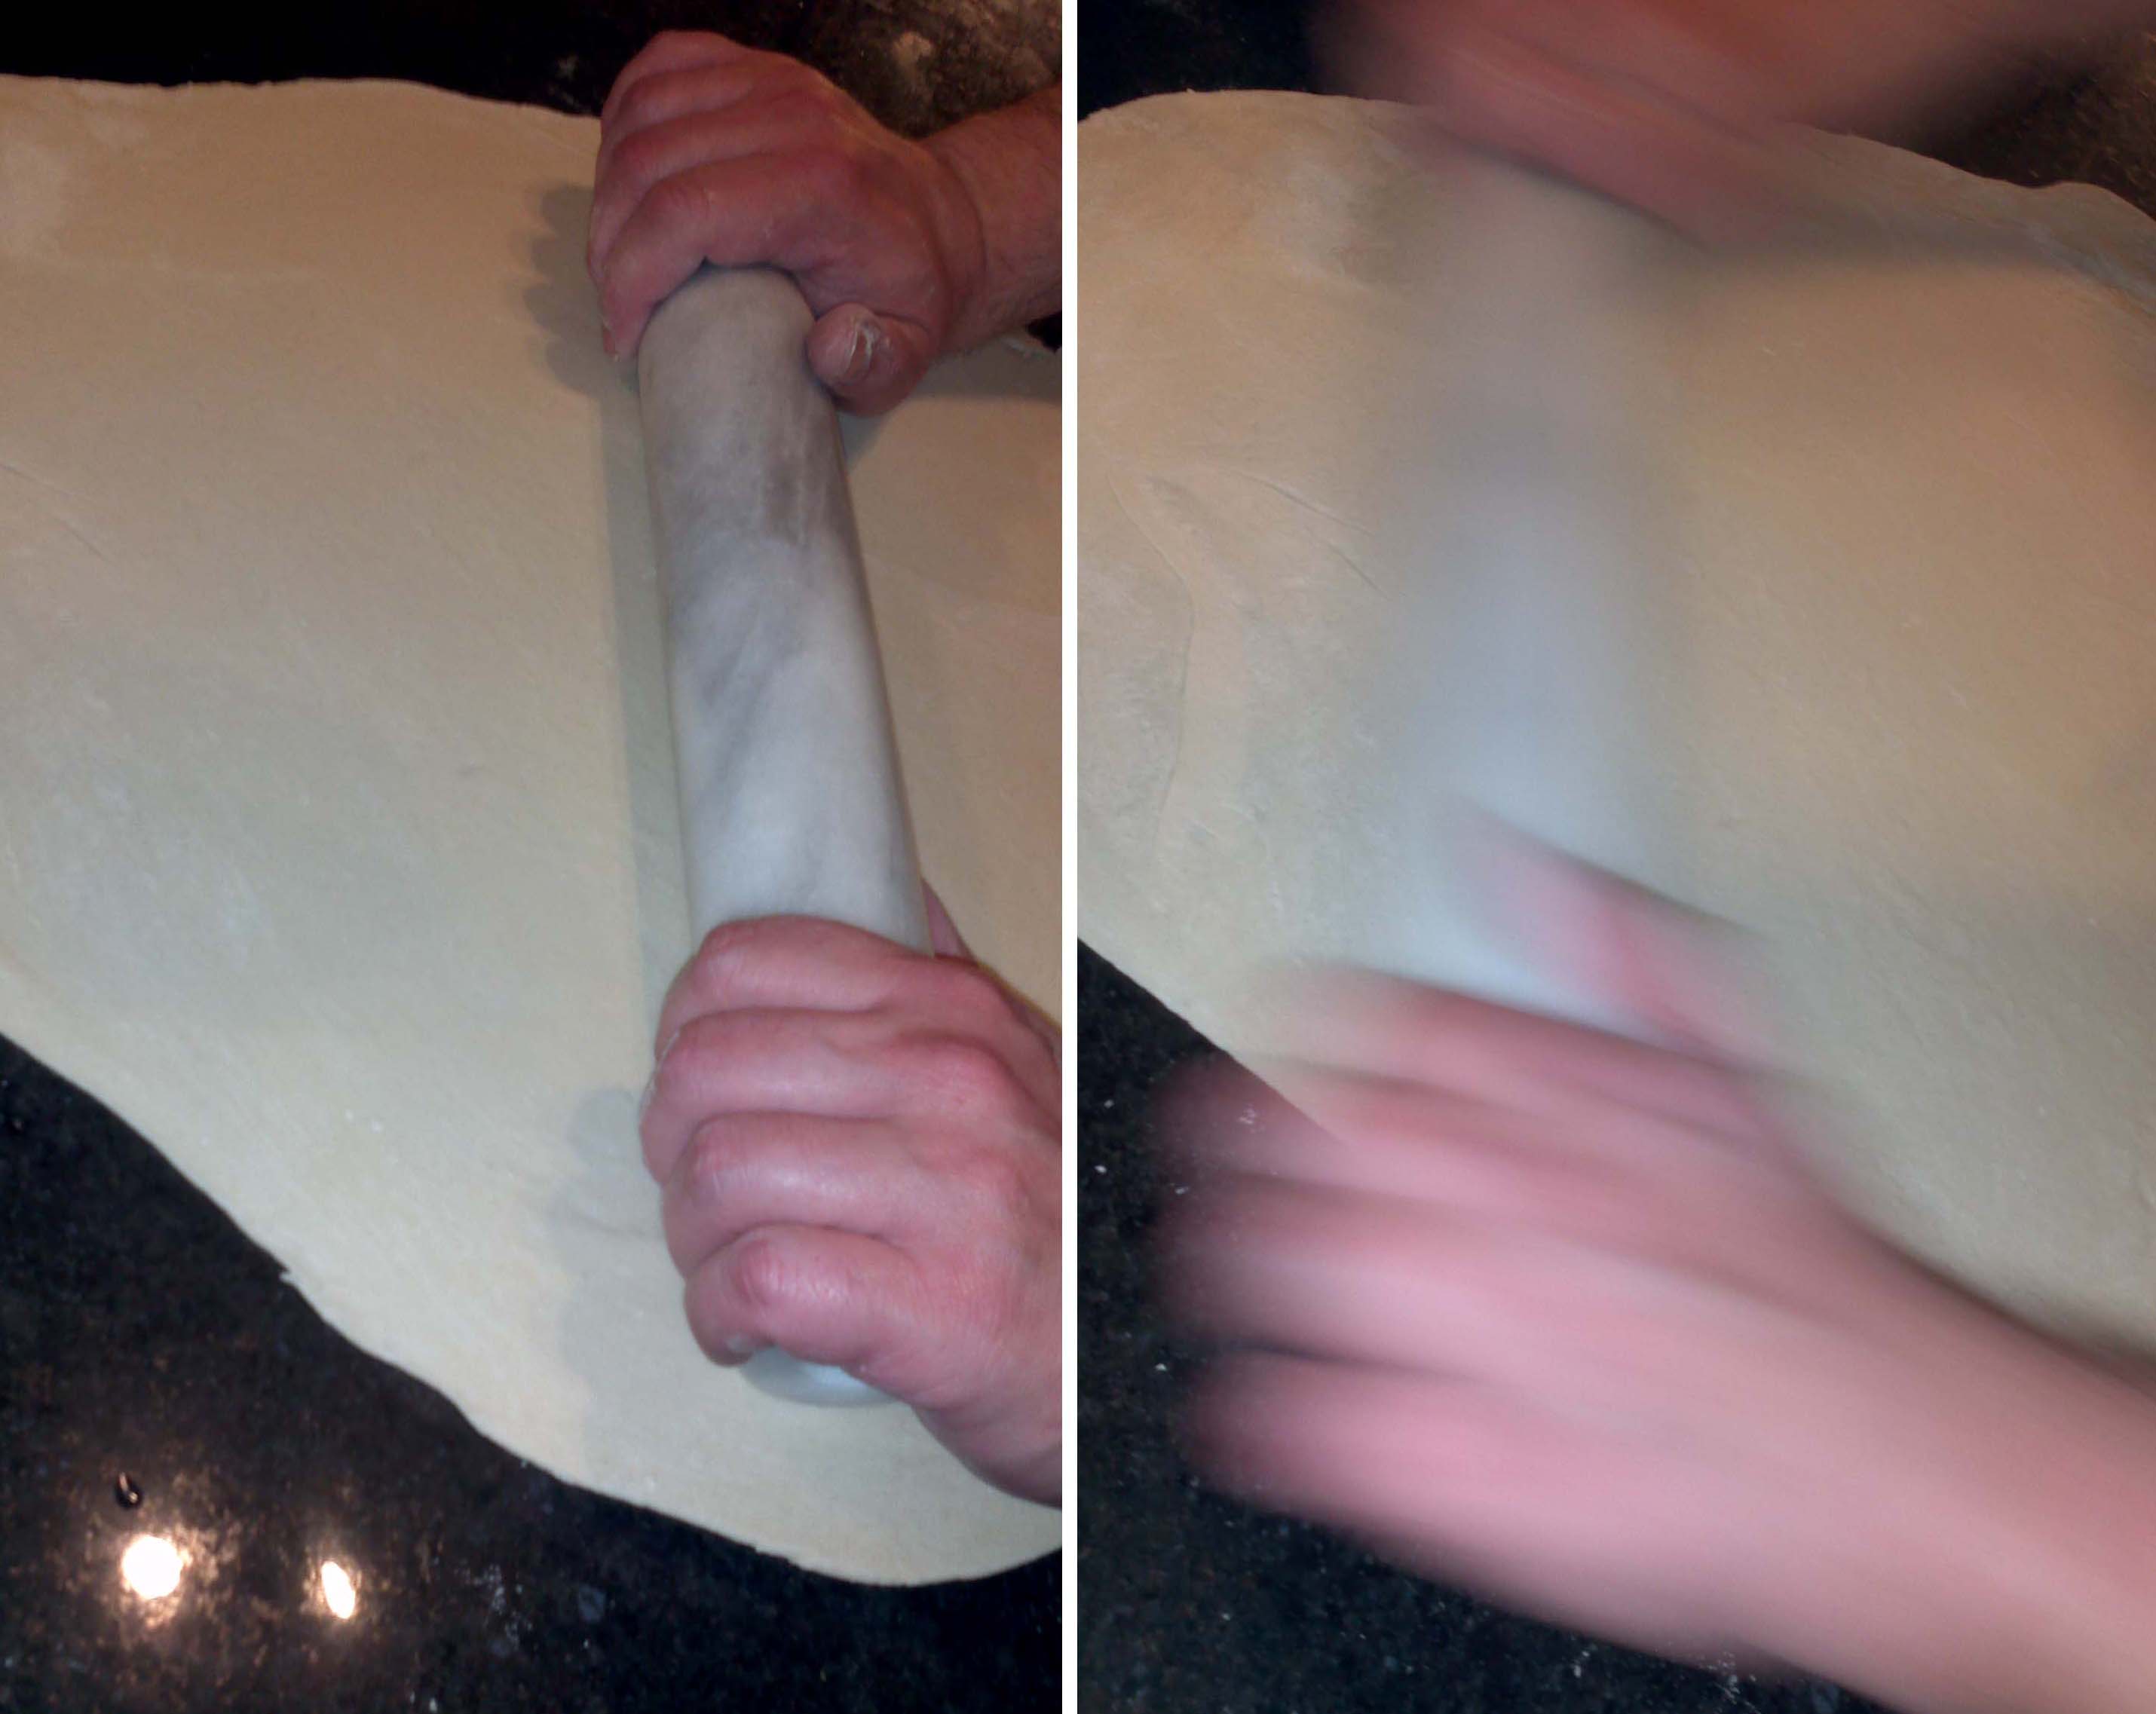
And this is how you make it:
2. Add a little luke warm water into it
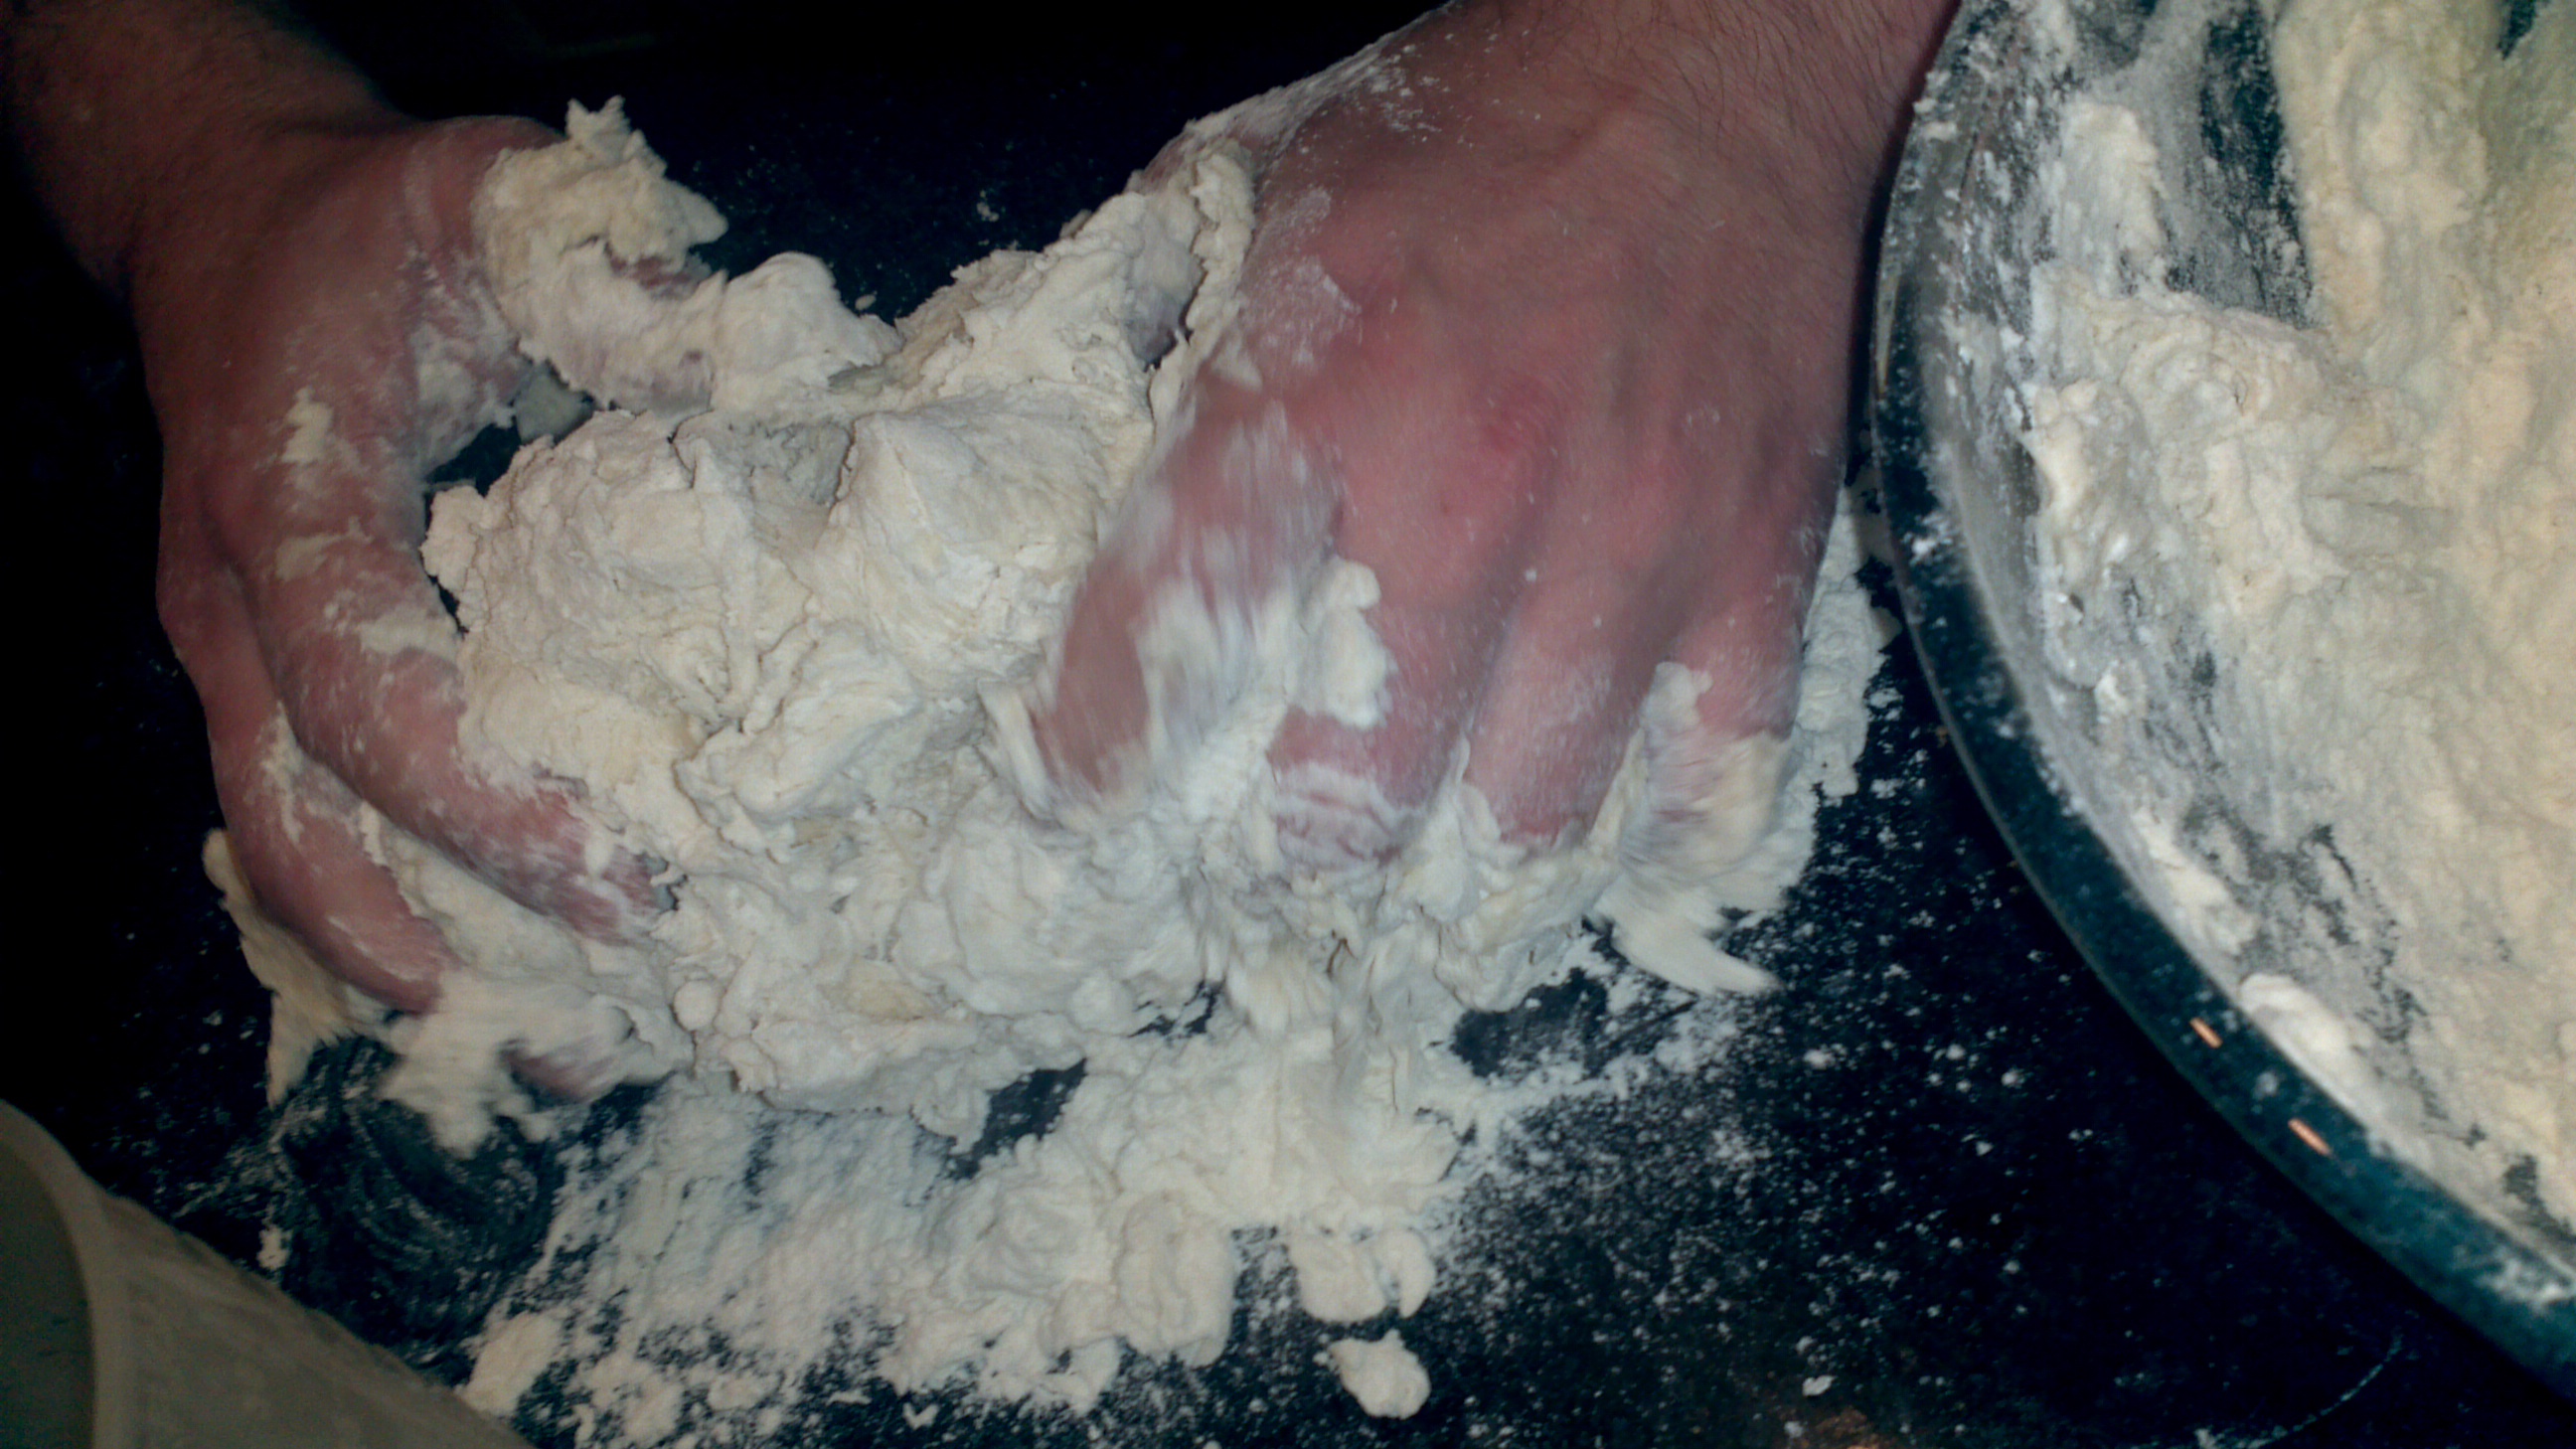
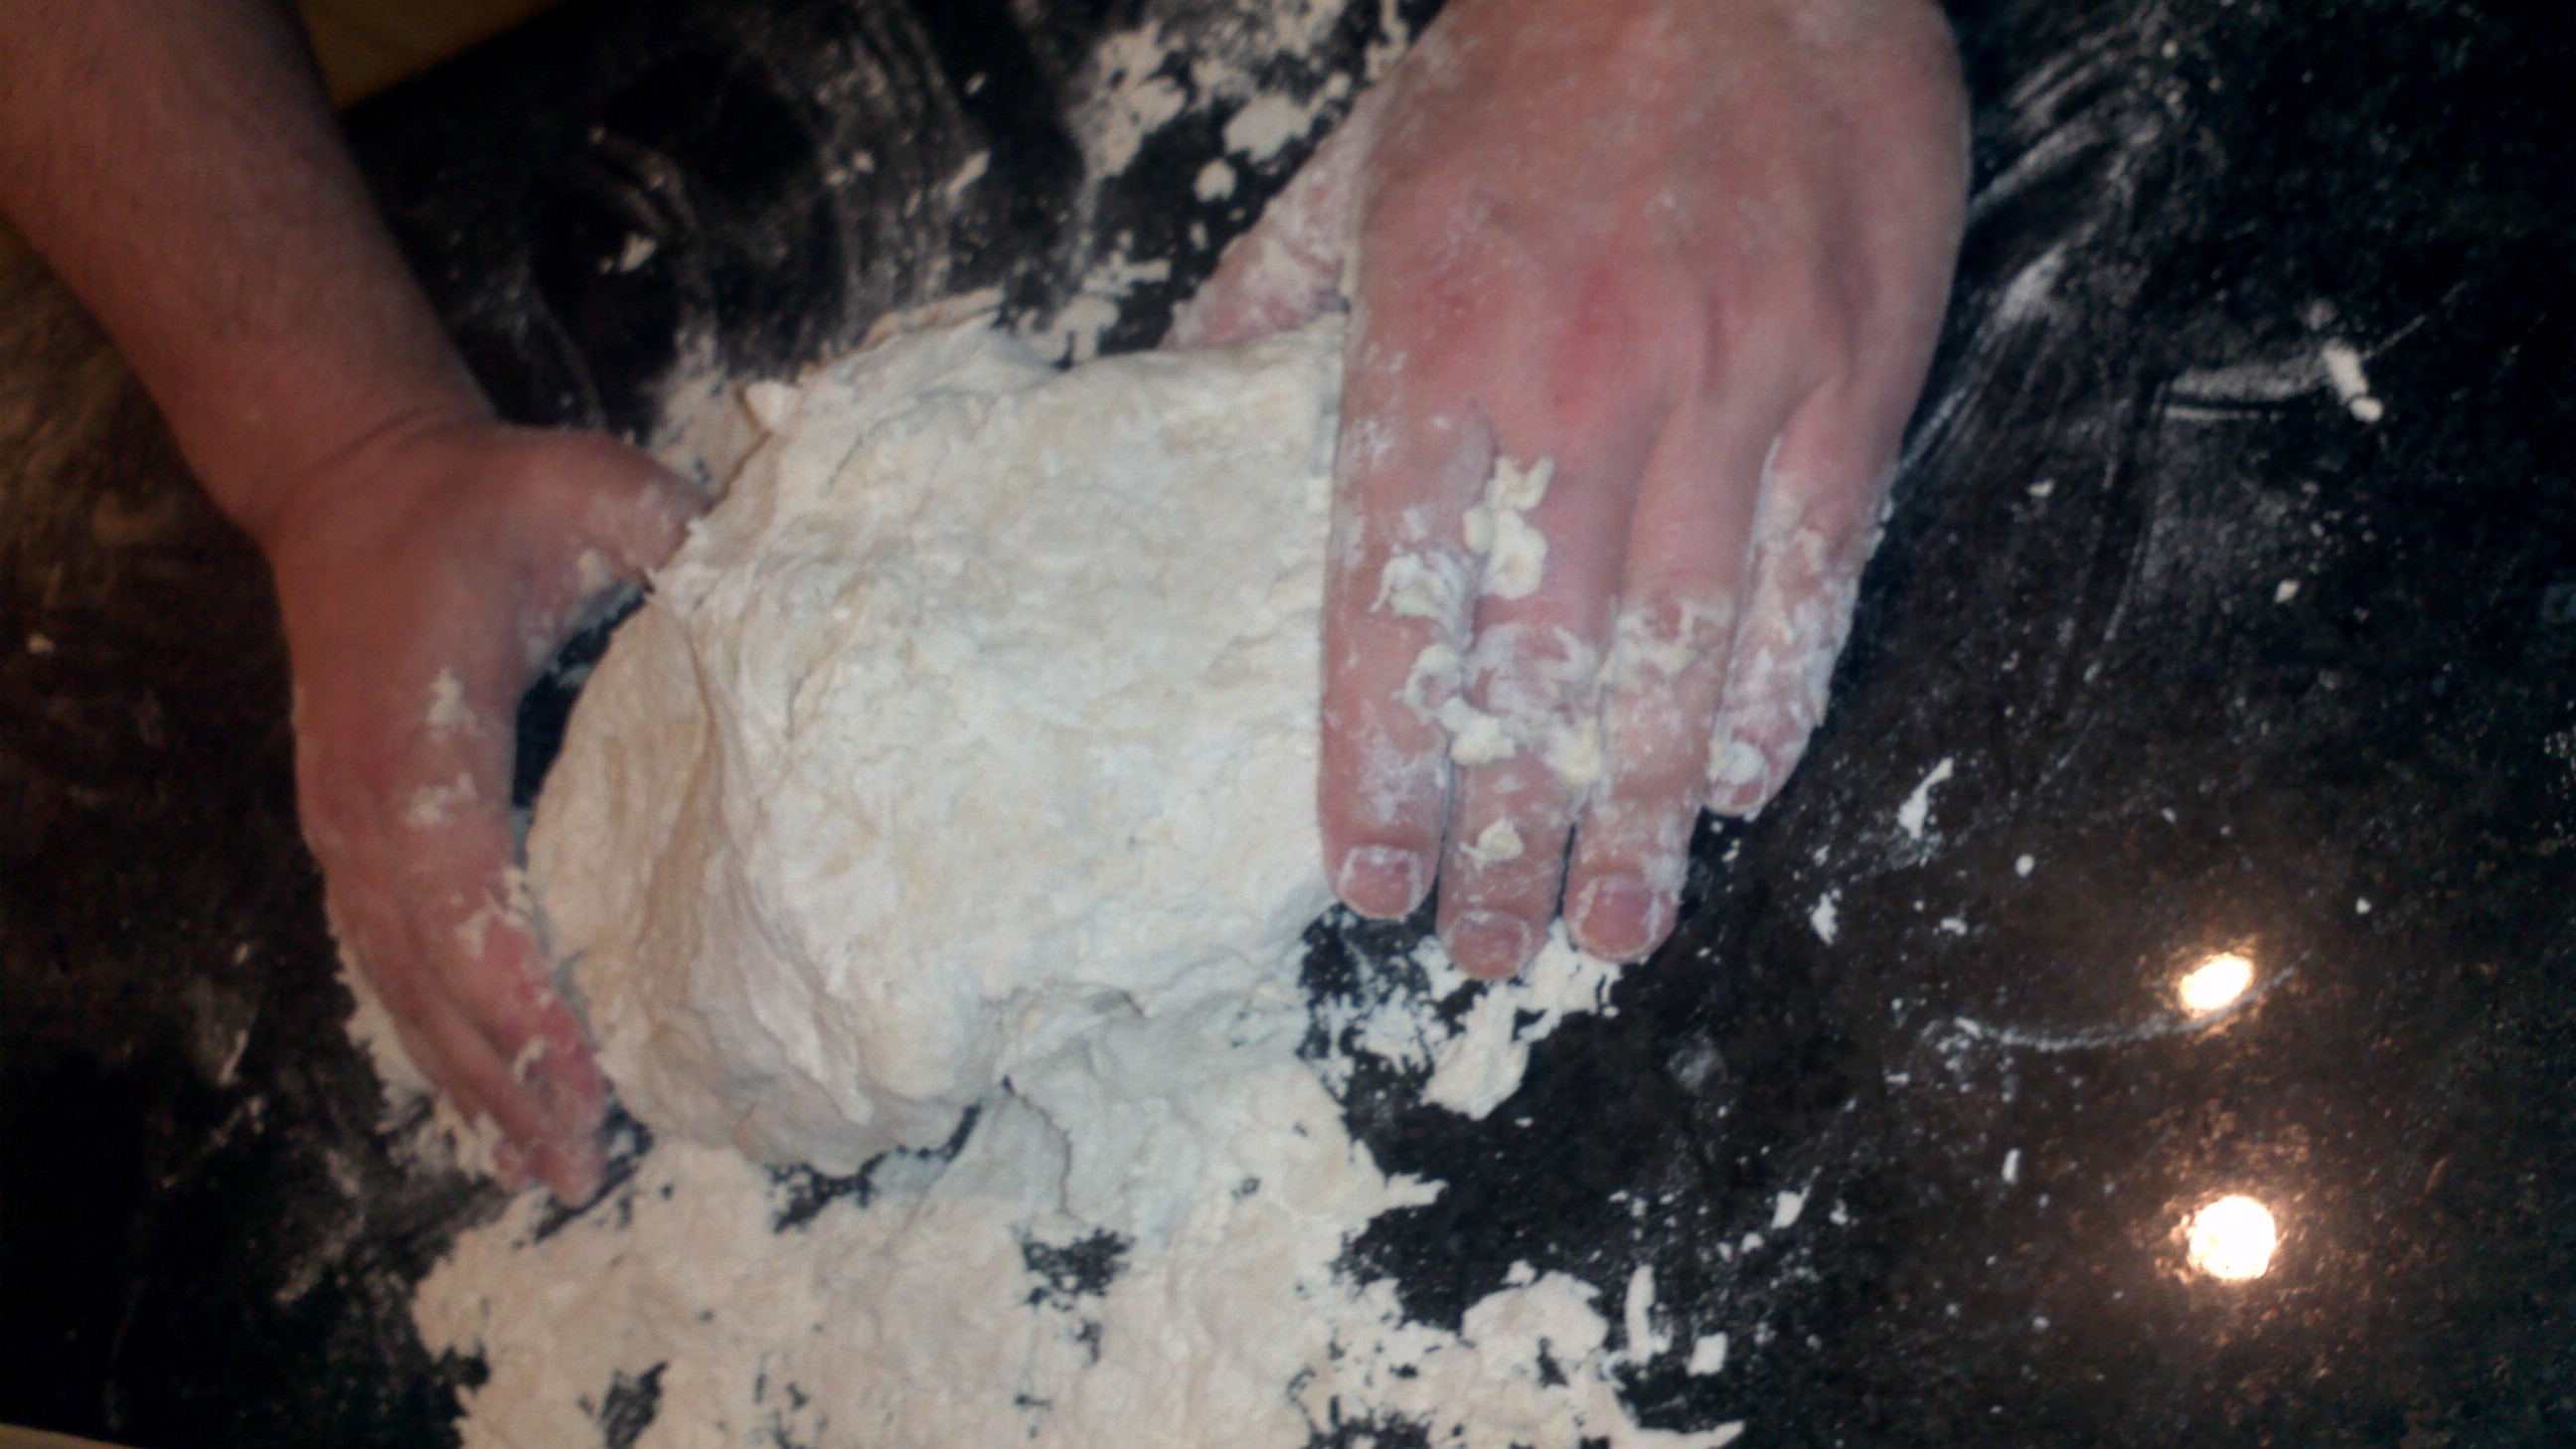
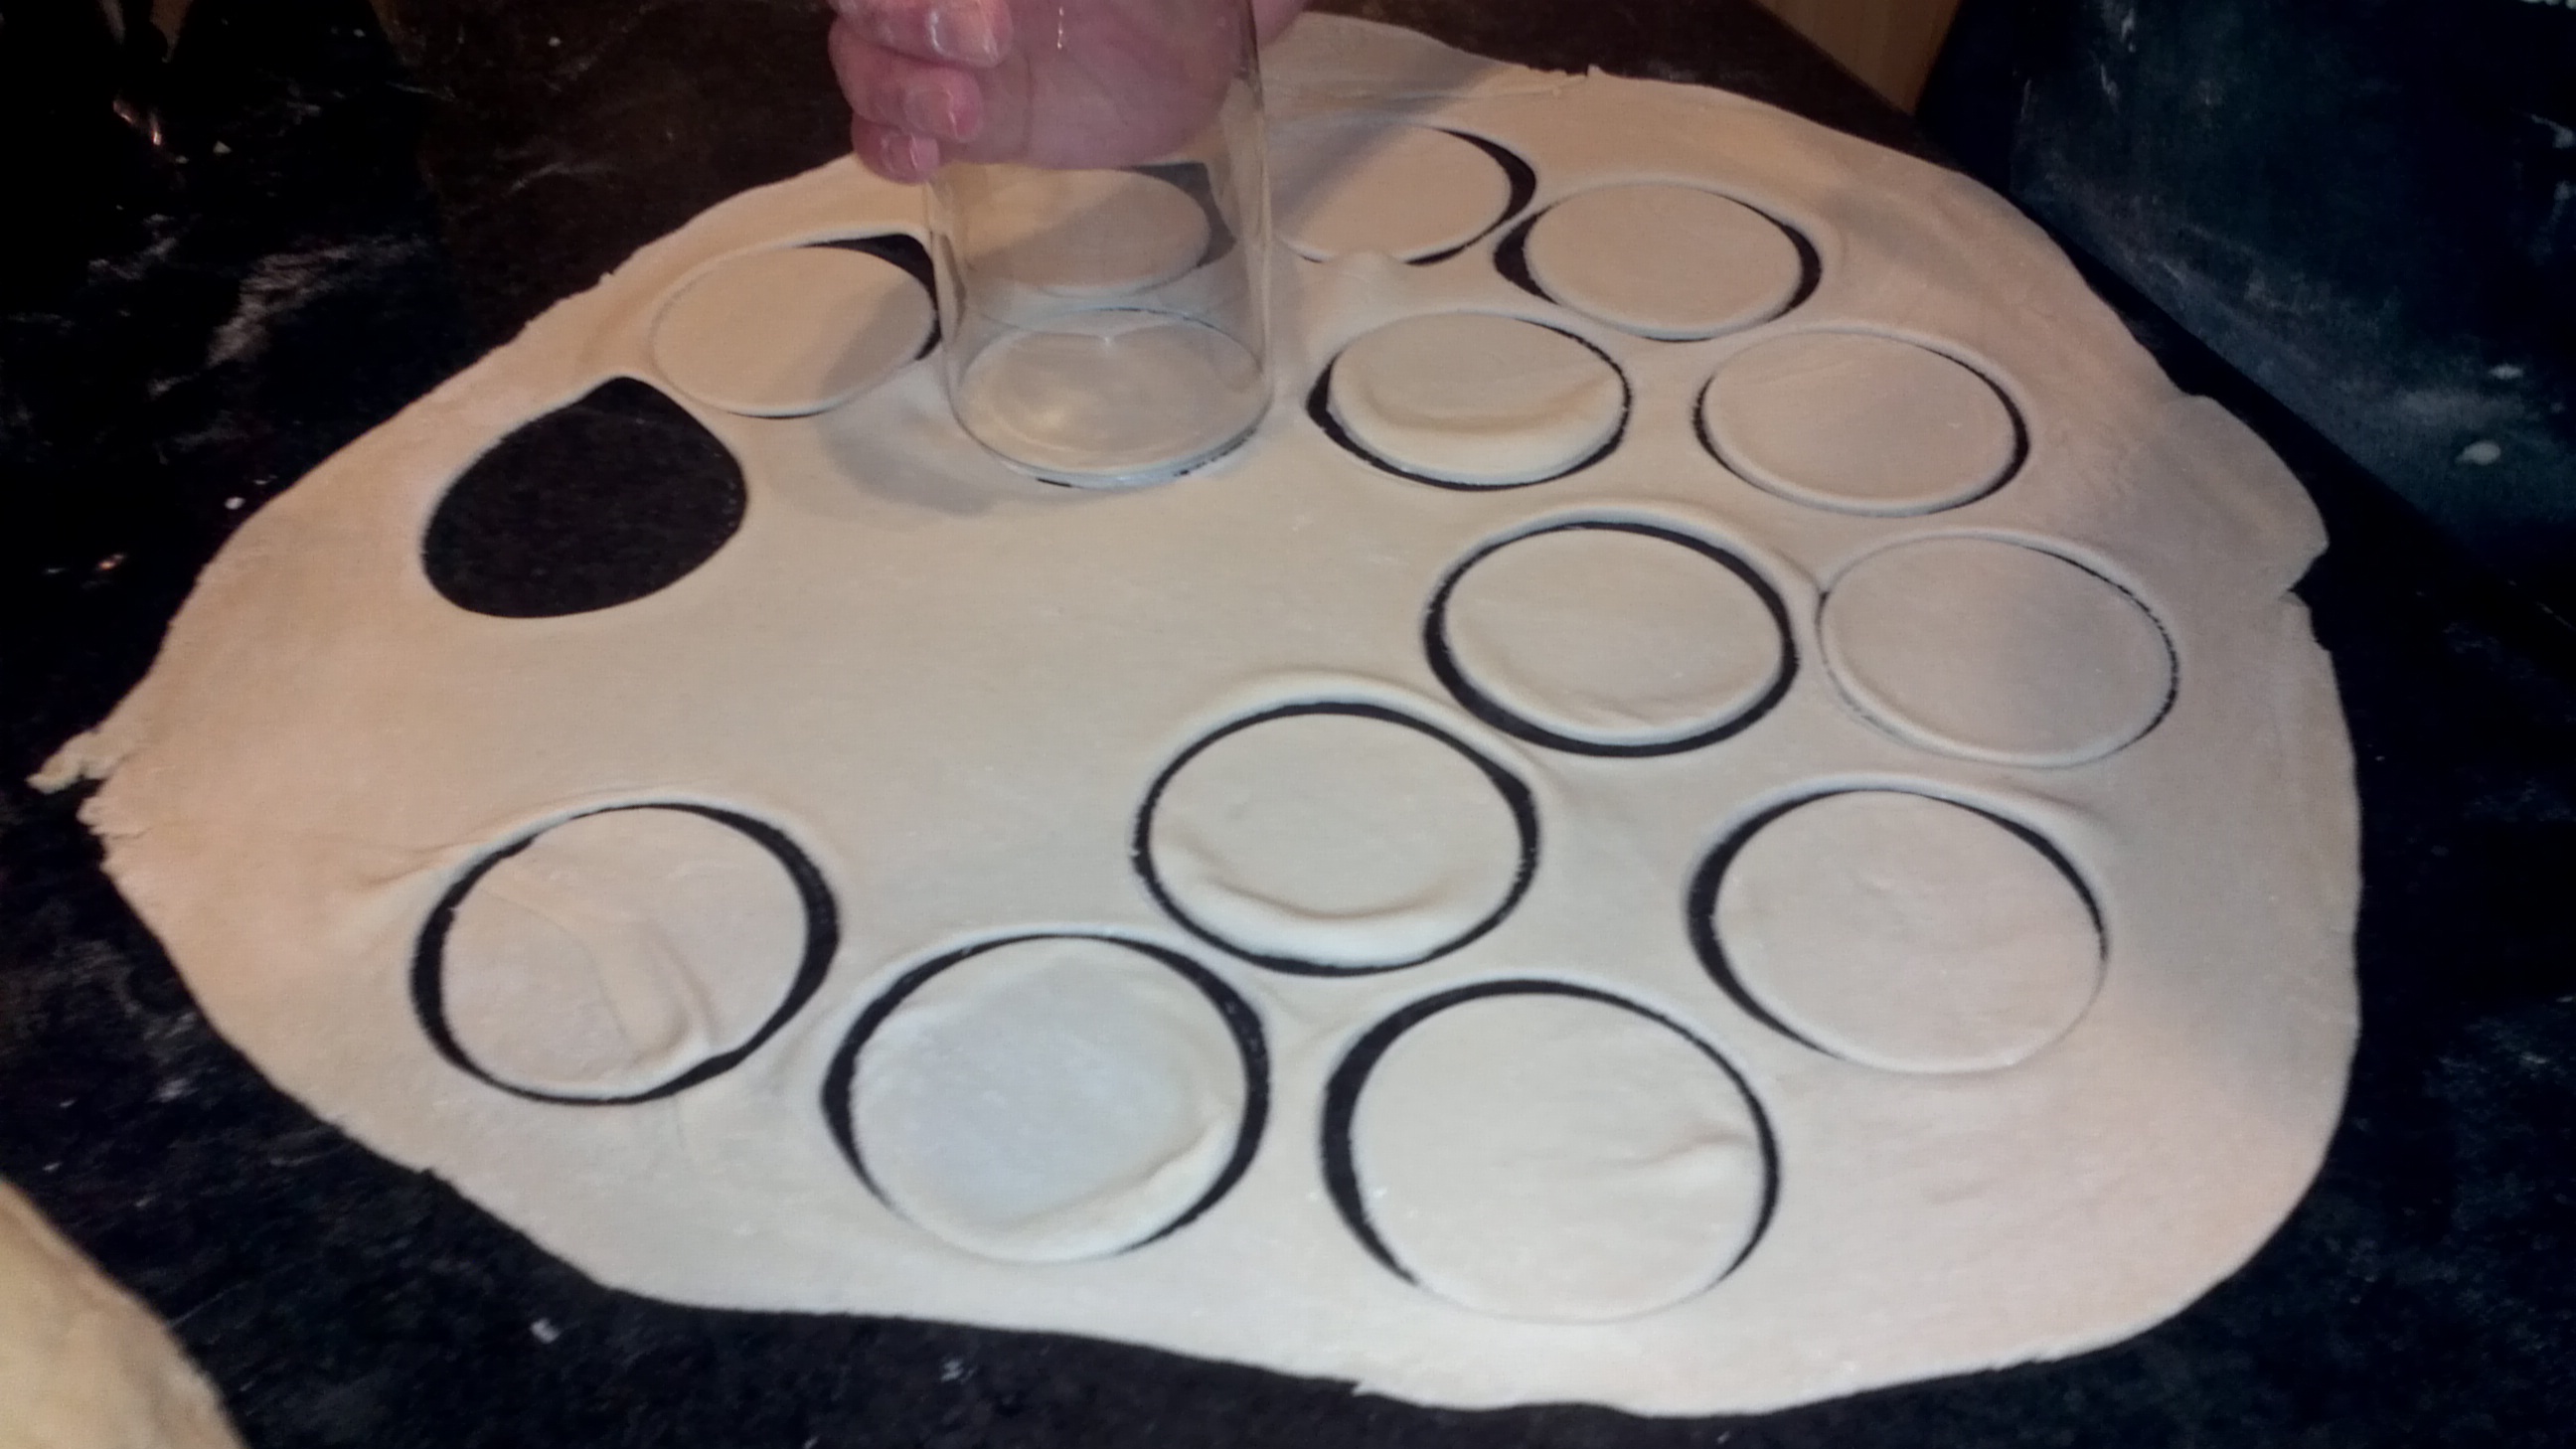
When your dough is well kneaded and rolled it is ready to be cut into shape. For this you will need a large cup or a pint glass or a cookie cutter. Just like this.
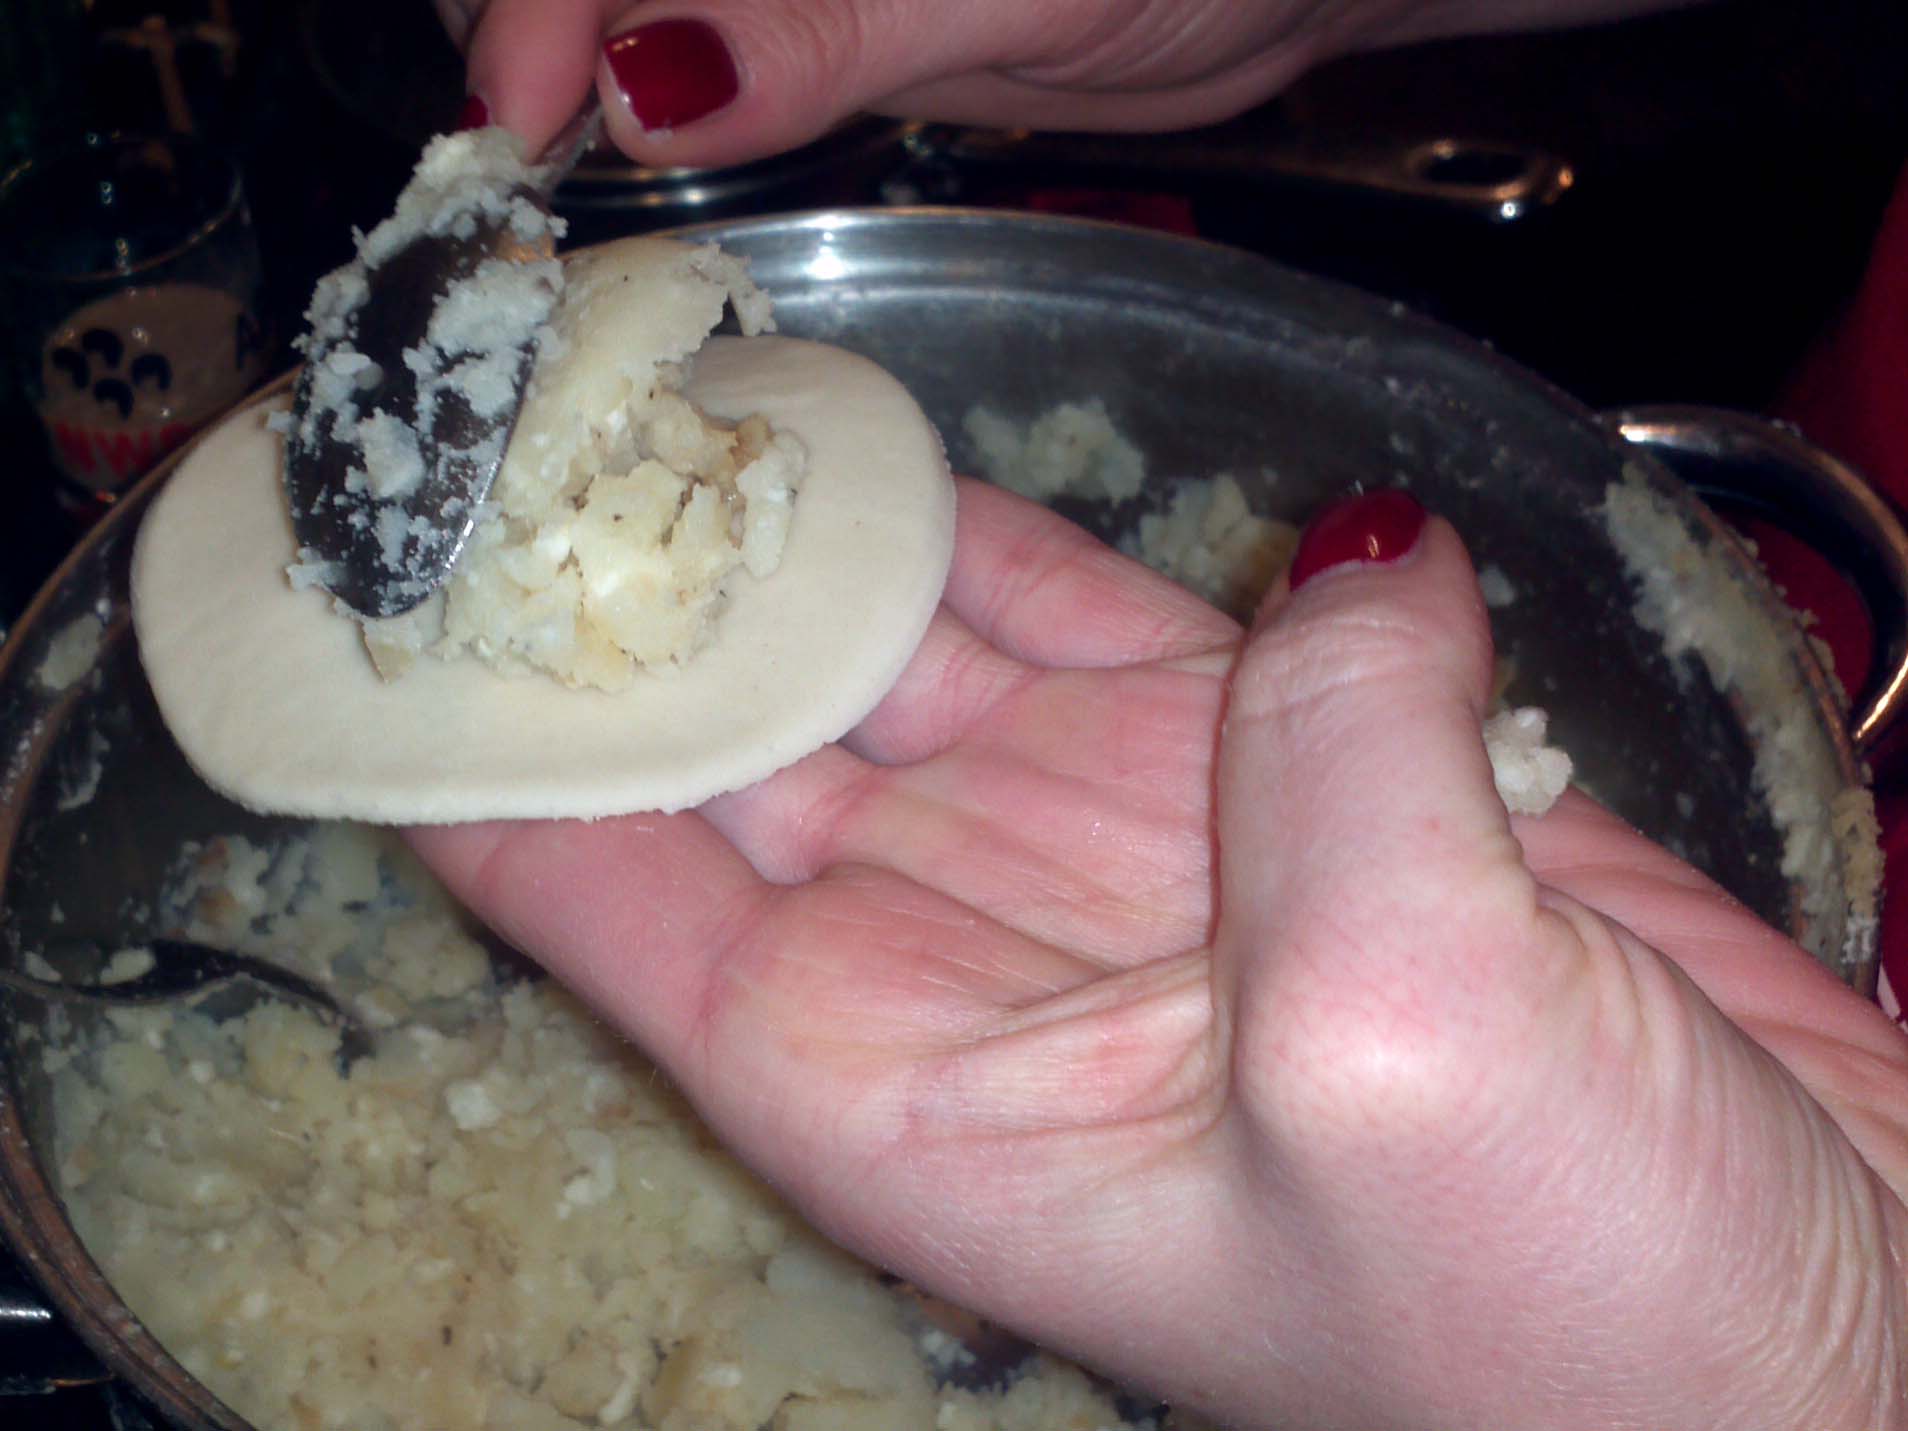
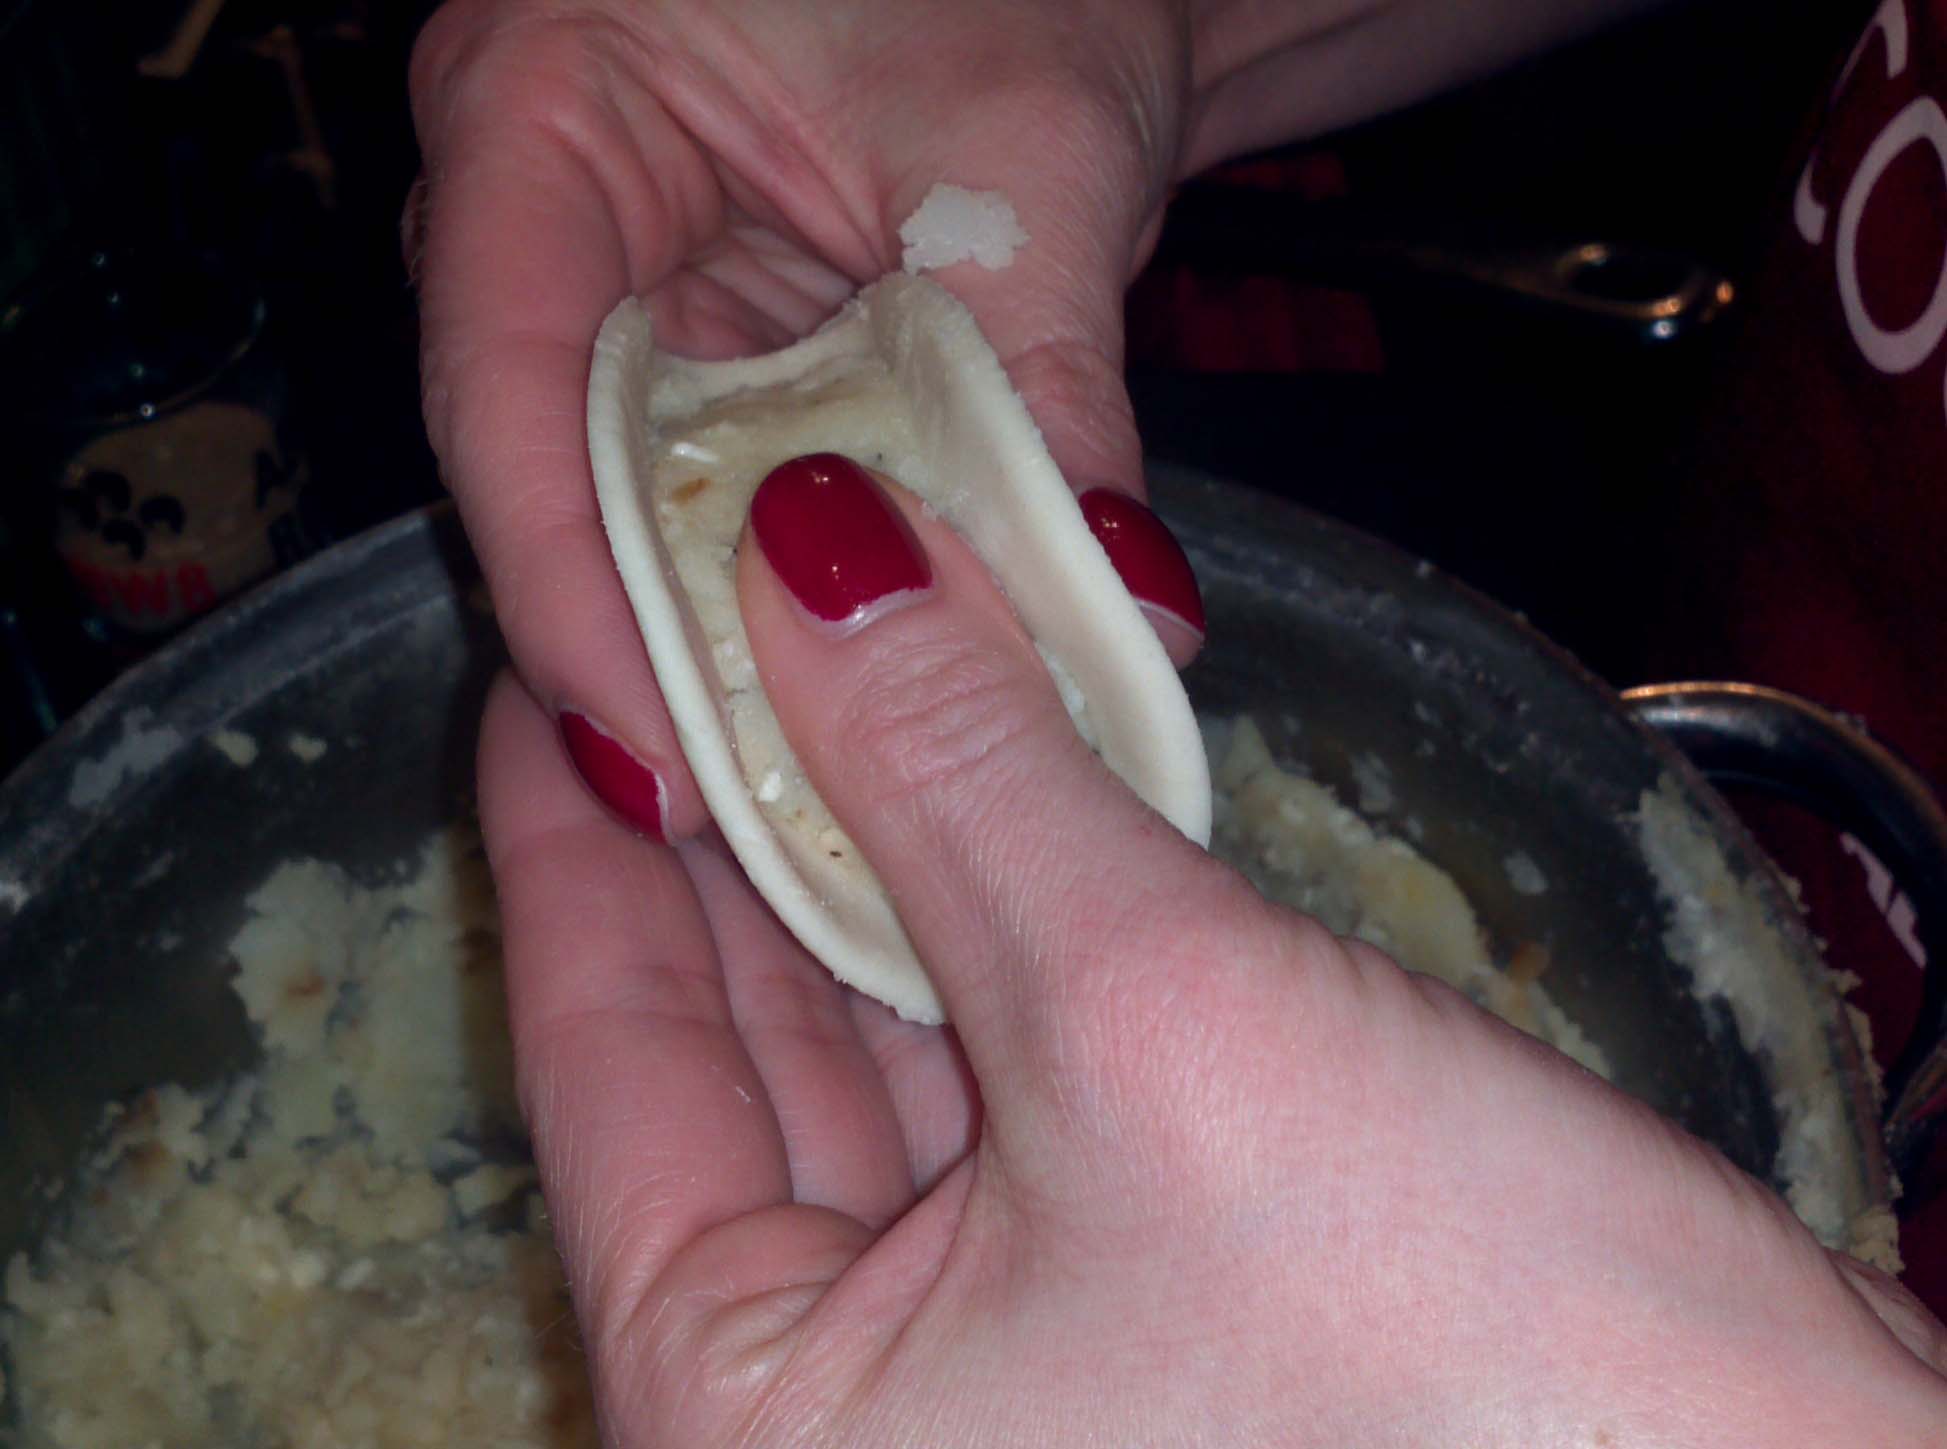
Now we have all the components we need to make / build our pierogi. We have our stack of nicely cut dough disks and our filling so it’s time to put them together.
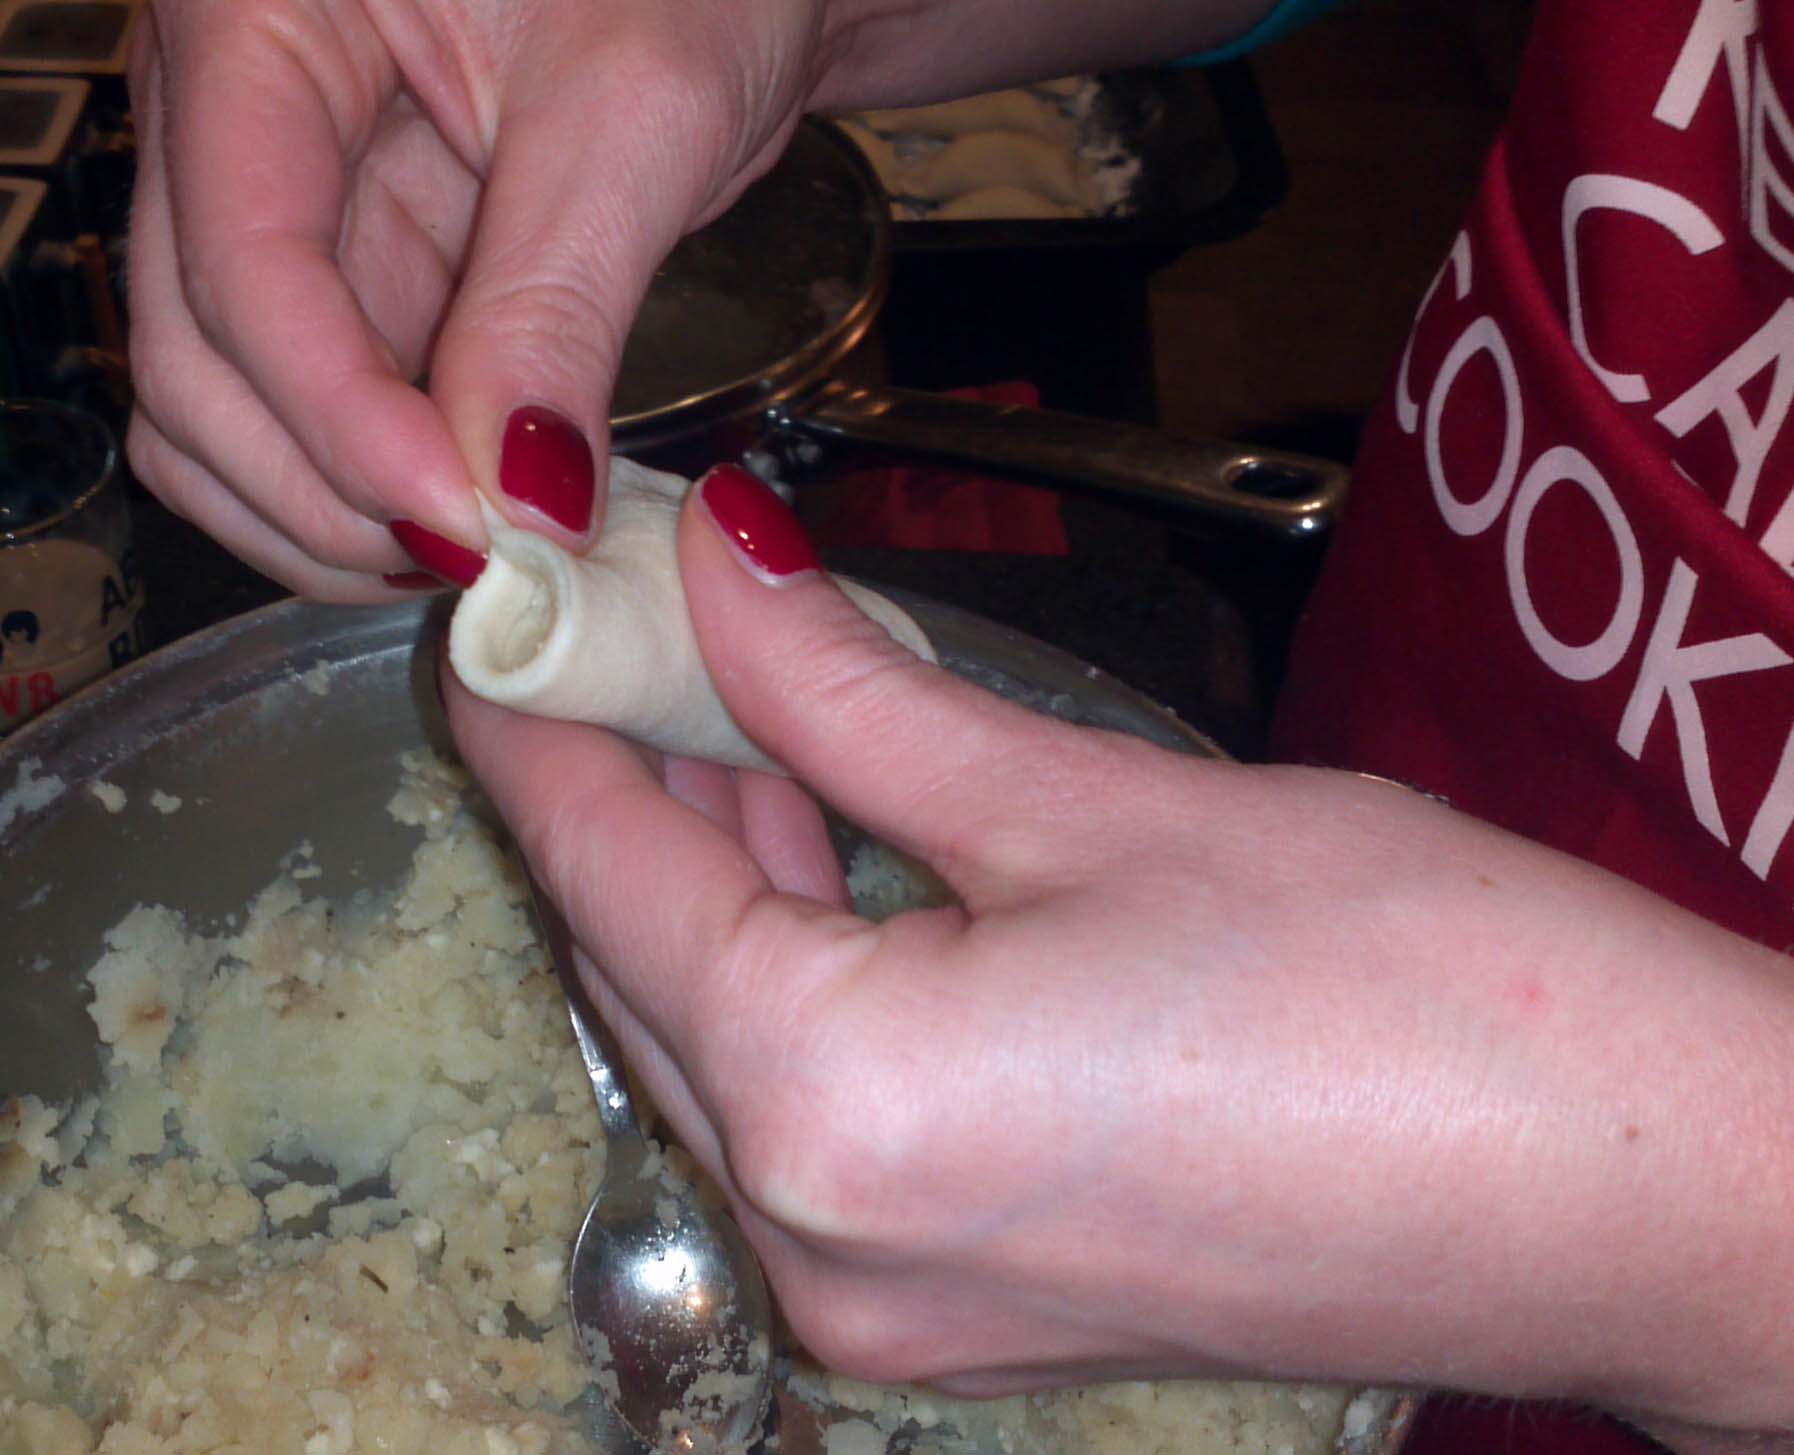
This part may take some practice but I hope these pictures will help.
Add a spoon full of filling
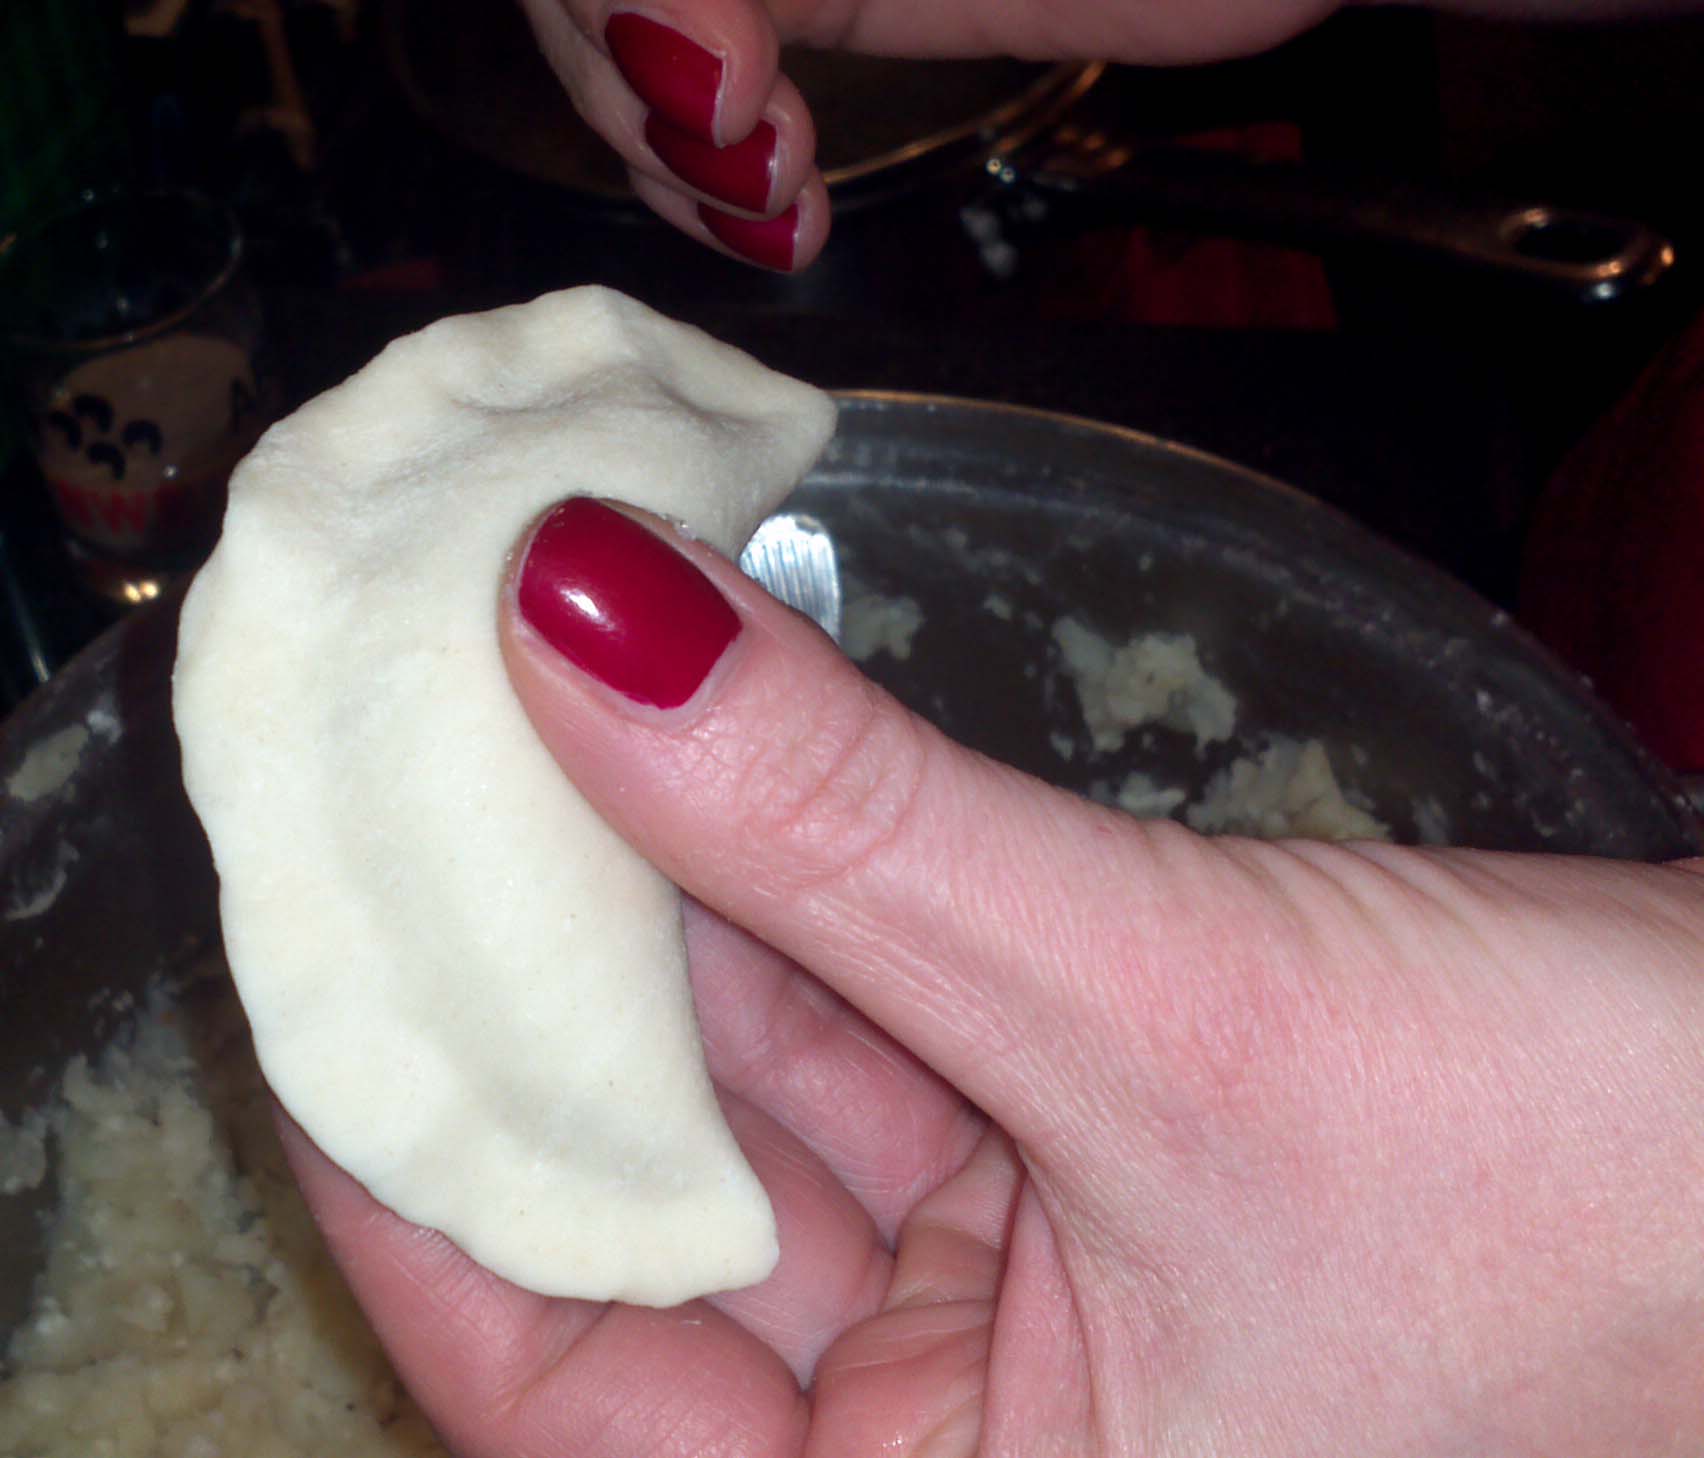
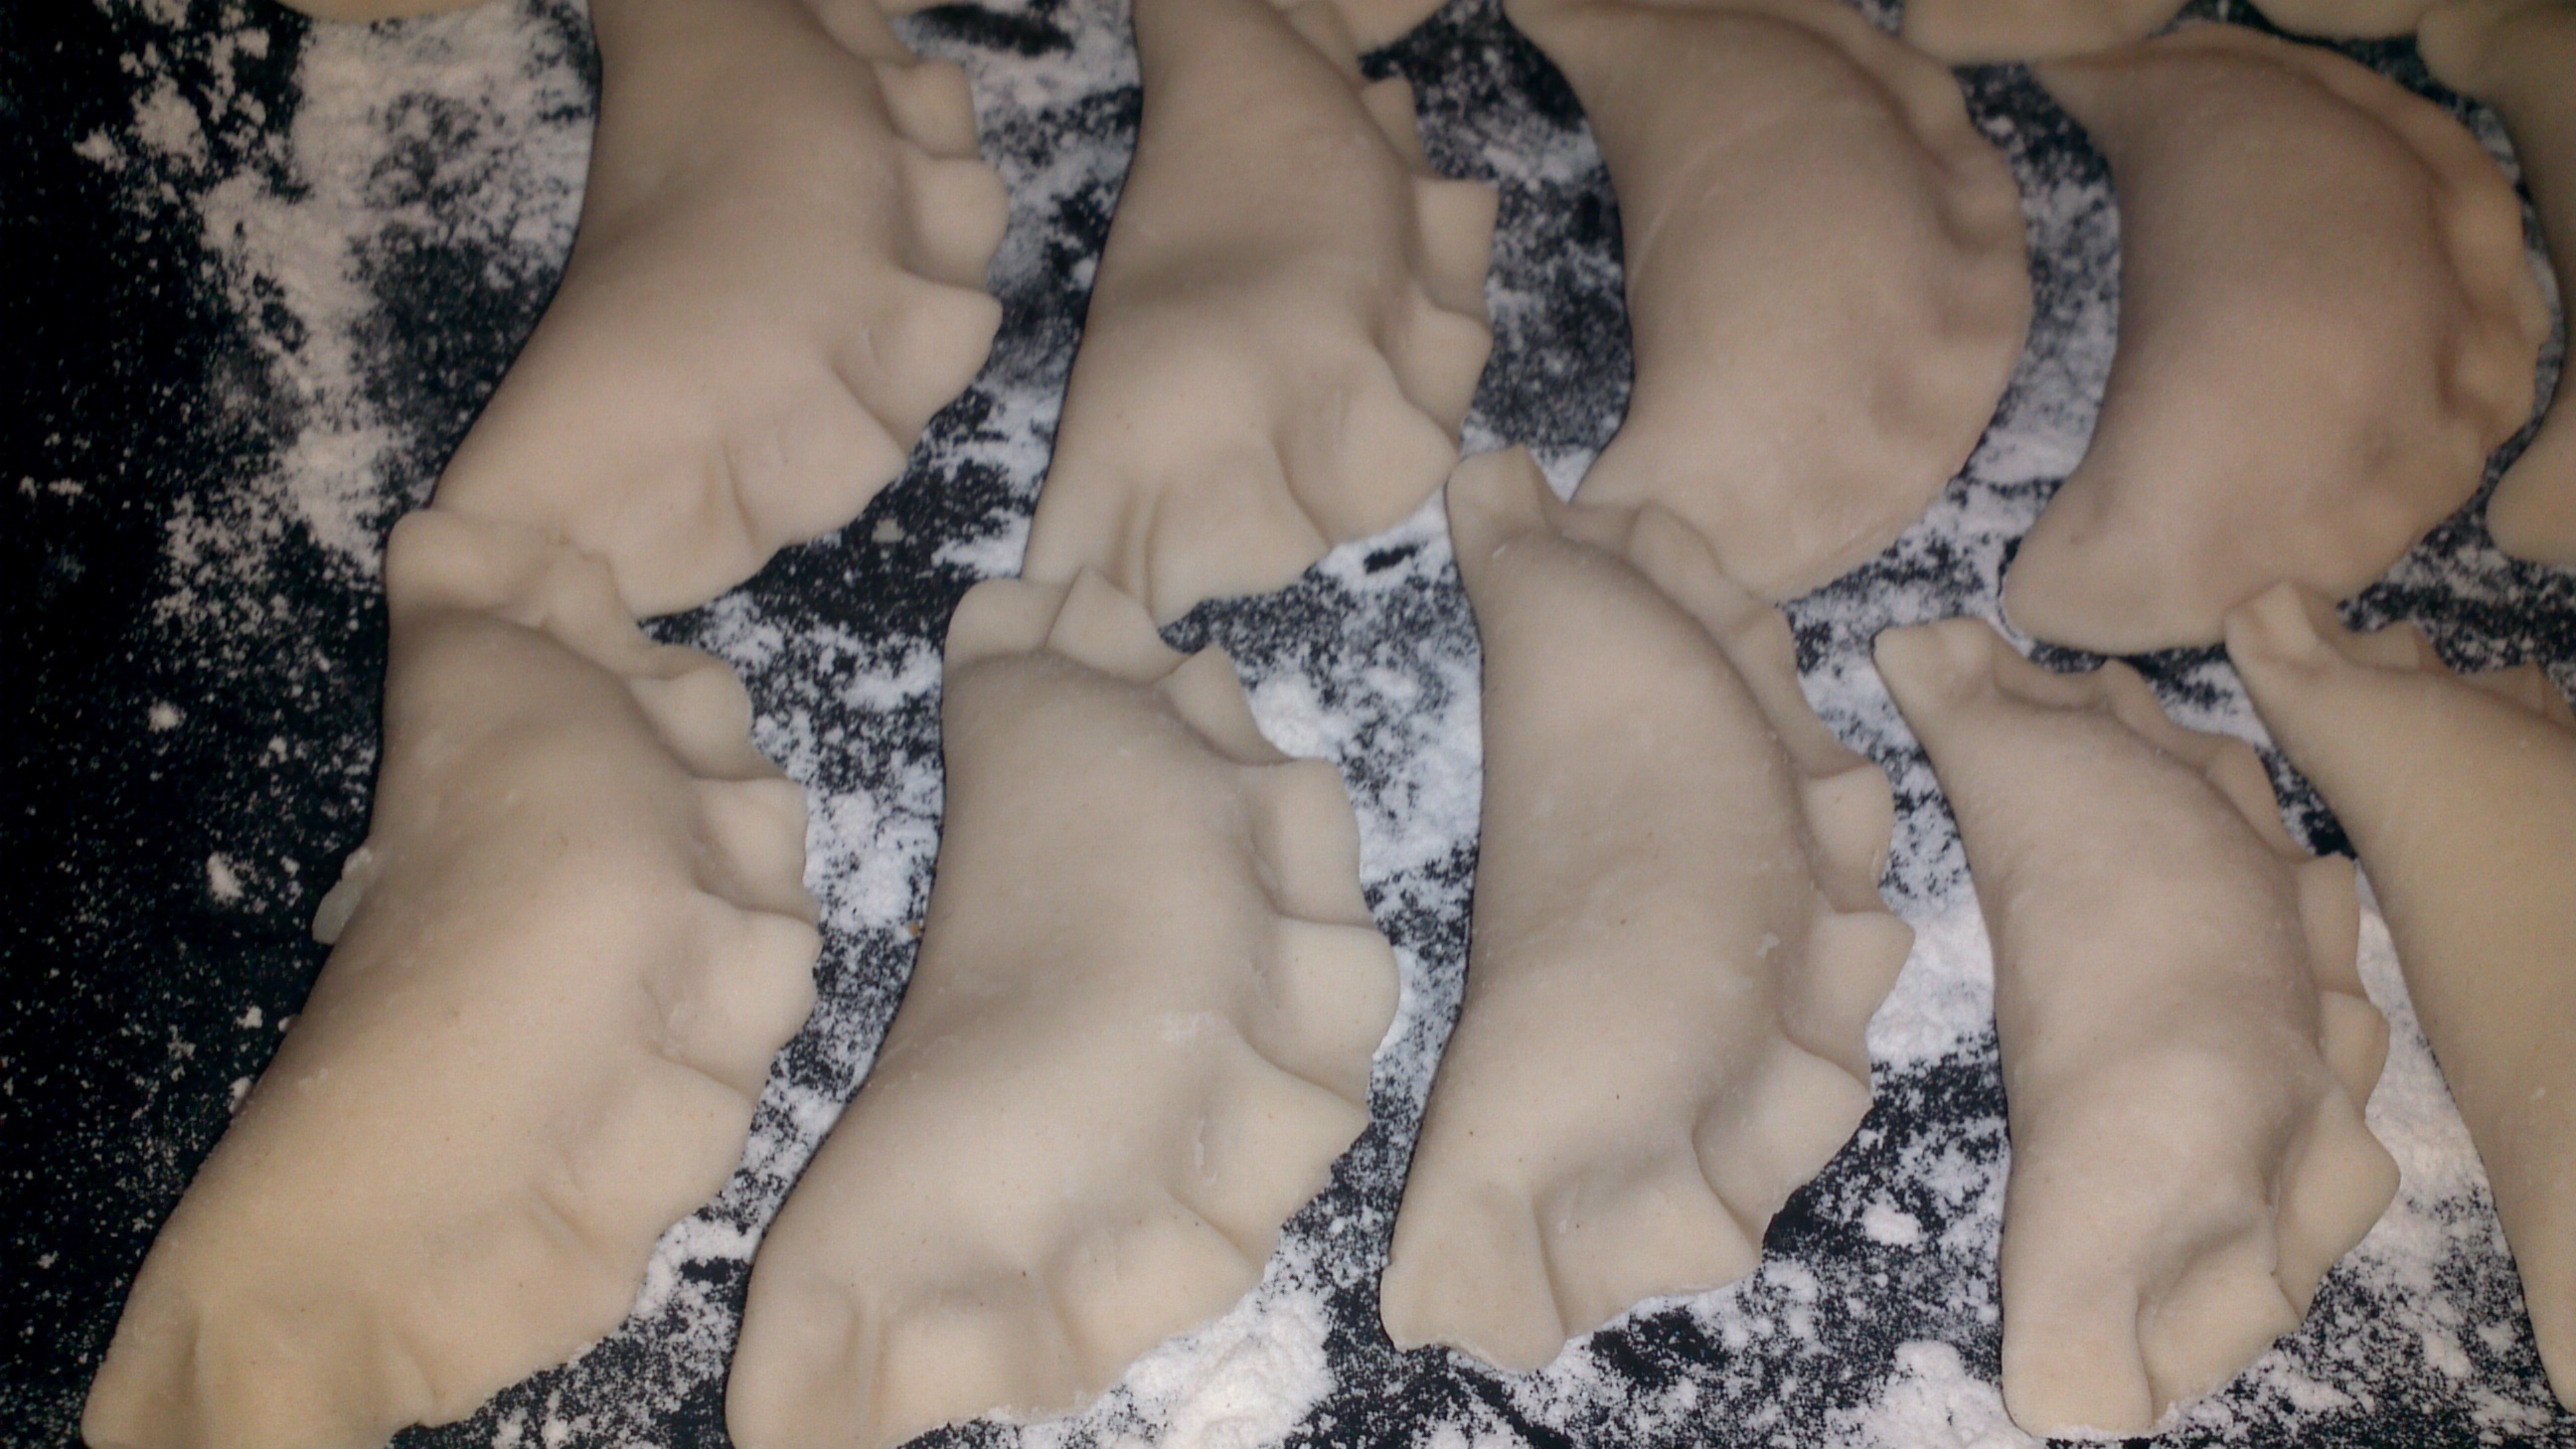
you can crimp the edges a little to make them look pretty
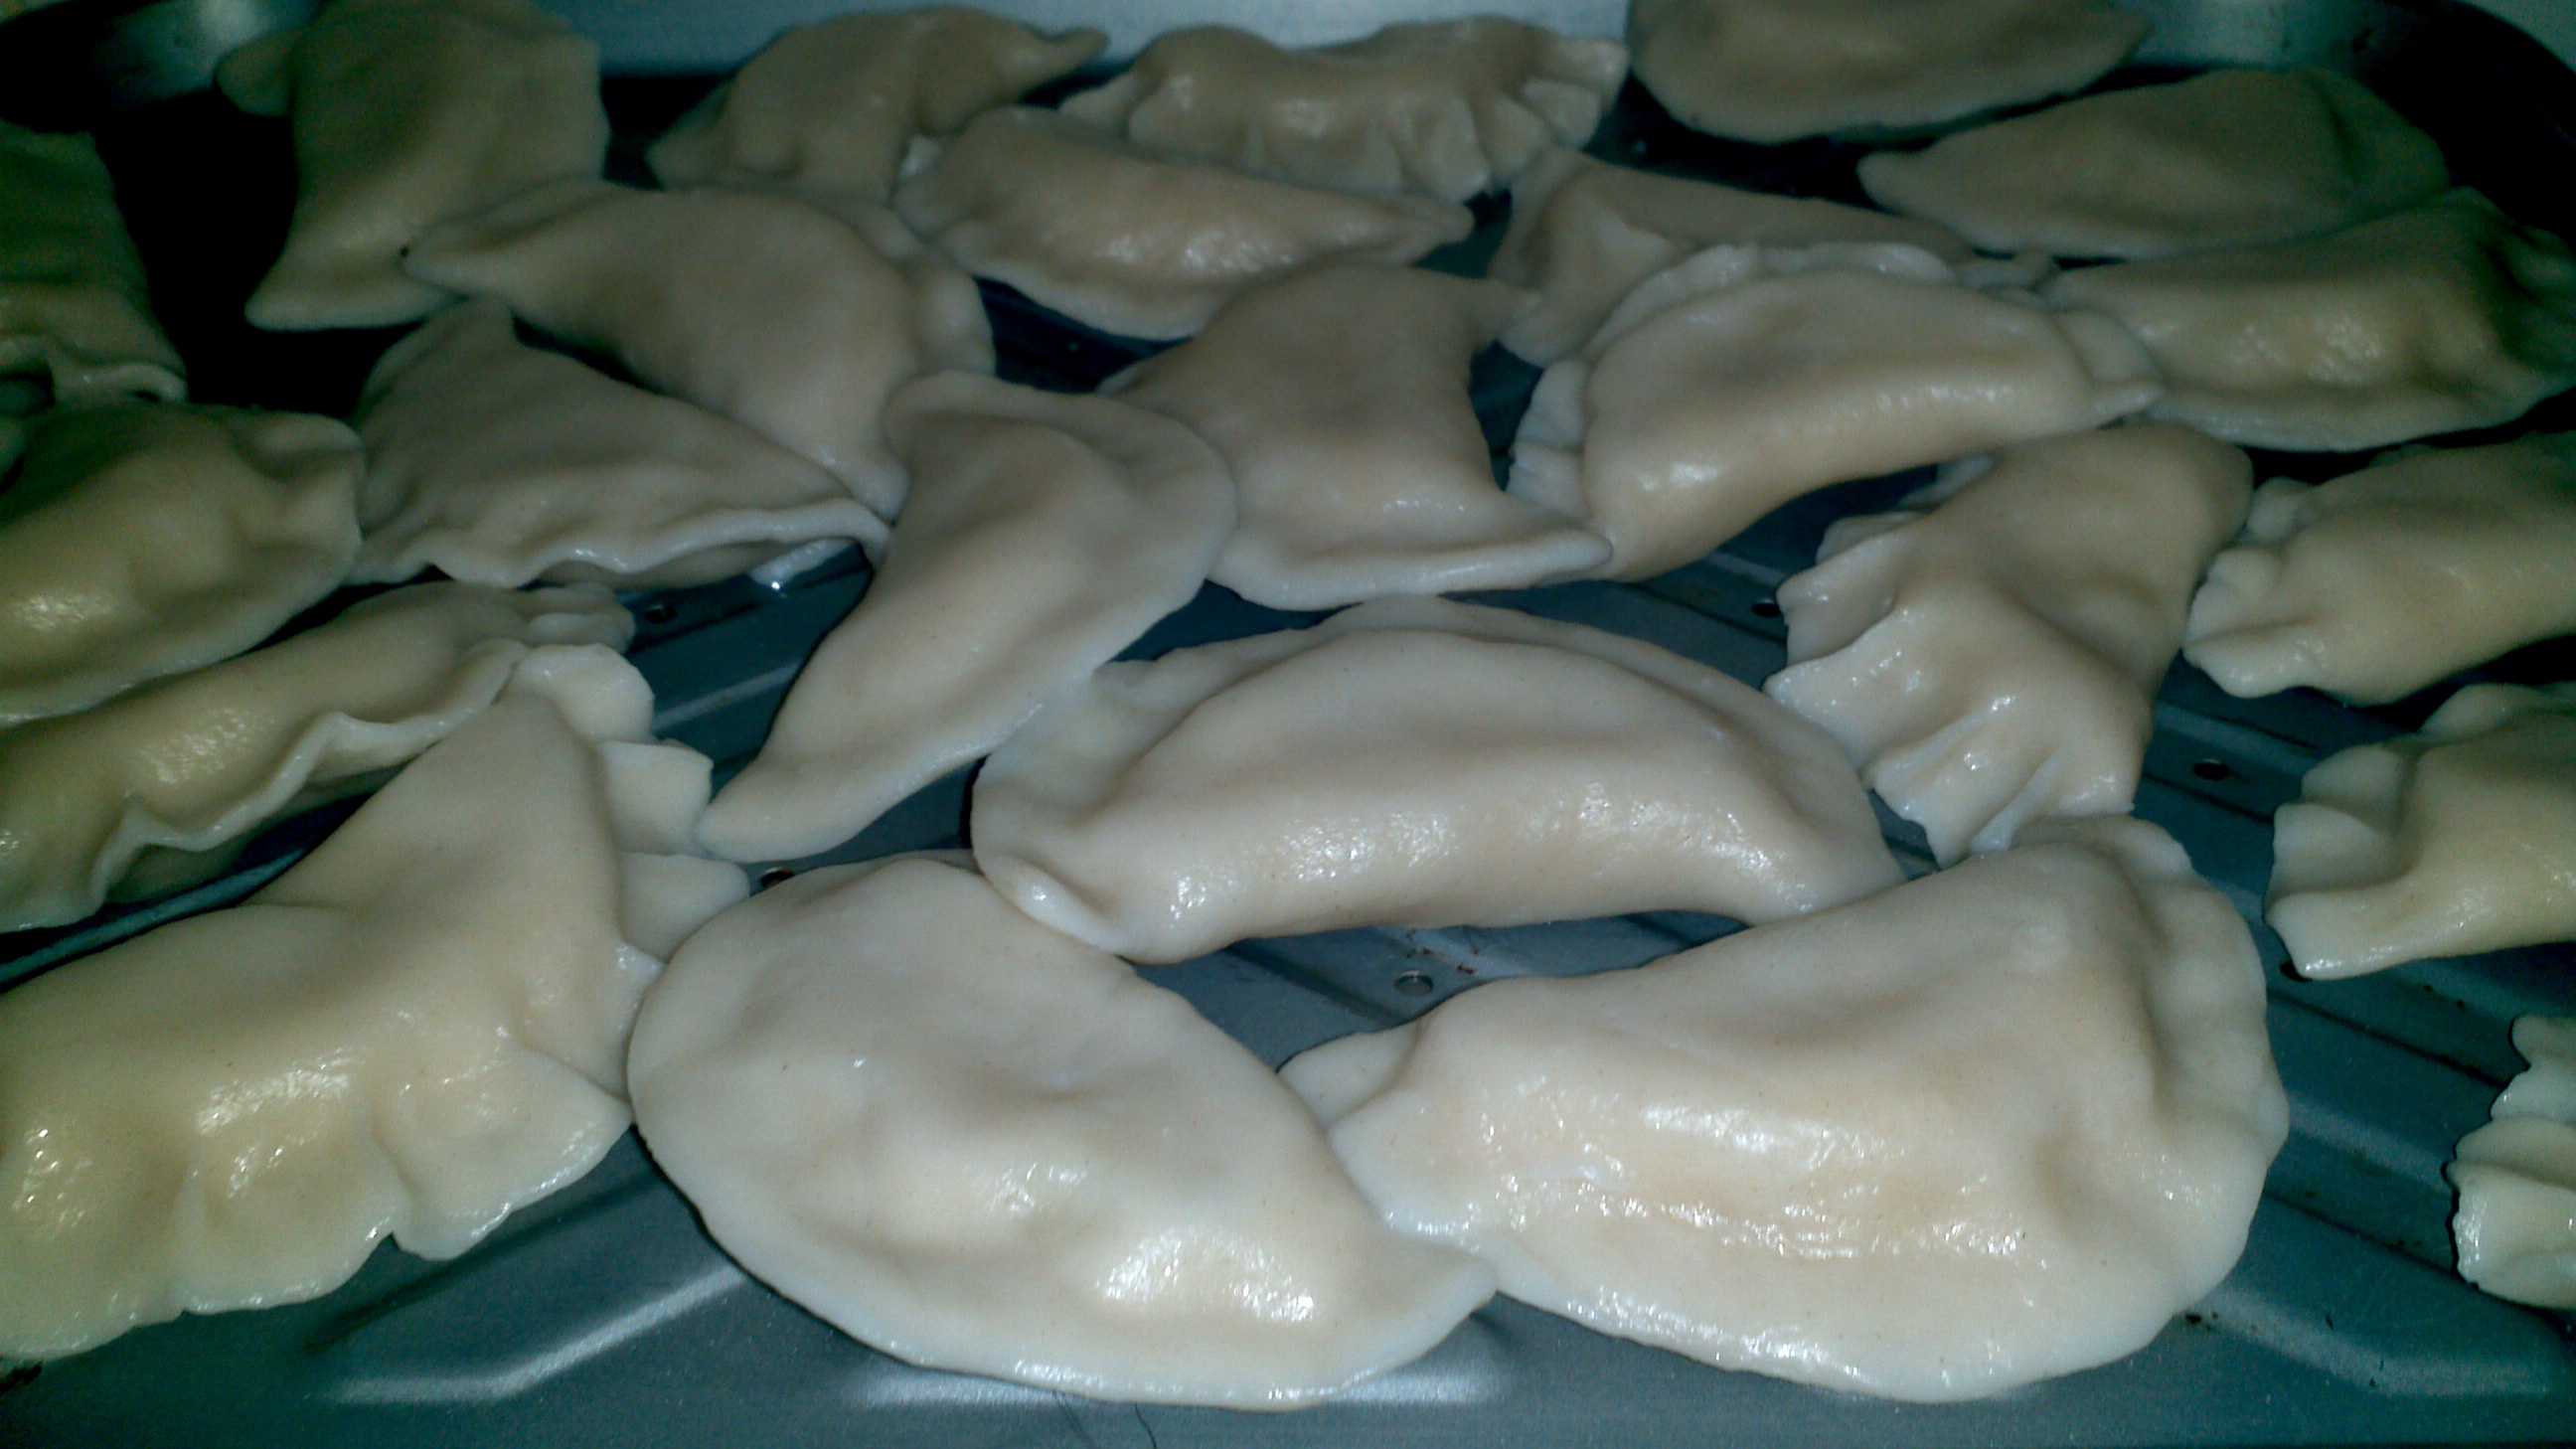
where they will await the boiling process
Now that we have made our prirogi let us quickly cook them before they totally dry out.
For this you will need a large cooking pot, filled with water, add some salt and bring it up to boil. Once boiling, gently place your pierogi in, just few at a time and cover with a lid. When they rise to the surface grab a slotted spoon and gently “fish them out”.
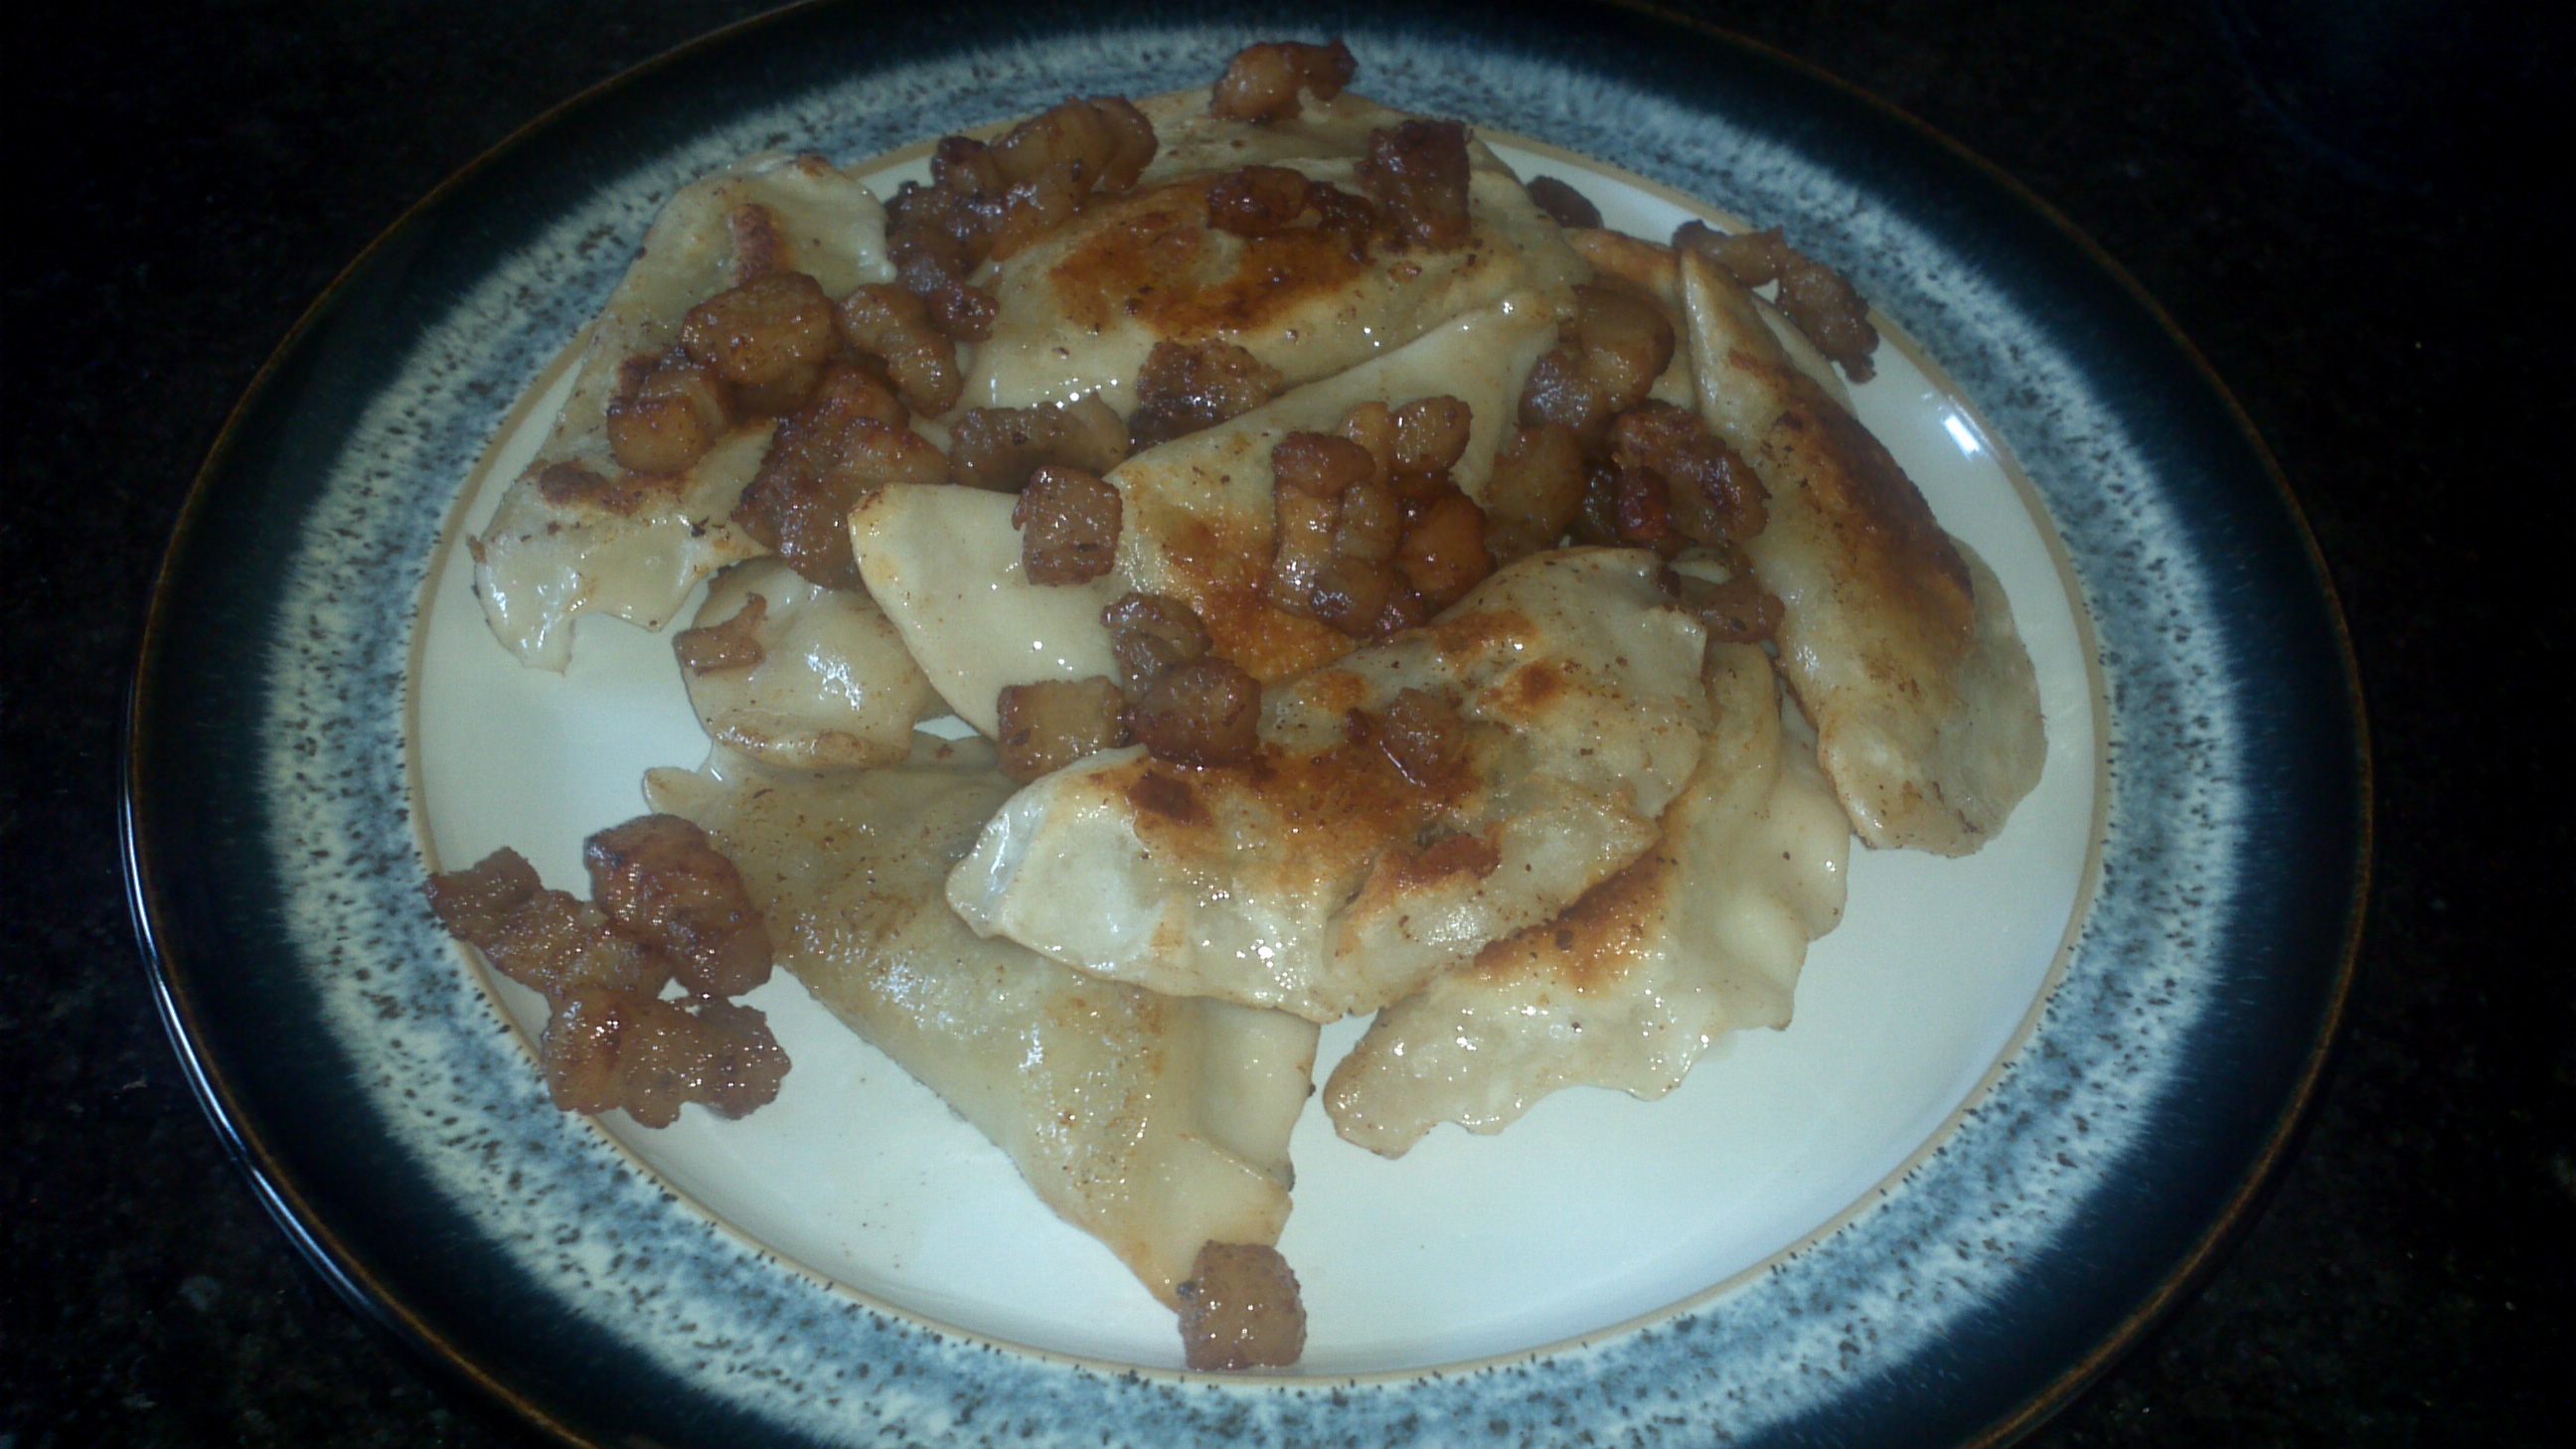
Finally ready to serve – ideally with onions browned in butter, unless you are Mark and hungry and cannot wait no longer…
Or you can let them to cool down if you want to serve them golden fried.
Enjoy!
Ahh just a few top tips:
- Remember don’t be tempted to make the dough in one big batch to save time, because in the end you won’t. The only exception to this tip is if you are part of a large family or have an army of little helpers.
- Never over boil them, as they will simply fall apart in the water
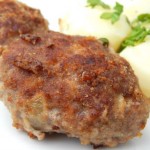
- To make them even more tasty, fry some meat pieces (bacon or pork belly is best) and add them on top of your golden fried pierogi
- Or if you like cheese (like Mark does) you can add some grated cheese on top of freshly golden fried pierogi, so it melts over them
- If you planning to freeze them, avoid adding onion into the filling, they will keep for longer
Related articles
- Homemade potato and cheese pierogi (lifeinserviceandlove.wordpress.com)
- Comparing Poland pierogis to BC pierogis (div3group5.wordpress.com)
- Potato Pierogi (skierkowski.com)
- Pierogi Made Easy (contradictorytendencies.wordpress.com)
- Lunch in the Loop: Pierogi Heaven (chicago.seriouseats.com)


My husband (Wally - Vlad) is Ukrainian and his Mom used to make these for us ALL THE TIME. She passed away a few years ago, and I keep saying to him I will try making them….thanks so much for the recipe and the photos - I definitely need the photos 🙂 We LOVE the photo of your Mark eating them too - seeing the plate stacked high in front of him, brings back so many memories, walking into Mum’s kitchen and finding a plate just like that - ALL FOR US….Oh by the way, I like cheese and Vlad likes meat/onion just in case you want to invite us over for dinner one night…. 😉
You are more than welcome to pop by one day!
We have about 200 left in the freezer atm 🙂
You’re so kind - shame we can’t help you eat them - maybe one day 🙂 Vlad’s mum never wrote the recipe down, I’ve been searching for a recipe for a long time and I’m thrilled, yours look EXACTLY the same as hers. I’ll let you know how I go making them OK? Stay cool, I hear it’s warm in the UK.
Mummy’s a terrible cook, but her polish friend Anna has made them before - yummy!
Yum Yum Yum. Had Polish pierogi for lunch today. Have some relatives in from out of town so we went to a Polish restaurant. Did not make my own.
🙂
Great pierogis! Just wondering… how long do you boil them/how long is too long?
Hi Amber,
When they rise to the surface they are ready, usually it takes 2 maybe 3 min…. they cannot boil while already “swimming” on top of the surface of the water…if they do, there is a chance they will over-boil and simply fall apart at this point 🙂
I tried it once and I failed. They were falling apart and the whole filling was in the water. I think I will try it again with your recipe, because they are delicious. Thanks :o)
If you squeeze them tightly nothing will fall apart, believe me. I know you can do it!
I tried to prepare them like the pelmeni with sour cream but it was just a disaster. But I will try it again :o)